In an era where environmental health is intertwined with our well-being, keeping tabs on the air quality outside our homes has never been more important. For those living in urban areas or near zones prone to wildfires, the air we breathe can significantly impact our health, particularly for individuals with respiratory issues like asthma. While the idea of monitoring this vital environmental parameter might conjure images of complex setups or costly investments in hardware, there's a surprisingly straightforward solution that brings this capability into our homes with minimal fuss. Enter the World Air Quality Index (WAQI) project, a global initiative that offers real-time air quality data from a vast network of sensors. This guide is designed to help you seamlessly integrate WAQI's extensive environmental monitoring services with Home Assistant, providing you with actionable insights right at your fingertips.
Contents
Step-by-Step Guide to Integrating WAQI with Home Assistant
The detailed walkthrough below outlines the seamless process of connecting WAQI's comprehensive environmental data with Home Assistant. This step-by-step guide is crafted to ensure that even beginners can successfully enhance their Home Assistant ecosystem with vital air quality information.
Obtain a WAQI API Token
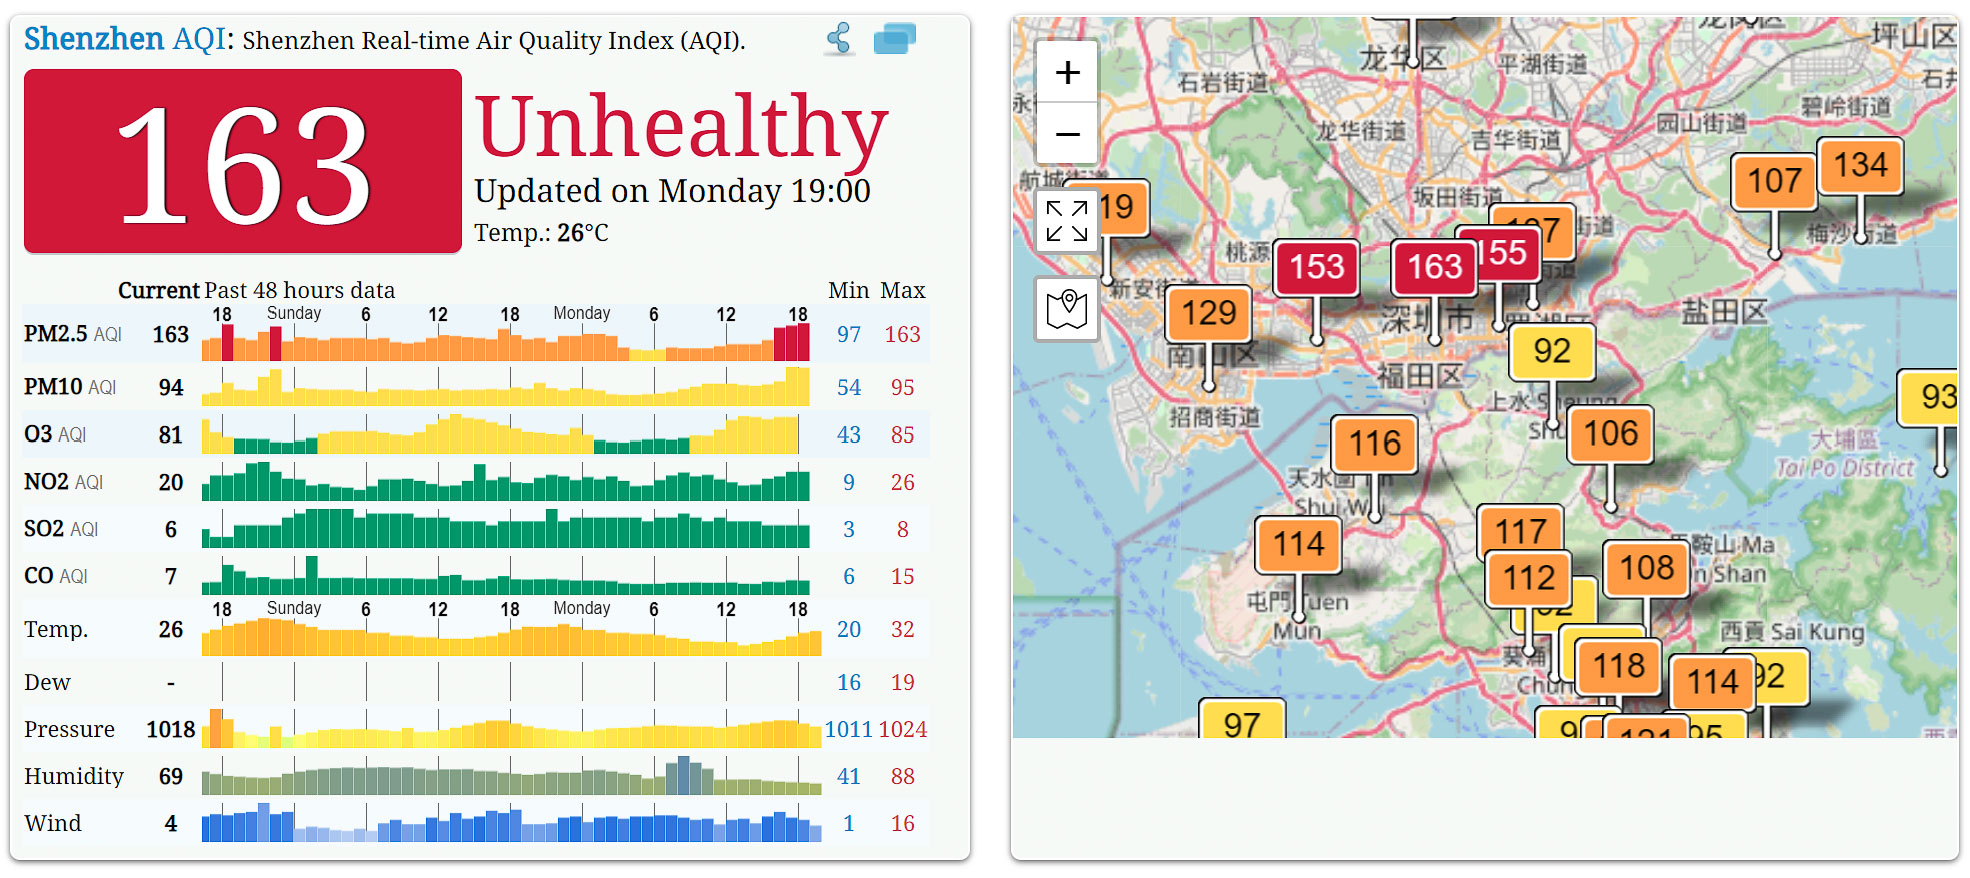
Your journey begins with acquiring an API token from the World Air Quality Index project. This token is essential for accessing the data from their vast network of air quality sensors. Thankfully, the process is straightforward and only requires your email address and name. Visit the WAQI token page to request your token, which will be sent via email. Once received, add this token to your secrets.yaml file in Home Assistant, labelling it appropriately for easy reference.
Configure the WAQI Sensor in Home Assistant
Integrating the WAQI sensor into your Home Assistant is not yet possible via the dashboard and requires manual addition to the configuration.yaml file. Here's an example configuration that I used:
sensor:
- platform: waqi
token: !secret WAQI_API_TOKEN
locations:
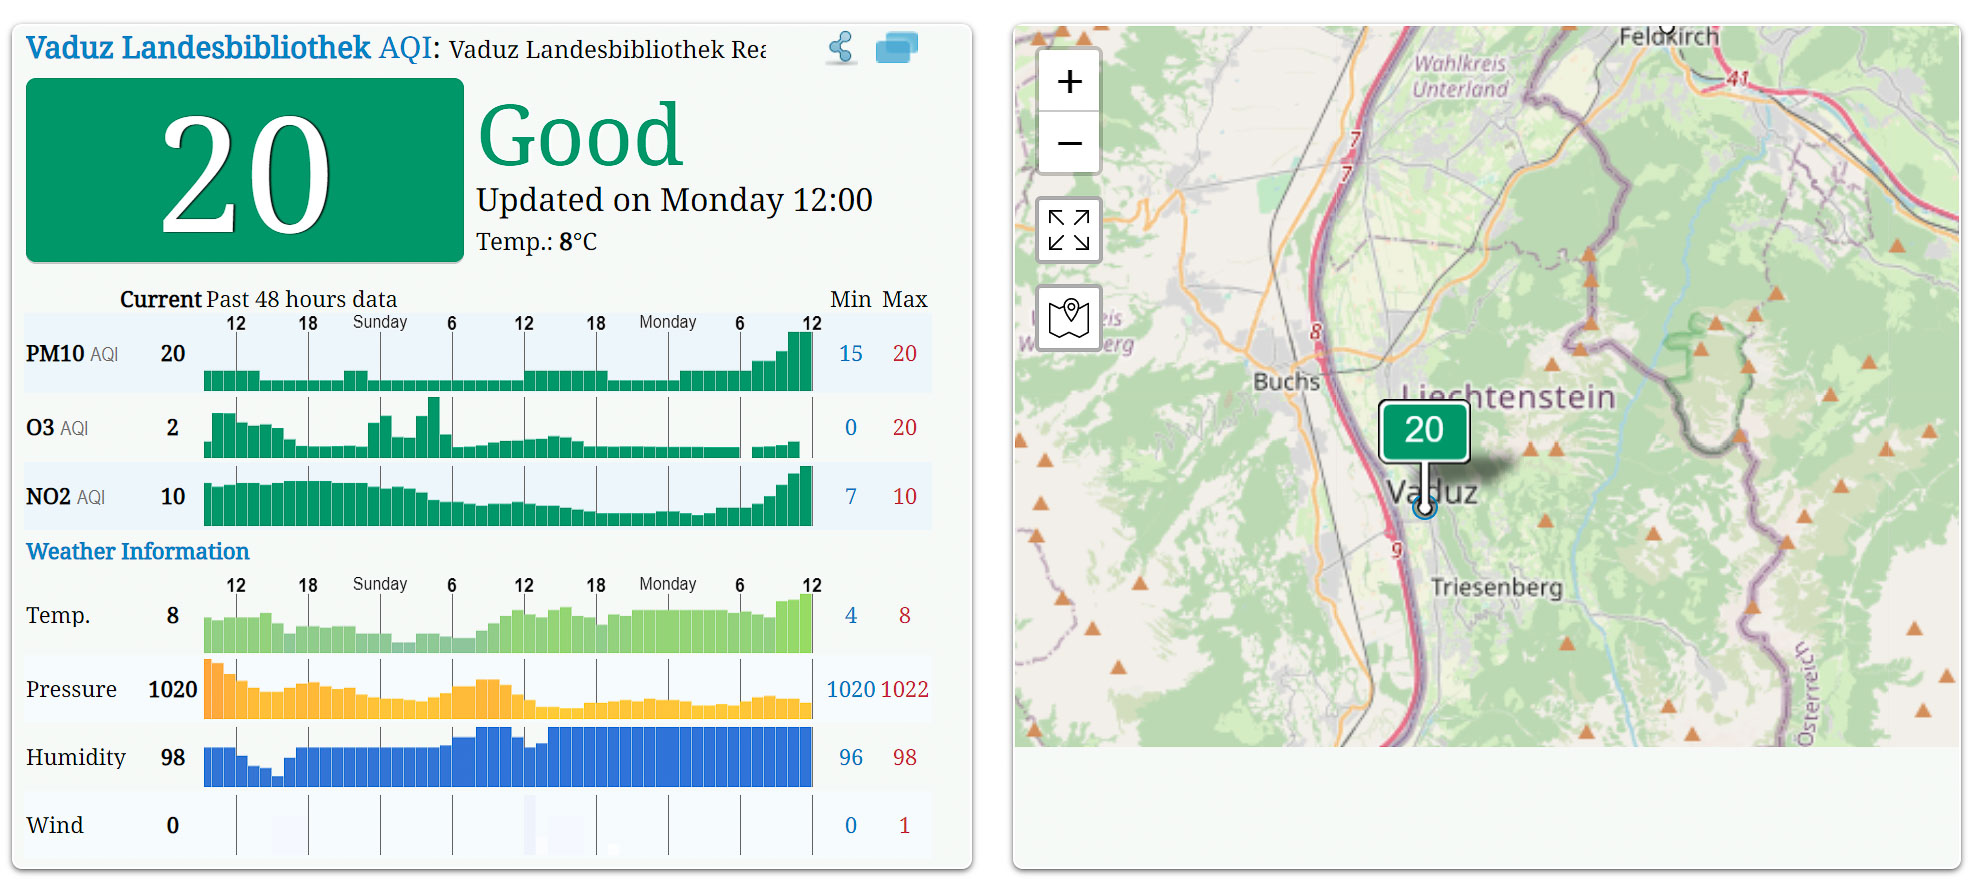
- vaduzBy specifying the city name, Home Assistant creates sensors for all associated stations within that area. For those in regions with multiple sensors, like Vaduz, specifying the exact station name from the WAQI website (e.g., Vaduz Landesbibliothek) can narrow down the data source to your preferred location.
Making Sense of WAQI Sensor Data
Upon integrating the WAQI sensor and restarting Home Assistant, you'll notice the sensor displays an index value. To make this data more comprehensible, setting up a template sensor that translates these values into actionable insights is advisable. This template can classify the air quality into categories ranging from “Good” to “Hazardous,” based on the AQI value.
platform: template
sensors:
  air_quality_waqi_vaduz:
    friendly_name: "Air Quality"
    value_template: >-
      {% if states.sensor.waqi_vaduz_landesbibliothek_switzerland.state | float <= 50 %}Good
      {% elif states.sensor.waqi_vaduz_landesbibliothek_switzerland.state | float > 50 and states.sensor.waqi_vaduz_landesbibliothek_switzerland.state | float <= 100 %}Moderate
      {% elif states.sensor.waqi_vaduz_landesbibliothek_switzerland.state | float > 100 and states.sensor.waqi_vaduz_landesbibliothek_switzerland.state | float <= 150 %}Unhealthy for Sensitive Groups
      {% elif states.sensor.waqi_vaduz_landesbibliothek_switzerland.state | float > 150 and states.sensor.waqi_vaduz_landesbibliothek_switzerland.state | float <= 200 %}Unhealthy
      {% elif states.sensor.waqi_vaduz_landesbibliothek_switzerland.state | float > 200 and states.sensor.waqi_vaduz_landesbibliothek_switzerland.state | float <= 250 %}Very Unhealthy
      {% elif states.sensor.waqi_vaduz_landesbibliothek_switzerland.state | float > 250 %}Hazardous
{% endif %}Utilizing WAQI Data for Smart Home Automation
With WAQI data integrated into your Home Assistant, the possibilities for smart home automation are vast. For instance, you could set up notifications to alert you when air quality drops to “Unhealthy” levels, especially if windows are open, or program your voice assistant to provide daily air quality updates. These automations not only enhance convenience but also contribute significantly to your health and well-being.