In this article, you will find the best physical Wi-Fi smart buttons for use with Home Assistant. While researching the topic, I realized that Wi-Fi smart buttons which integrate with Home Assistant are hard to come by. There is a good reason for that: Wi-Fi uses way more power than either Zigbee or Z-Wave and thus, in the context of a smart home, isn't best suited for battery-powered devices. Charging your smartphone and smartwatch every night is fine, but charging every smart device in your home on a frequent basis? No, thank you.
Depending on whether you already have the tools, the cheapest option for a Wi-Fi button which integrates with Home Assistant would be to build your own using a cheap ESP8266 and a momentary push-button. These can either be powered using an always connected power supply, or a battery.
I would like to point out that this comparison of Wi-Fi smart buttons only covers smart buttons and not smart wall switches. You might be able to attach some smart buttons to a wall using a magnetic baseplate. But, those don't replace your wall switches, and they are battery-powered, making them portable.
Contents
Why Wi-Fi isn't suited to smart buttons
Wi-Fi enabled smart buttons, such as the Shelly Button1, have one big downside when they are powered by a battery: Because Wi-Fi uses so much power, these devices will switch to standby mode when they haven't been used for some time.
And because Wi-Fi devices don't mesh, the signal will likely have to travel further than one in a Zigbee network. When you push a Zigbee smart button, it will send it to the closest router, be it a light, switch, or generally any mains-powered device, which will forward that signal. This is not to be confused with meshing Wi-Fi access points. It is only the access points that are capable of meshing, not the end devices, such as a TV or smart speaker.
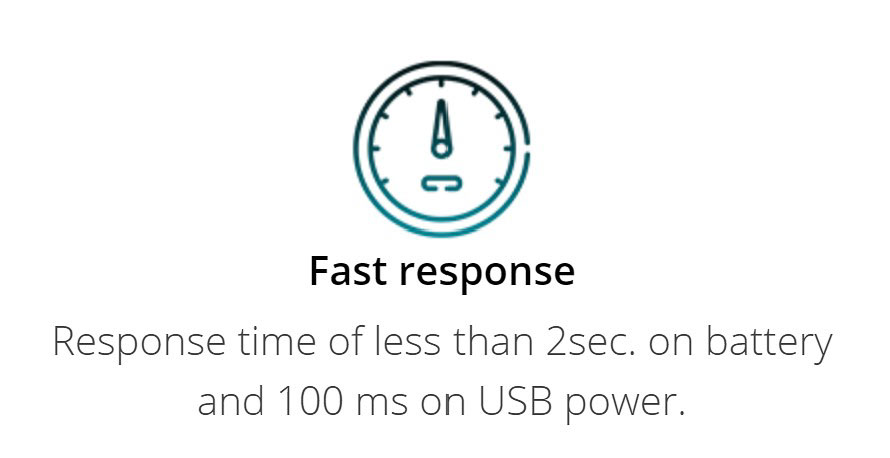
When you push the button on a battery-powered Wi-Fi device, it will first have to wake up, connect to the nearest access point, and only then will it send the command. You can expect a couple of seconds of delay when using battery-powered Wi-Fi smart buttons with Home Assistant. If the button uses powered using a wire, it will send the command in a matter of milliseconds.
Shelly Button1
The Shelly Button1 (or Shelly Button 1, depending on which part of their website you are looking at) is the best physical Wi-Fi smart buttons for Home Assistant you can buy. Shelly is one of the last vendors attempting to keep Wi-Fi smart home devices alive, and they are doing that by offering numerous unique relays and power meters. The Shelly Button1 is an addition to their growing number of smart home accessories and is available on the Shelly Store.
The Shelly Button1 can be powered via USB, and it also has an internal battery. Unfortunately, the port on the device is Micro-USB and not USB-C. The built-in battery in the lasts for 3000 actions per charge. That would allow it to operate without any wires for up to half a year with around 20 presses per day.
The easiest way of integrating the Shelly Button1 with Home Assistant, is by using the ShellyForHASS custom component. This custom component supports most of Shelly's smart home accessories, including the H&T, Flood, Door/Window 2, and of course, the Button1. ShellyForHASS can be installed and updated using the Home Assistant Community Store (HACS) and it works offline. It also spares you the need to set up an MQTT broker, as it communicates using CoAP and REST.
Build your own with an ESP8266/ESP32 board and ESPHome
If you don't intend to ever move the Wi-Fi smart button, and it has easy access to an outlet, you might want to consider building your own using a cheap ESP8266/ESP32 board. You can program it using ESPHome while powering it with an old phone charger. If you are willing to play around with the Deep Sleep Component, you can of course also build a battery-powered model. ESPHome, which is now a part of Nabu Casa, easily integrates with Home Assistant.
I have already published a guide (including code examples!) on how to use a button with ESPHome, and the physical volume controller for Home Assistant might also inspire you. Using a rotary encoder with a push button would make this option rather unique when compared to other options. ESPHome gives you the possibility of building more than just a Wi-Fi smart button. You can add sensors, screens, LED lights, and more.
To help get you started with building your custom Wi-Fi smart button, there are multiple cases you can download from Thingiverse. Despite also offering code, you can flash the board with ESPHome:
- ESP8266 IoT Wi-Fi Button by kaypohl: Uses an ESP-08S module and is powered by a CR2 lithium battery.
- The Button by Lemm: Uses an ESP-01 which is powered by two AAA batteries. This design is rather bulky, but does use batteries that can easily be recharged.
