Discover the popular Mini Media Player custom card, a versatile and compact addition to your Home Assistant Dashboard. This guide will walk you through installing, configuring, and customizing this feature-rich component. Renowned for its extensive customization options, the Mini Media Player, developed by Karl Kihlström, is a community-favourite alternative to the official Media Control Card.
Contents
Easy Installation via Home Assistant Community Store (HACS)
For installation, the recommended route is through the Home Assistant Community Store (HACS). This user-friendly method bypasses manual installation complexities. Simply set up HACS (guidance available on the official website) using your GitHub account. Post-installation, locate the Mini Media Player under the Frontend section in HACS and install it. This approach does not require restarting Home Assistant, enabling immediate use.
Intuitive Configuration for Maximum Utility
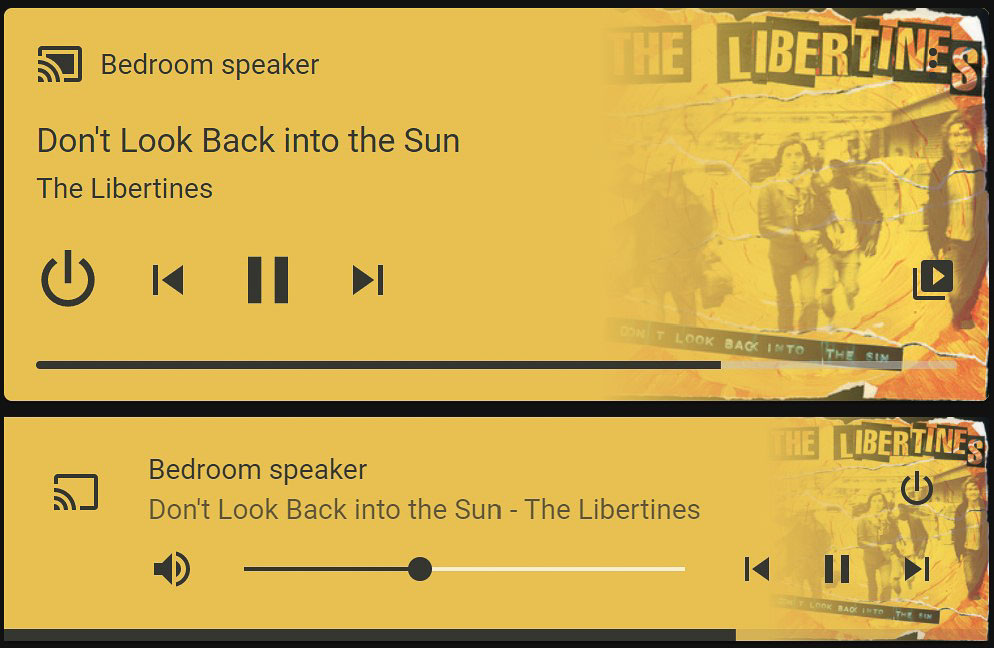
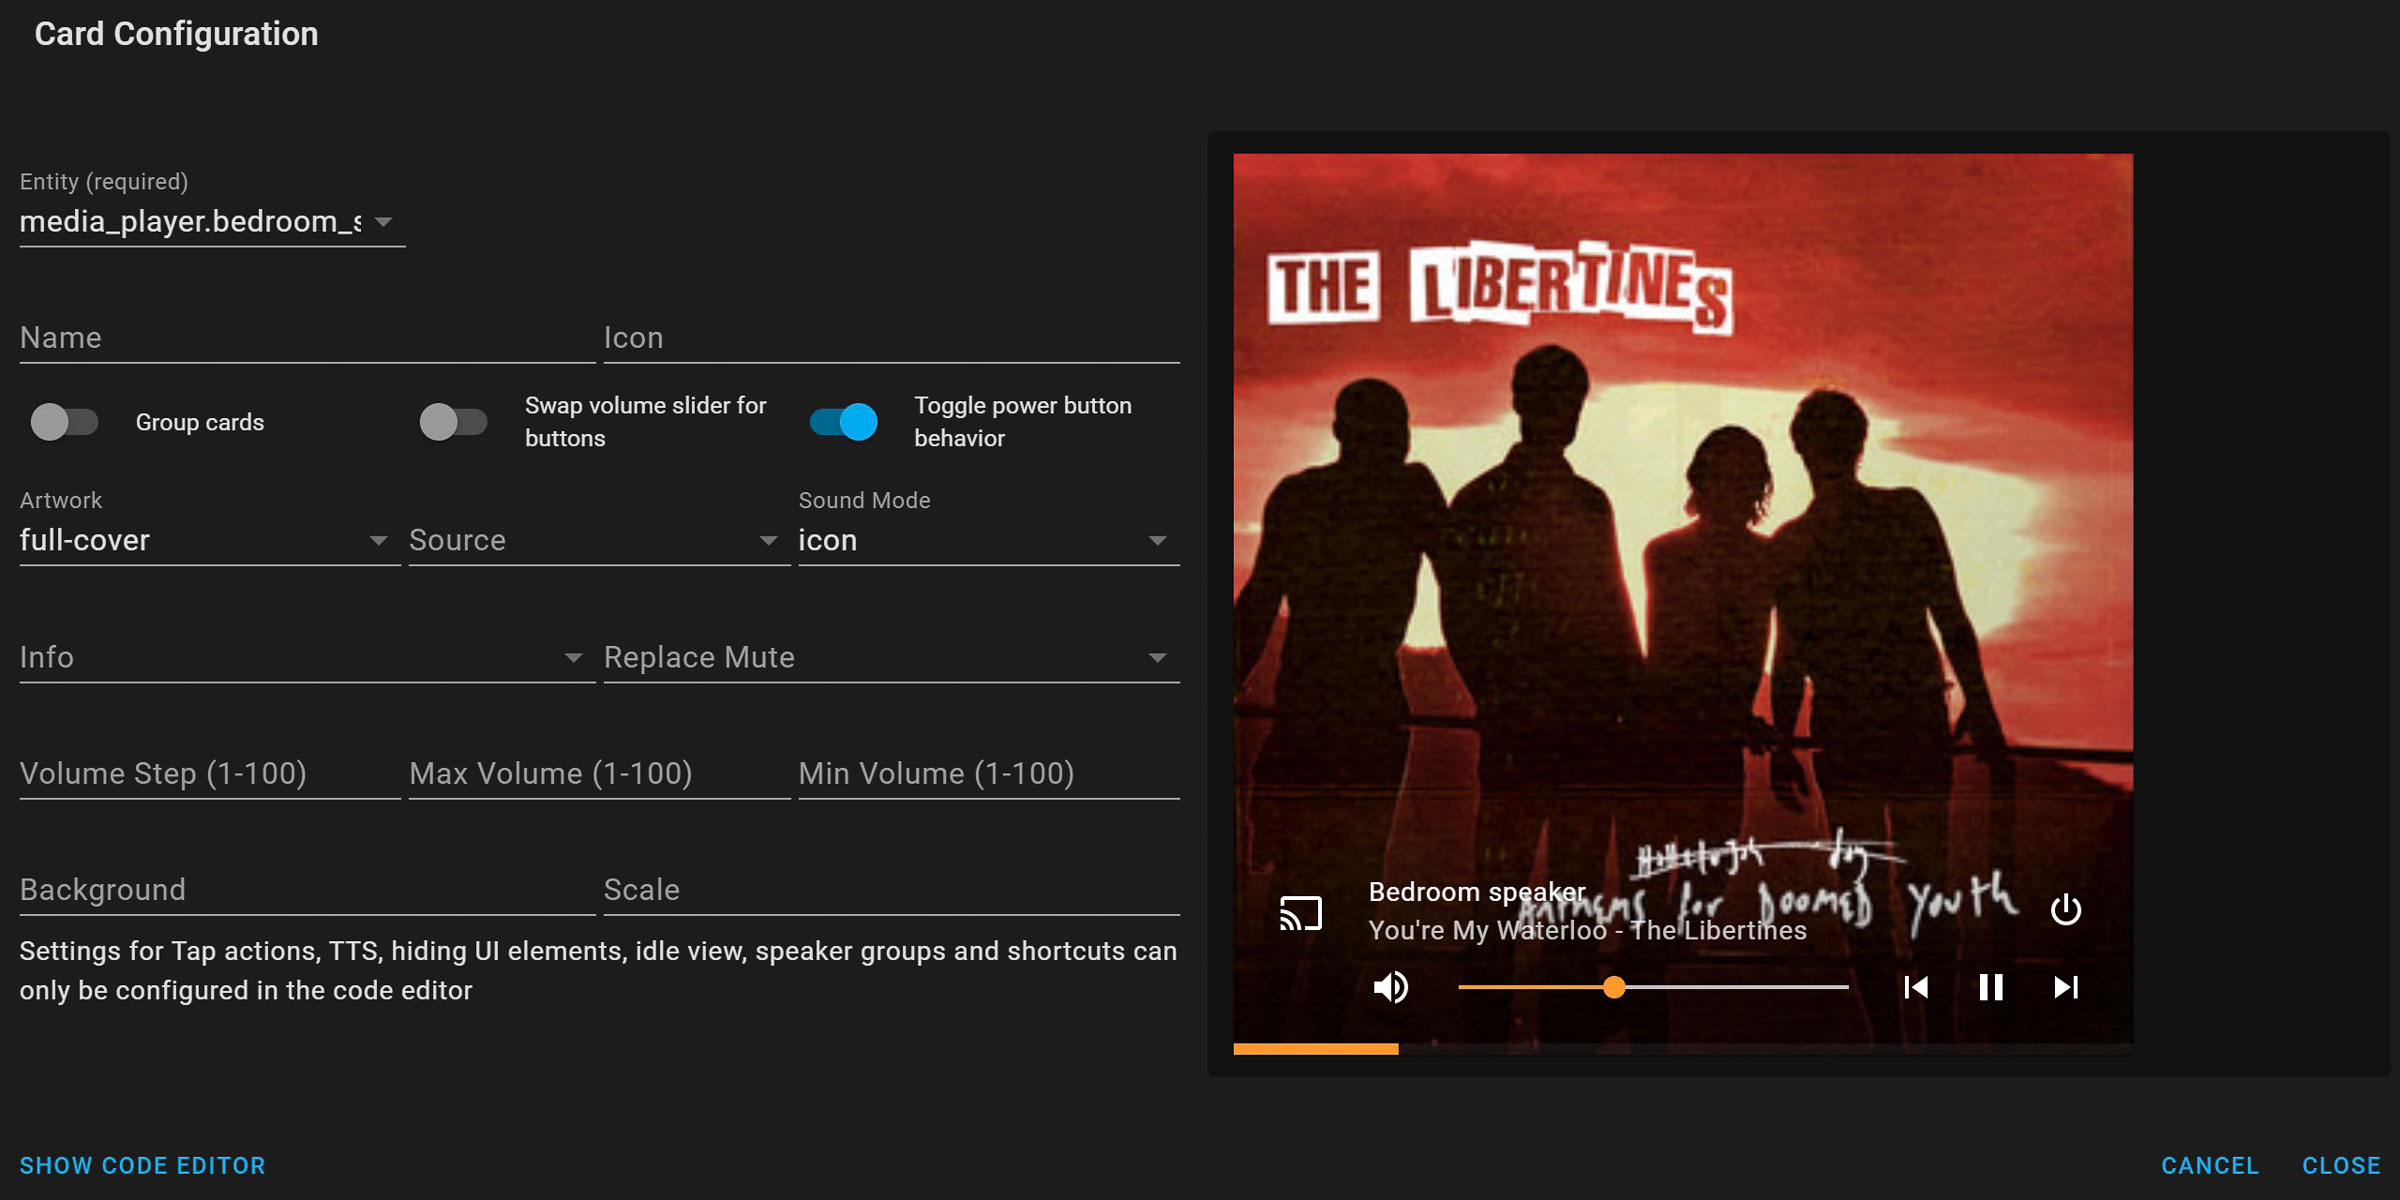
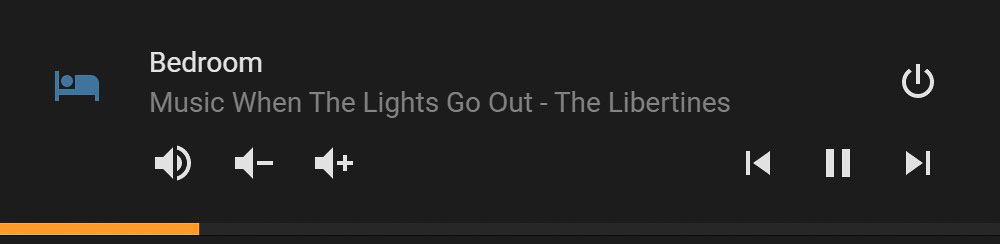
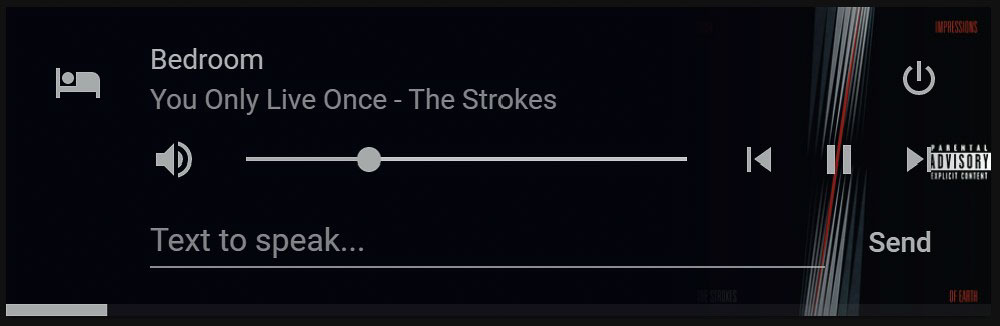
The Mini Media Player is celebrated for its compactness, offering enhanced functionality in a smaller package. Unlike its larger counterpart, it features a bottom-positioned progress bar and a prominently placed volume control. Configuring the card is a breeze, thanks to the UI configurator, allowing you to:
- Modify the speaker name displayed above the current track.
- Change the icon to any Material Design Icon.
- Choose how the artwork is presented, with several display options.
- Display the source and sound mode as either icon or text.
- Customize the artist and track name display style.
- Alter the mute button design near the volume control.
- Set the volume control to buttons with customizable step, max, and min values.
- Apply a static background and adjust the card's scale.
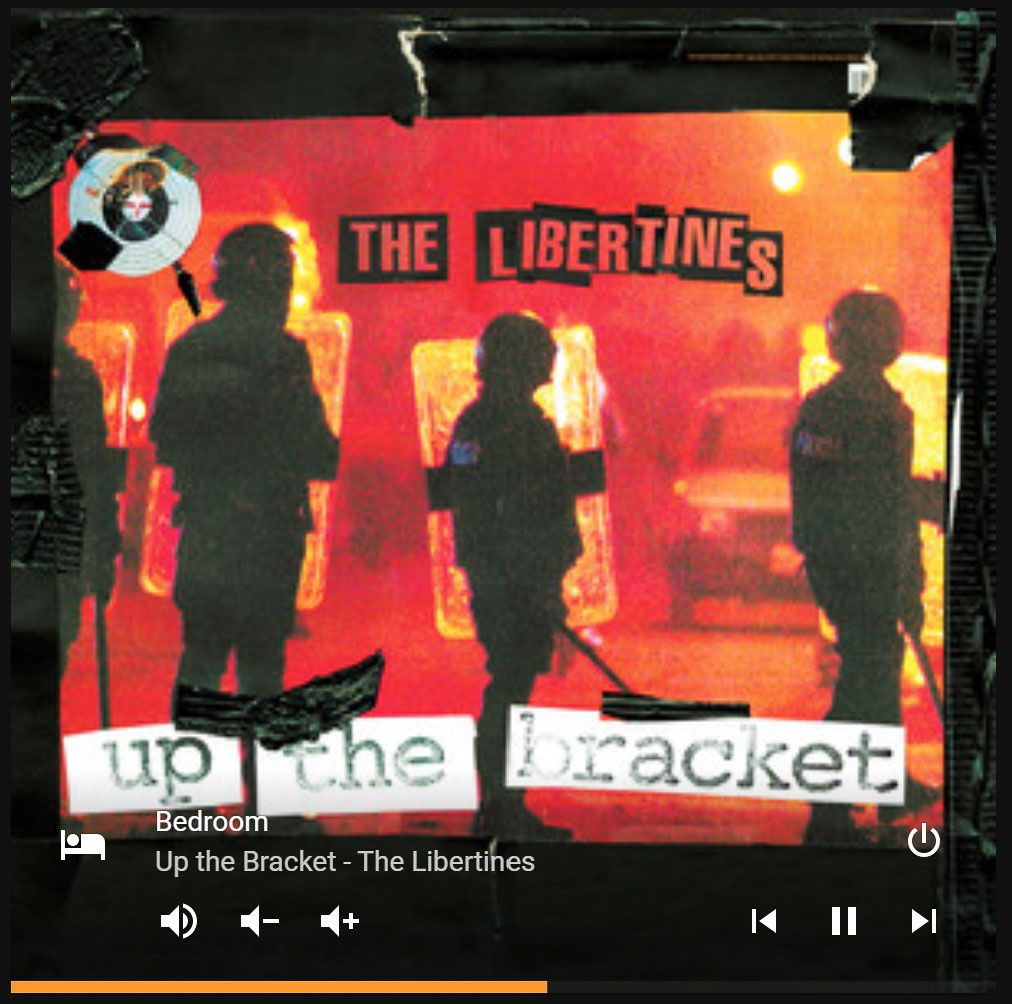
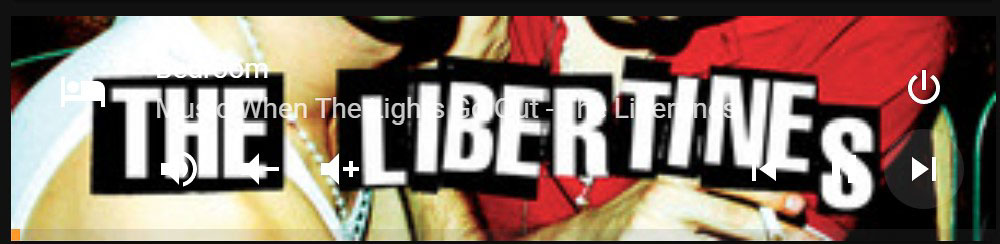
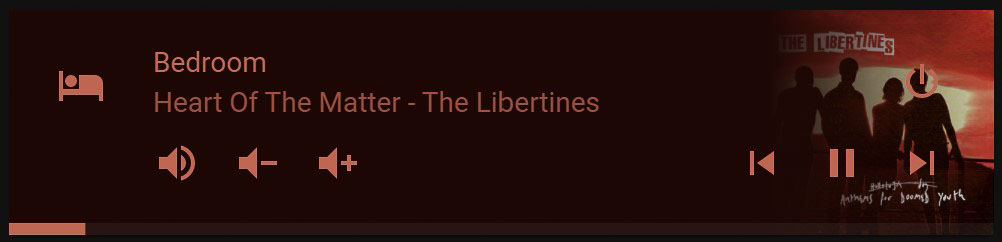
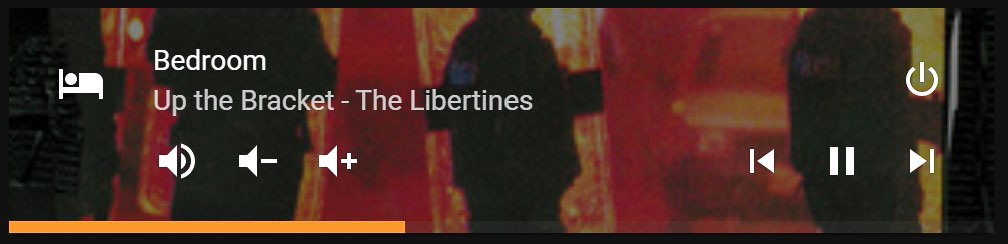
Artwork Display: A Comparative Overview
The Mini Media Player offers various artwork display options. The 'material' and 'cover' settings are particularly noteworthy, as other settings may render text illegible against bright backgrounds (as illustrated in the 'cover-fit' image below).
Advanced Features: Elevating Your Mini Media Player Experience
Beyond the basic UI configuration, the Mini Media Player boasts advanced options, accessible via the code editor. These include:
Text-to-Speech Integration
Incorporate a text-to-speech field to utilize Home Assistant's TTS engines like google_translate, amazon_polly, or cloud (Nabu Casa) with simple YAML lines:
tts:
  platform: cloud
Speaker Grouping
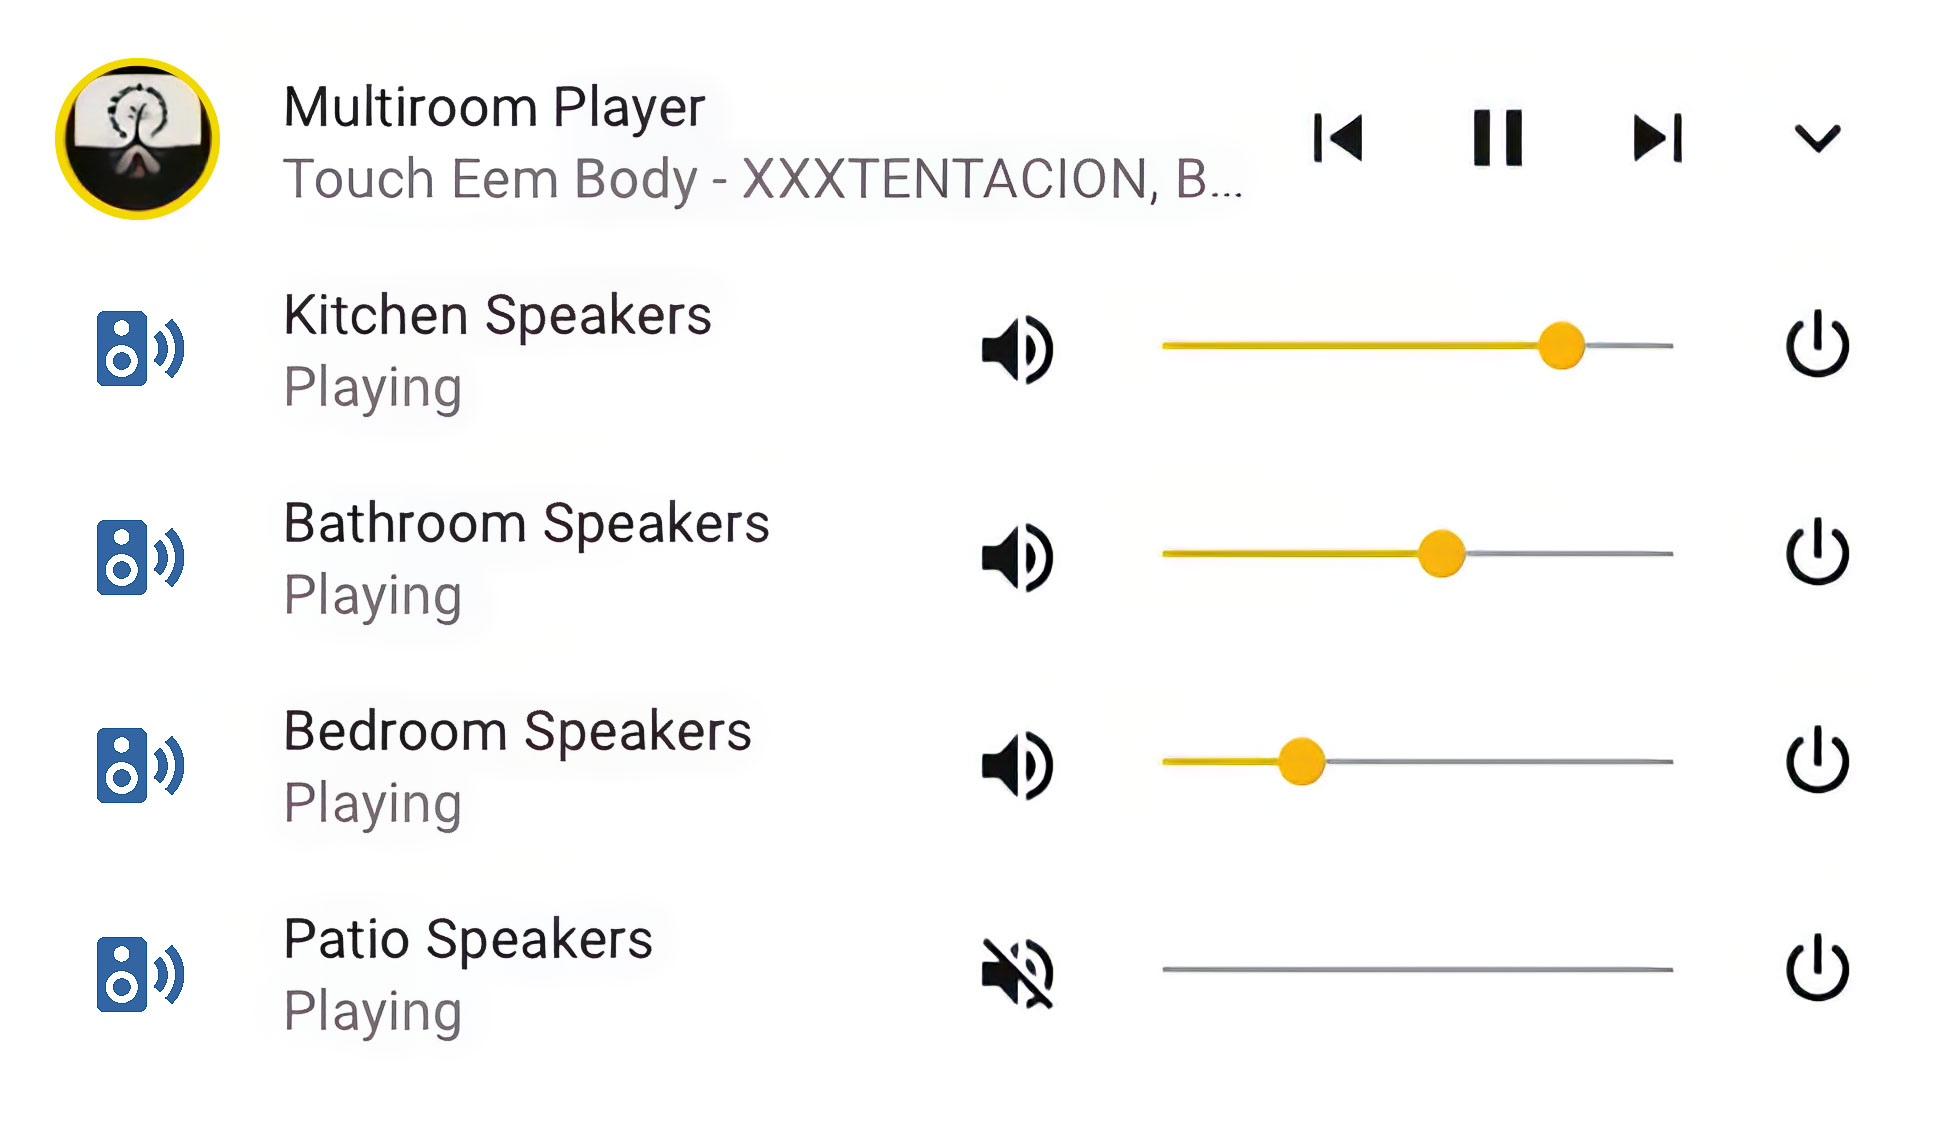
For owners of Sonos, Bose SoundTouch, Yamaha MusicCast, Squeezebox, Bluesound, Snapcast, or Linkplay compatible speakers, the card allows in-app speaker grouping. Note that some brands may have limited feature availability.
Shortcut buttons in the Mini Media Player custom card
Perhaps my current favourite function of the Mini Media Player card is the ability to add shortcut buttons. Sure, you could add this using button cards placed below the custom card, but this way of doing things keeps everything nice and compact.
In my case, I use the shortcuts to tune in to radio stations I can't access using voice commands on my Google Nest speakers. There are, once again, many options available when adding shortcuts. The basic one seen in the screenshot was created using the following lines of YAML:
shortcuts:
  columns: 4
  buttons:
    - name: Absolute Radio
      type: music
      id: URL_OF_RADIO_STATION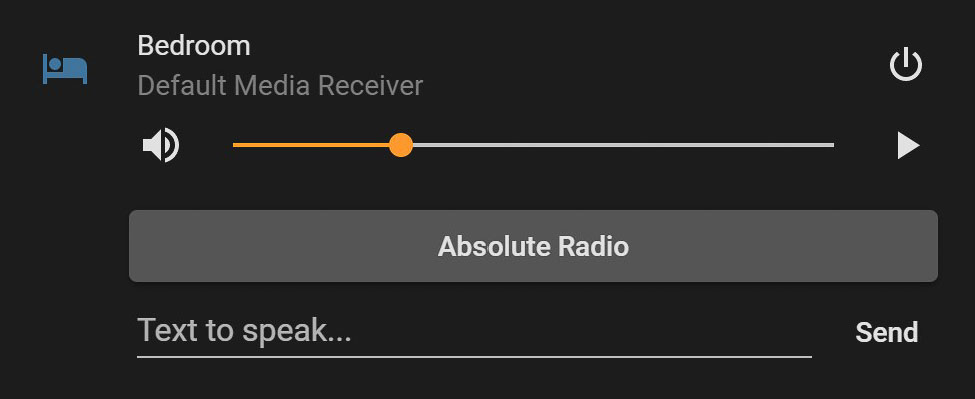
The type can be basically any media, such as music, a television show, video, a certain channel, or a playlist. Obviously, the Mini Media Player custom card for Home Assistant can't just be used for audio players, but also compatible televisions and streaming boxes. Using the latter, you can create shortcuts to any Spotify playlist, by adding the ID of the playlist using the following syntax: spotify:user:XXXXXXX:playlist:37i9dQZF1DZ06evO2O09Hg
Alternatively, you can also trigger a script from a shortcut, or change the source from one room to another. Using the type service, you can execute just about anything.
