Home Assistant Core 2023.4: Enhanced Control Panels for Alarms, Covers, and Fans

Disclosure: This post contains affiliate links. If you click through and make a purchase, I will earn a commission, at no additional cost to you. Read my full disclosure here.

Home Assistant continues to evolve with each update, bringing users a more refined and user-friendly experience. The latest release, Home Assistant Core 2023.4, introduces significant enhancements to the alarm control panel, cover entities, and fan controls within the Home Assistant Dashboard. These improvements, primarily developed by @piitaya and inspired by designs from @matthiasdebaat, focus on making interactions smoother, more intuitive, and visually appealing.

Contents

Streamlined Alarm Control Panel Dialogue

One of the most notable updates in Home Assistant Core 2023.4 is the redesign of the alarm control panel dialogue. This update centres on ease of use, ensuring that common tasks can be performed quickly and efficiently. The new interface presents four straightforward options: Away, Home, Vacation, and Disarmed. These options are prominently displayed, making it easy for users to select their desired mode with just a tap.

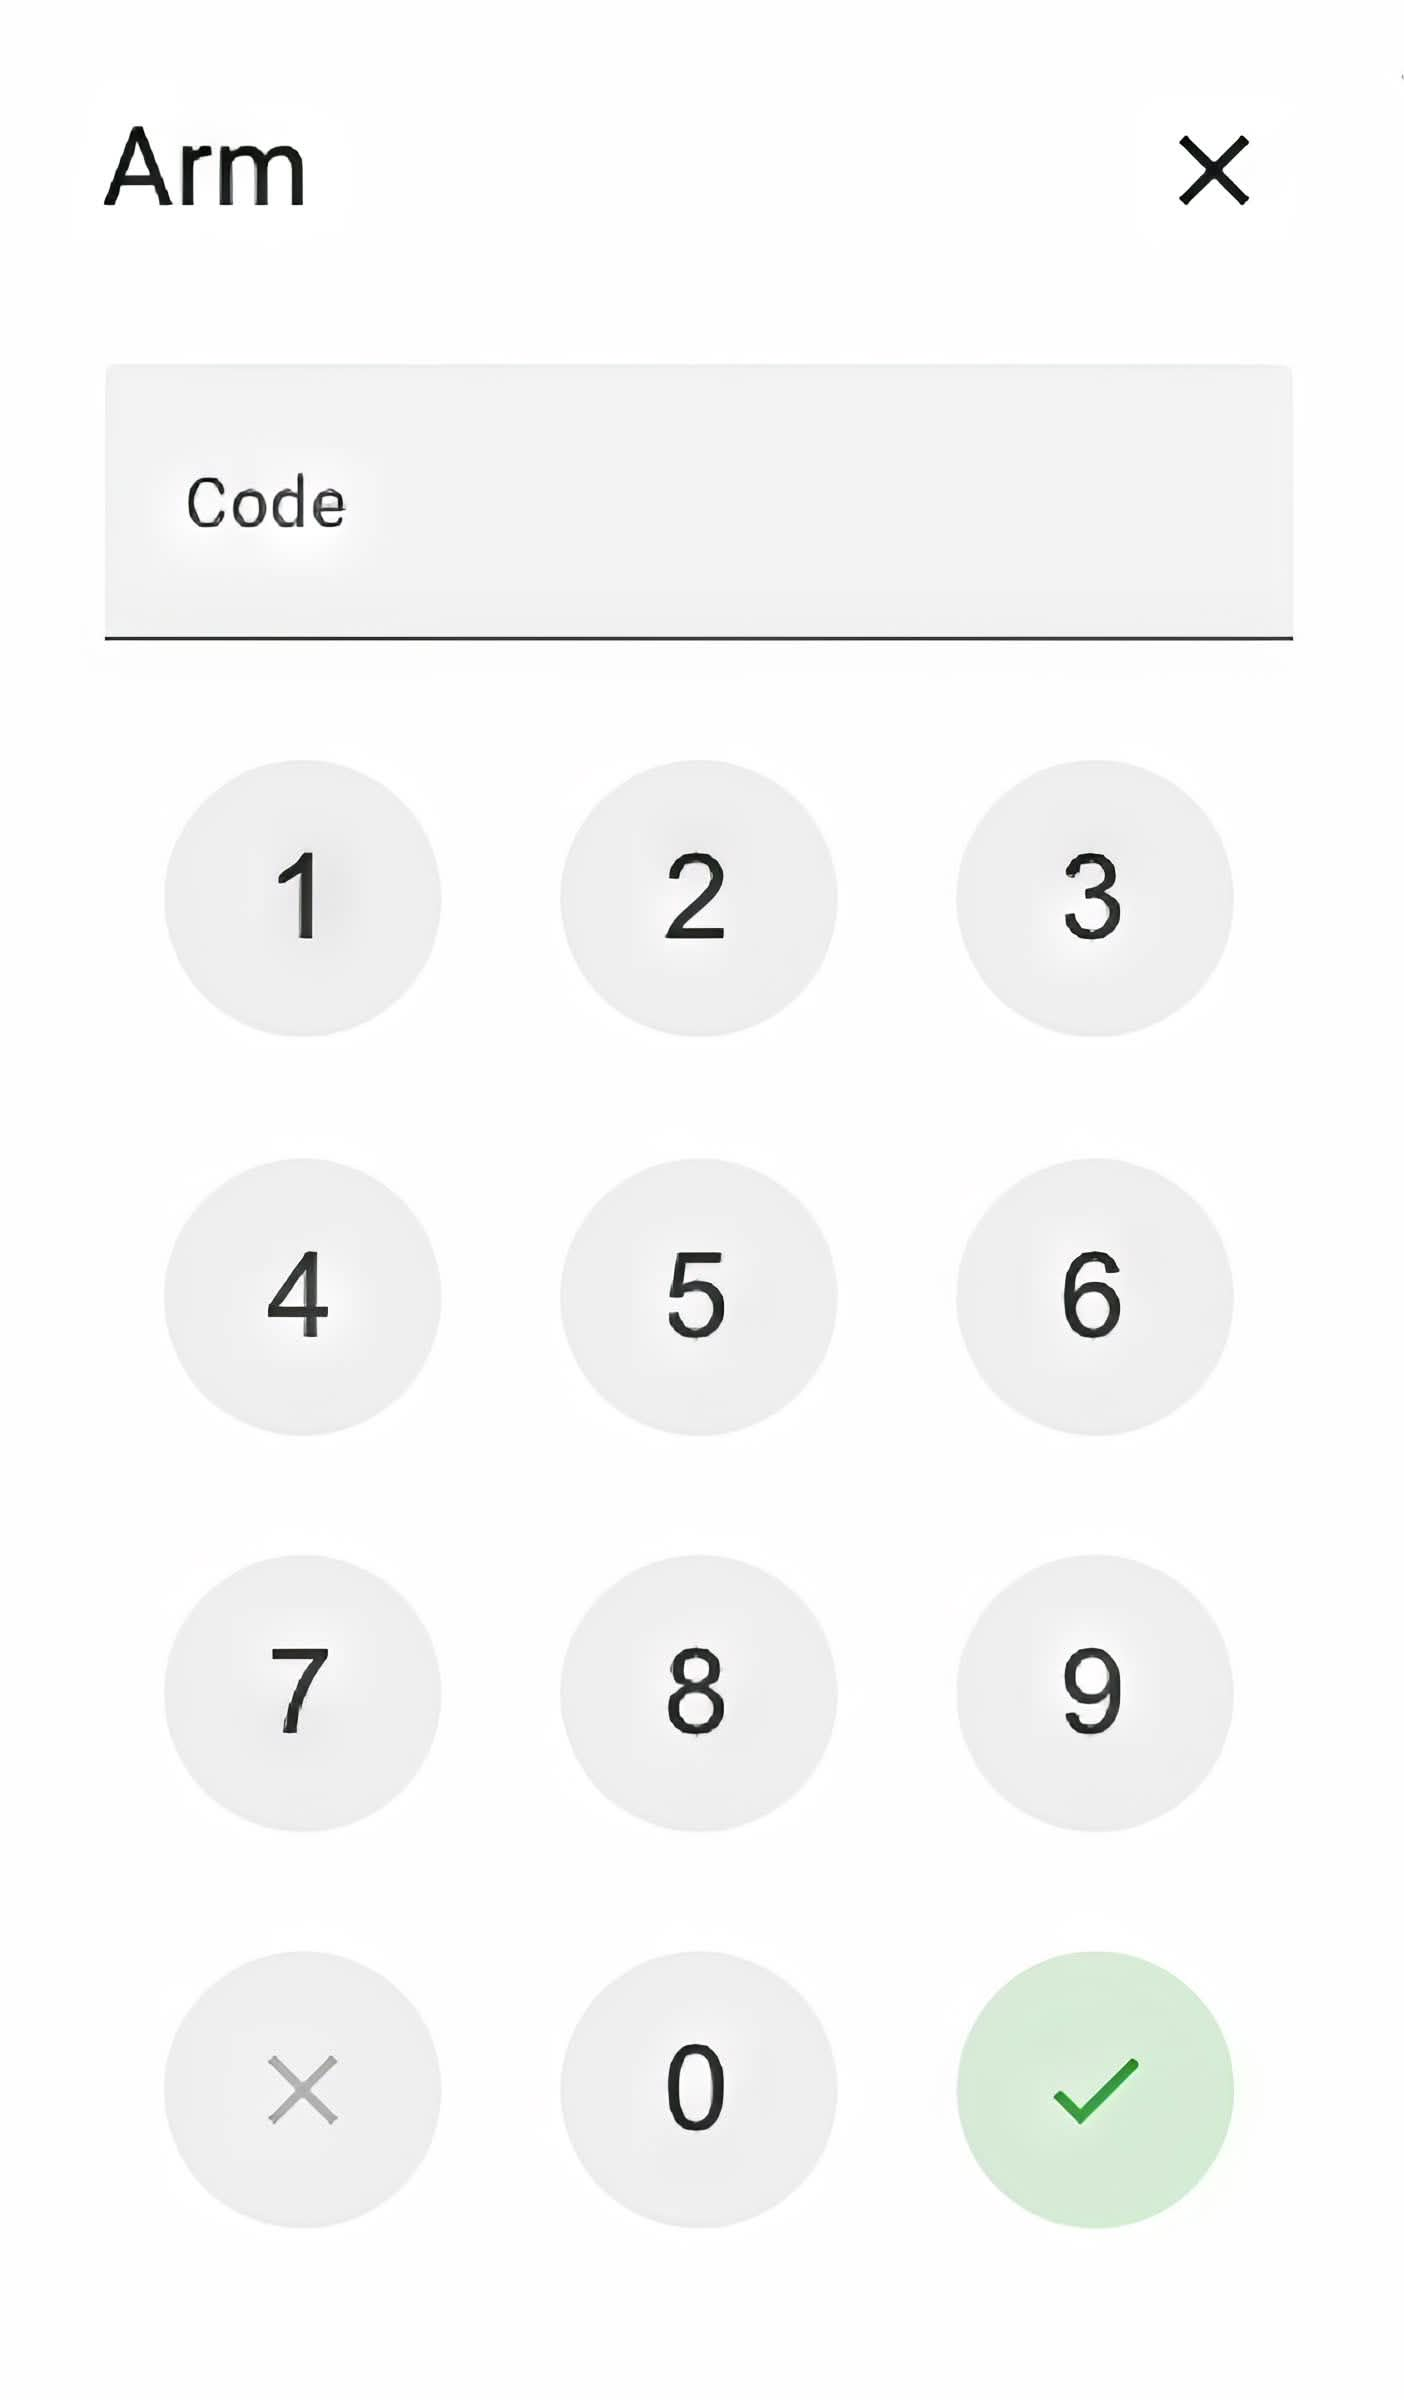
When the Disarmed mode is selected, users are presented with a large, easy-to-use keypad. This design choice makes entering disarm codes faster and reduces the likelihood of input errors. The updated dialogue not only enhances usability but also adds a layer of sophistication to the overall design, making the alarm control panel both functional and visually appealing.
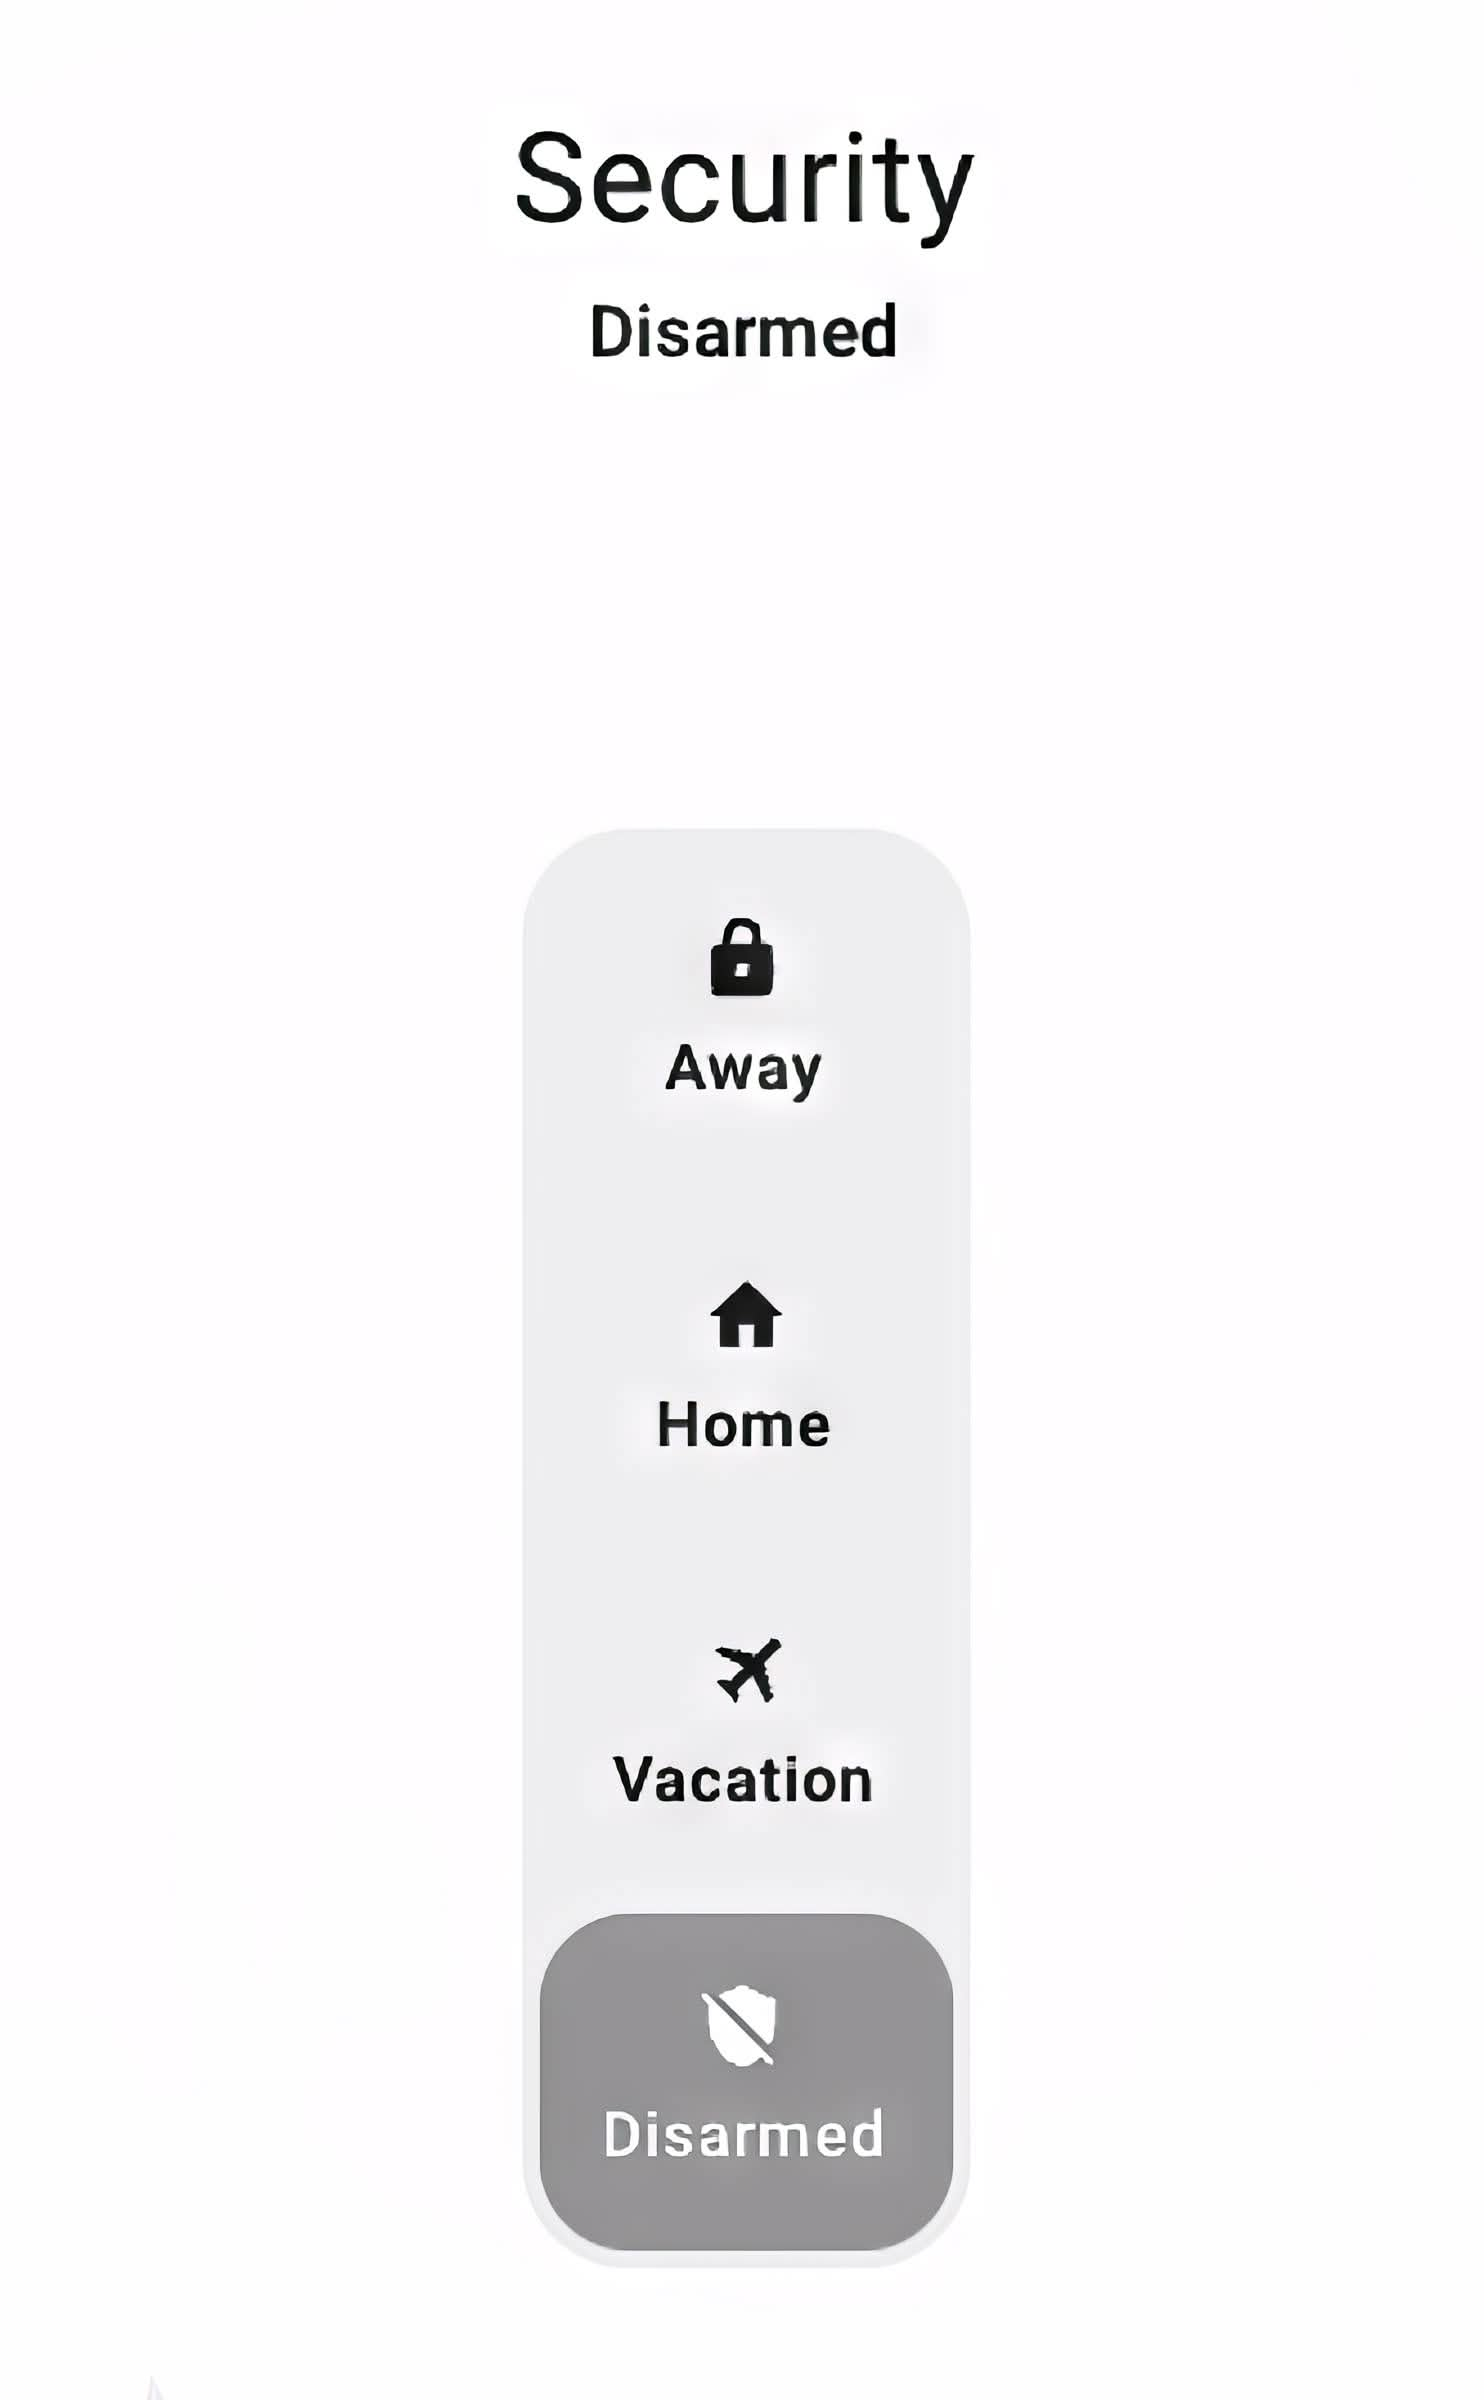
The image is a screenshot of a section of a Home Assistant Dashboard focusing on the security system status. The top part of the screen displays the word “Security” with the status indicated as “Disarmed” below it. Beneath this, there is a vertical menu with four options: “Away,” “Home,” “Vacation,” and “Disarmed.” Each option is represented by a corresponding icon: a lock for “Away,” a house for “Home,” an aeroplane for “Vacation,” and a shield with a line through it for “Disarmed.” The “Disarmed” option is highlighted, indicating the current status of the security system.
The image is a screenshot of a keypad interface from a Home Assistant Dashboard. The title “Arm” is displayed at the top, indicating the function to arm the security system. Below this, there is an empty text field labelled “Code” where a security code would be entered. Under the code field is a numerical keypad with digits 1 through 9, arranged in a grid with three rows. The bottom row includes the digits 0, a backspace or cancel button represented by an “X,” and a green checkmark button to confirm the input.

Versatile Cover Entity Dialogues

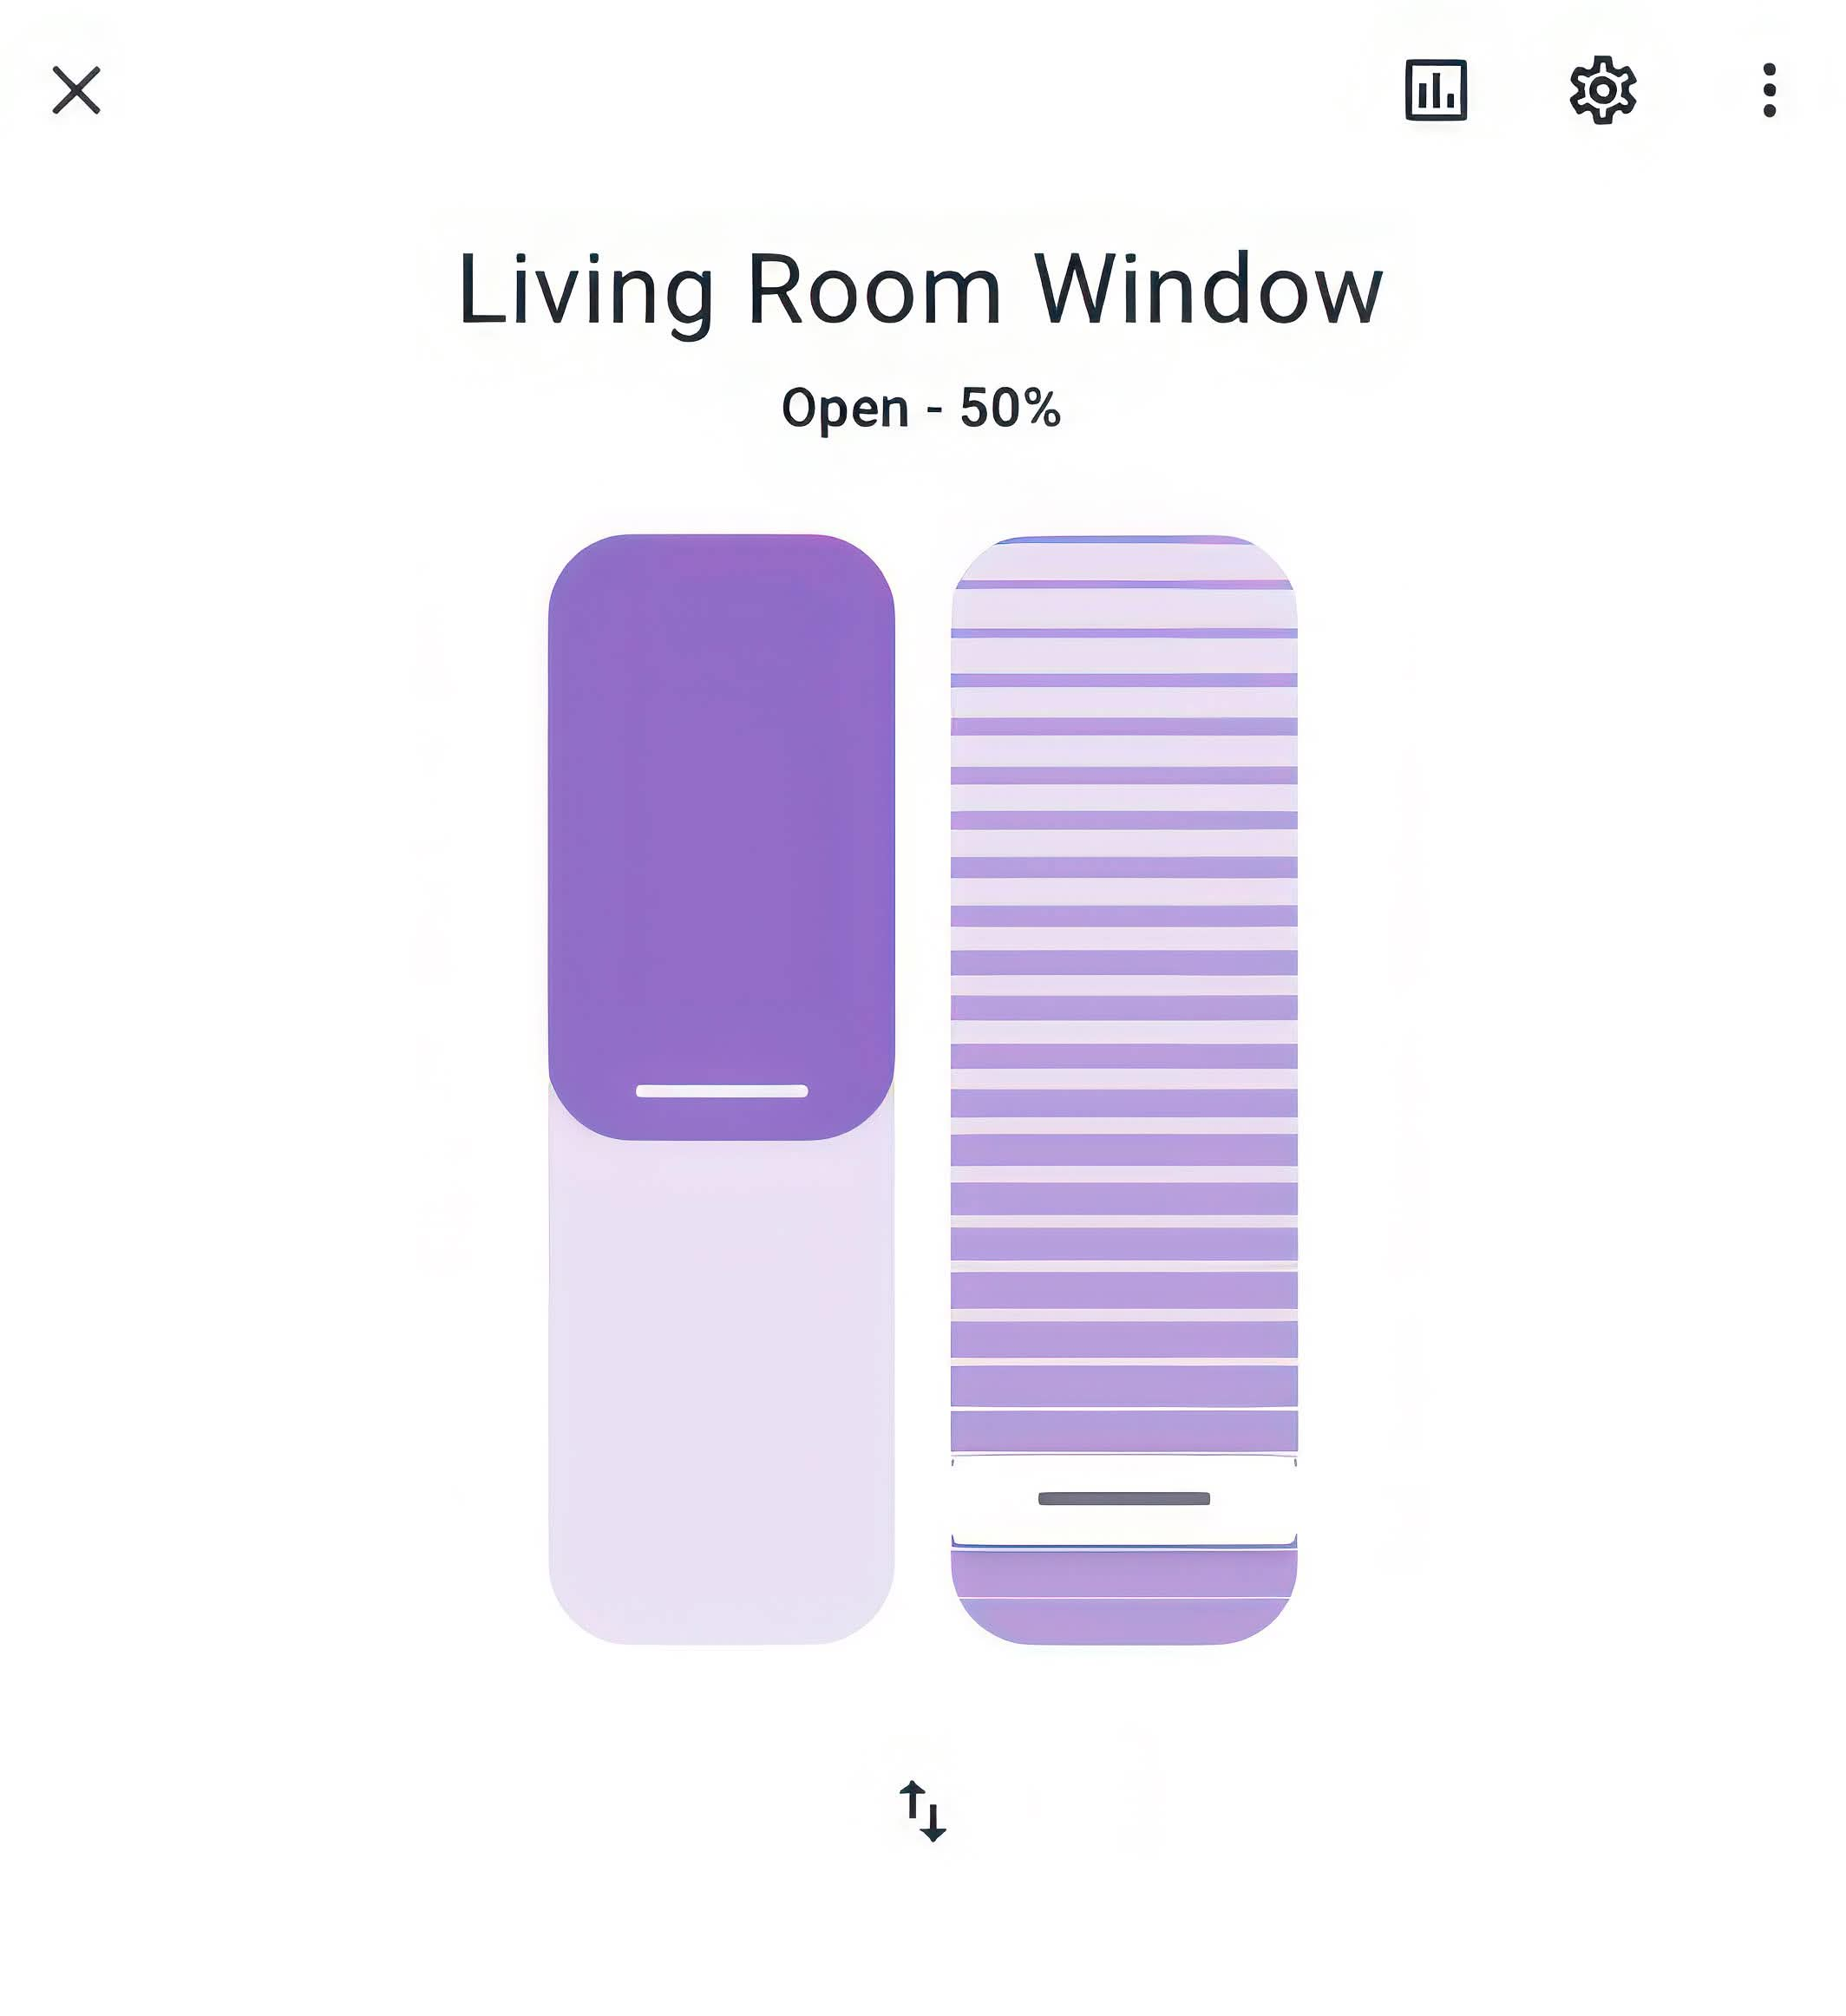
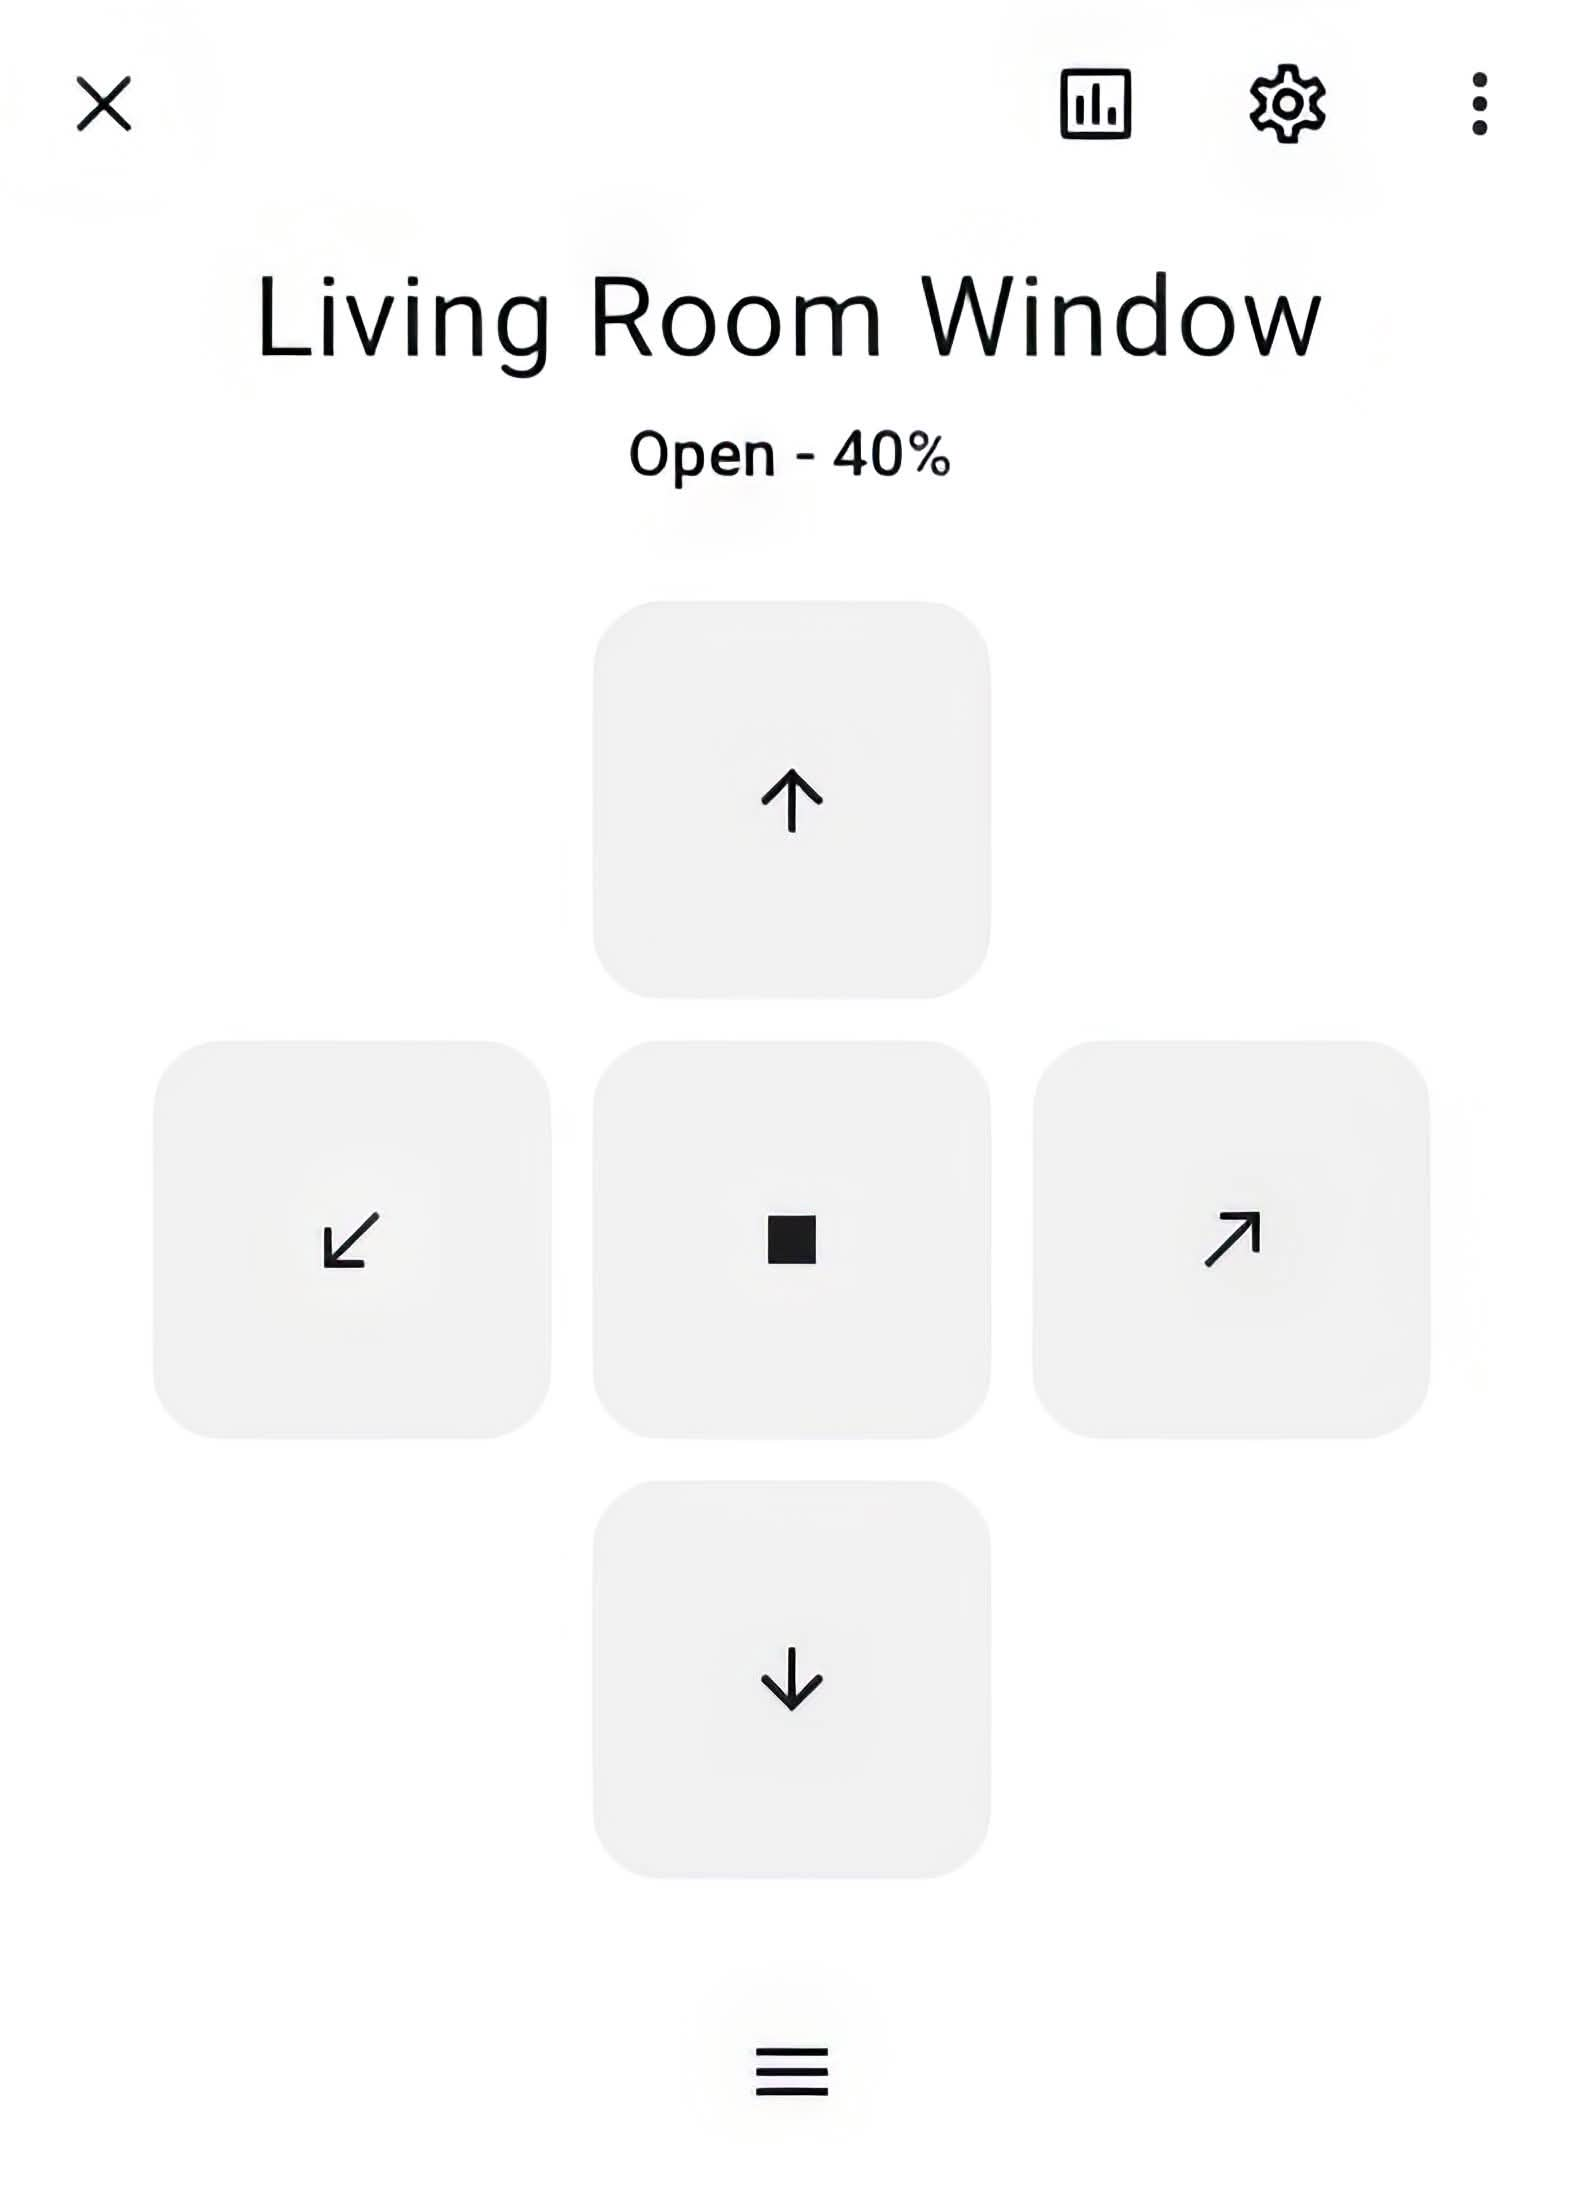
Cover entities in the Home Assistant Dashboard have also received a significant upgrade, offering users three new dialogue designs tailored to different needs. Whether you have window shades, blinds, or garage doors, the update provides a more customized control experience.

  1. Simple Switch: For users who prefer a minimalist approach, the simple switch option offers basic open/close functionality with a single toggle switch.
  2. Slider Control: The slider option is ideal for users who want more granular control over their covers, allowing them to adjust the position with precision.
  3. Position Buttons: The button option caters to those who need quick access to specific positions, such as fully open, halfway, or fully closed. This is especially useful for larger covers or situations where precision is less critical, but quick changes are needed.

These new designs ensure that users can interact with their covers in the way that best suits their specific setup, providing both flexibility and ease of use.
Alarm Cover Fan Dialogues 01
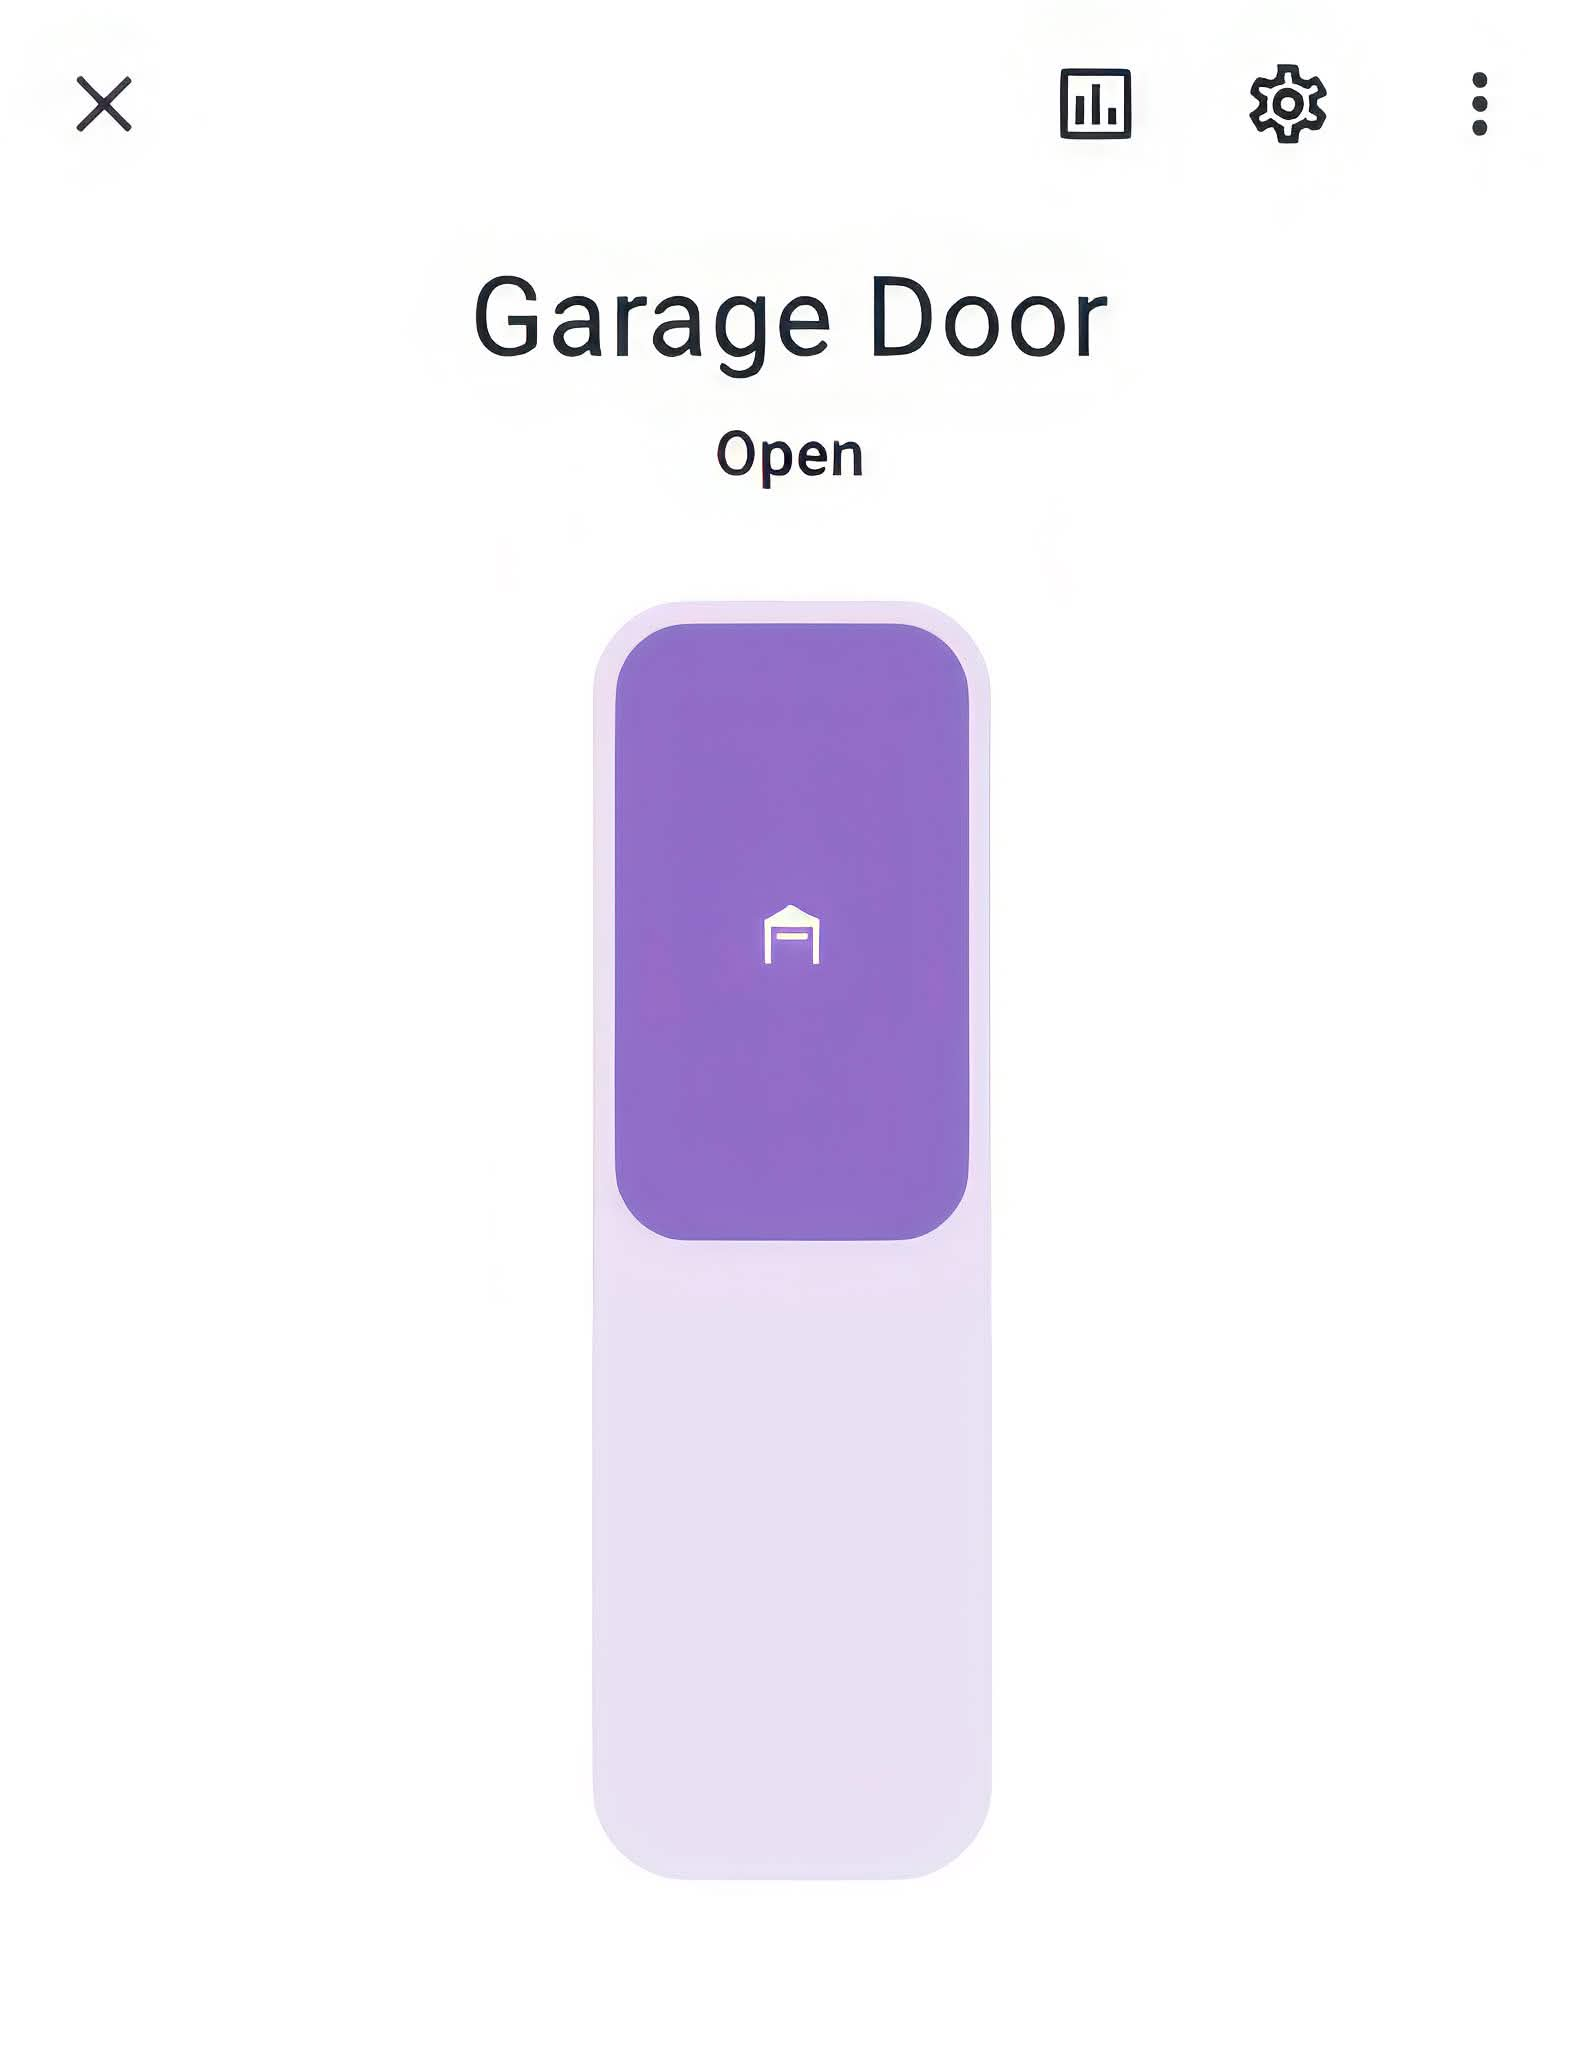
The image is a screenshot from a Home Assistant Dashboard displaying the status and control for a “Garage Door.” The status under the title indicates that the garage door is “Open.” Below the status, there is a large button with a purple background, featuring an icon of a garage. The design of the button suggests that it might be used to toggle the state of the garage door, such as opening or closing it.
The image is a screenshot from a Home Assistant Dashboard that shows the control and status of a “Living Room Window.” The status indicates that the window is “Open - 50%.” Below the status, there are two vertical representations: on the left is a purple slider button that likely controls the window's position, and on the right is a visual indicator showing the window's current open state, represented by alternating light and dark purple horizontal bars. Below these visuals, there is a small icon with arrows pointing up and down, suggesting it is used to adjust the window's openness.

Enhanced Fan Control Options

The update also brings new control options for fans, reflecting the same attention to user preferences and ease of use. The revamped fan dialogues offer two main control methods:

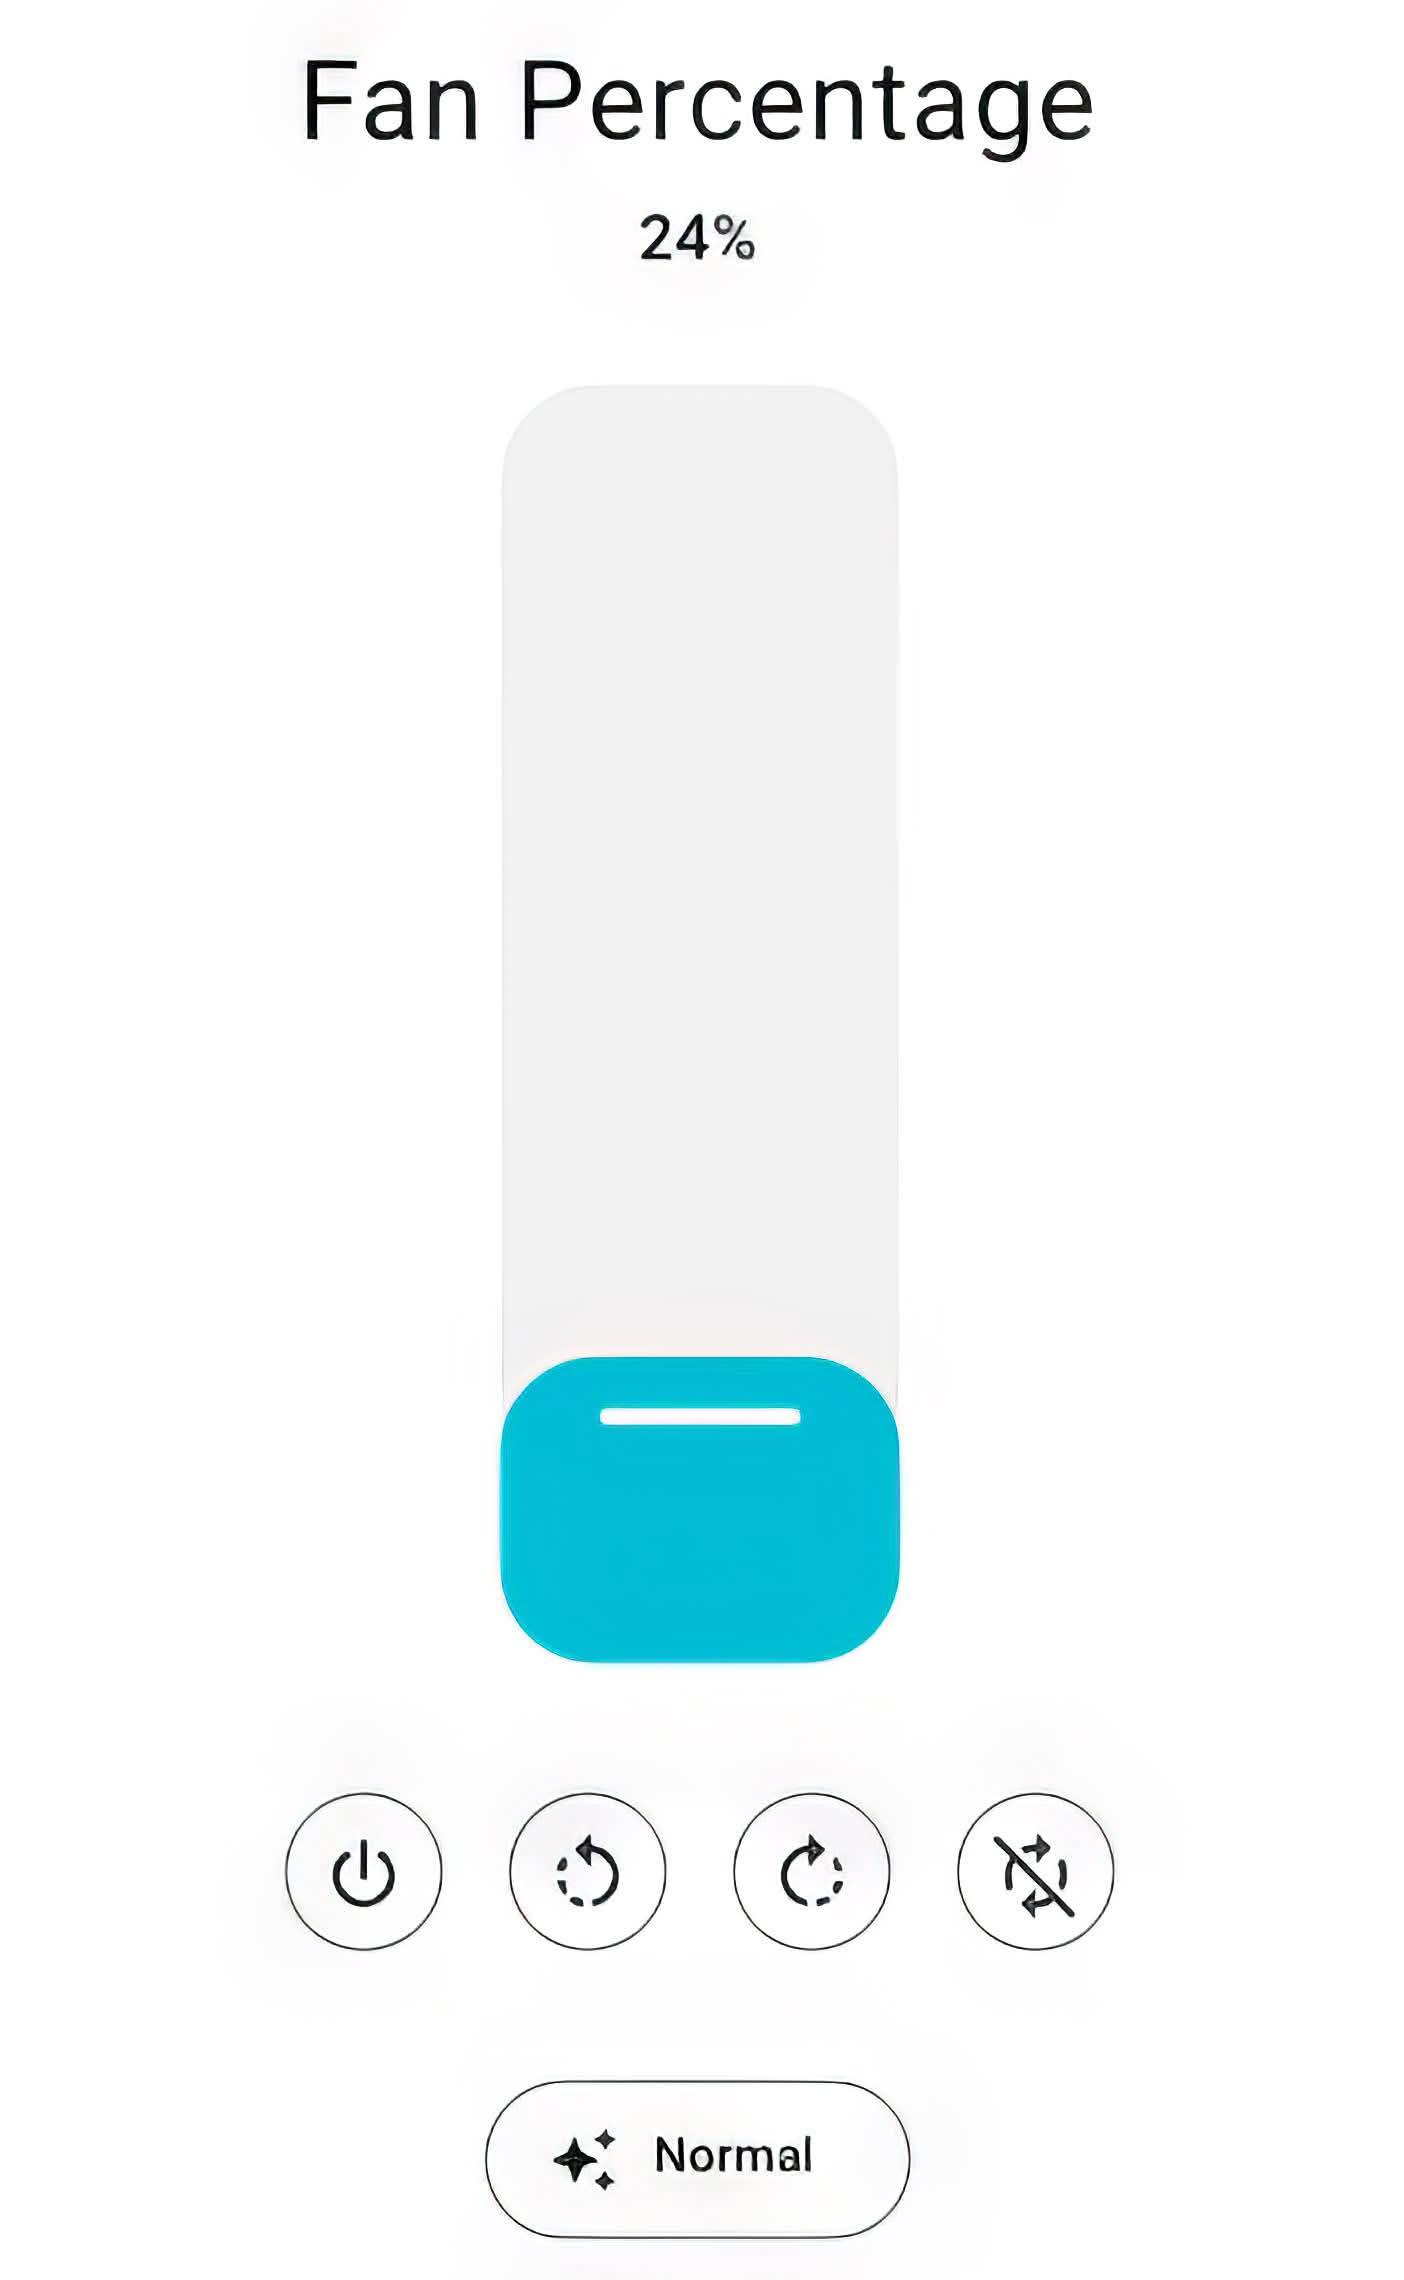
  1. Percentage-Based Control: For those who want precise control over their fan speed, the percentage-based option allows users to set the exact speed they prefer. This feature is perfect for scenarios where fine-tuning airflow is necessary.
  2. Preset Modes: Alternatively, users can opt for a simpler approach with preset modes such as High, Medium, Low, or Off. This option is ideal for those who prefer quick adjustments without the need for fine-tuning.

These new fan control options provide a more tailored experience, ensuring that users can manage their environment in a way that best fits their needs.
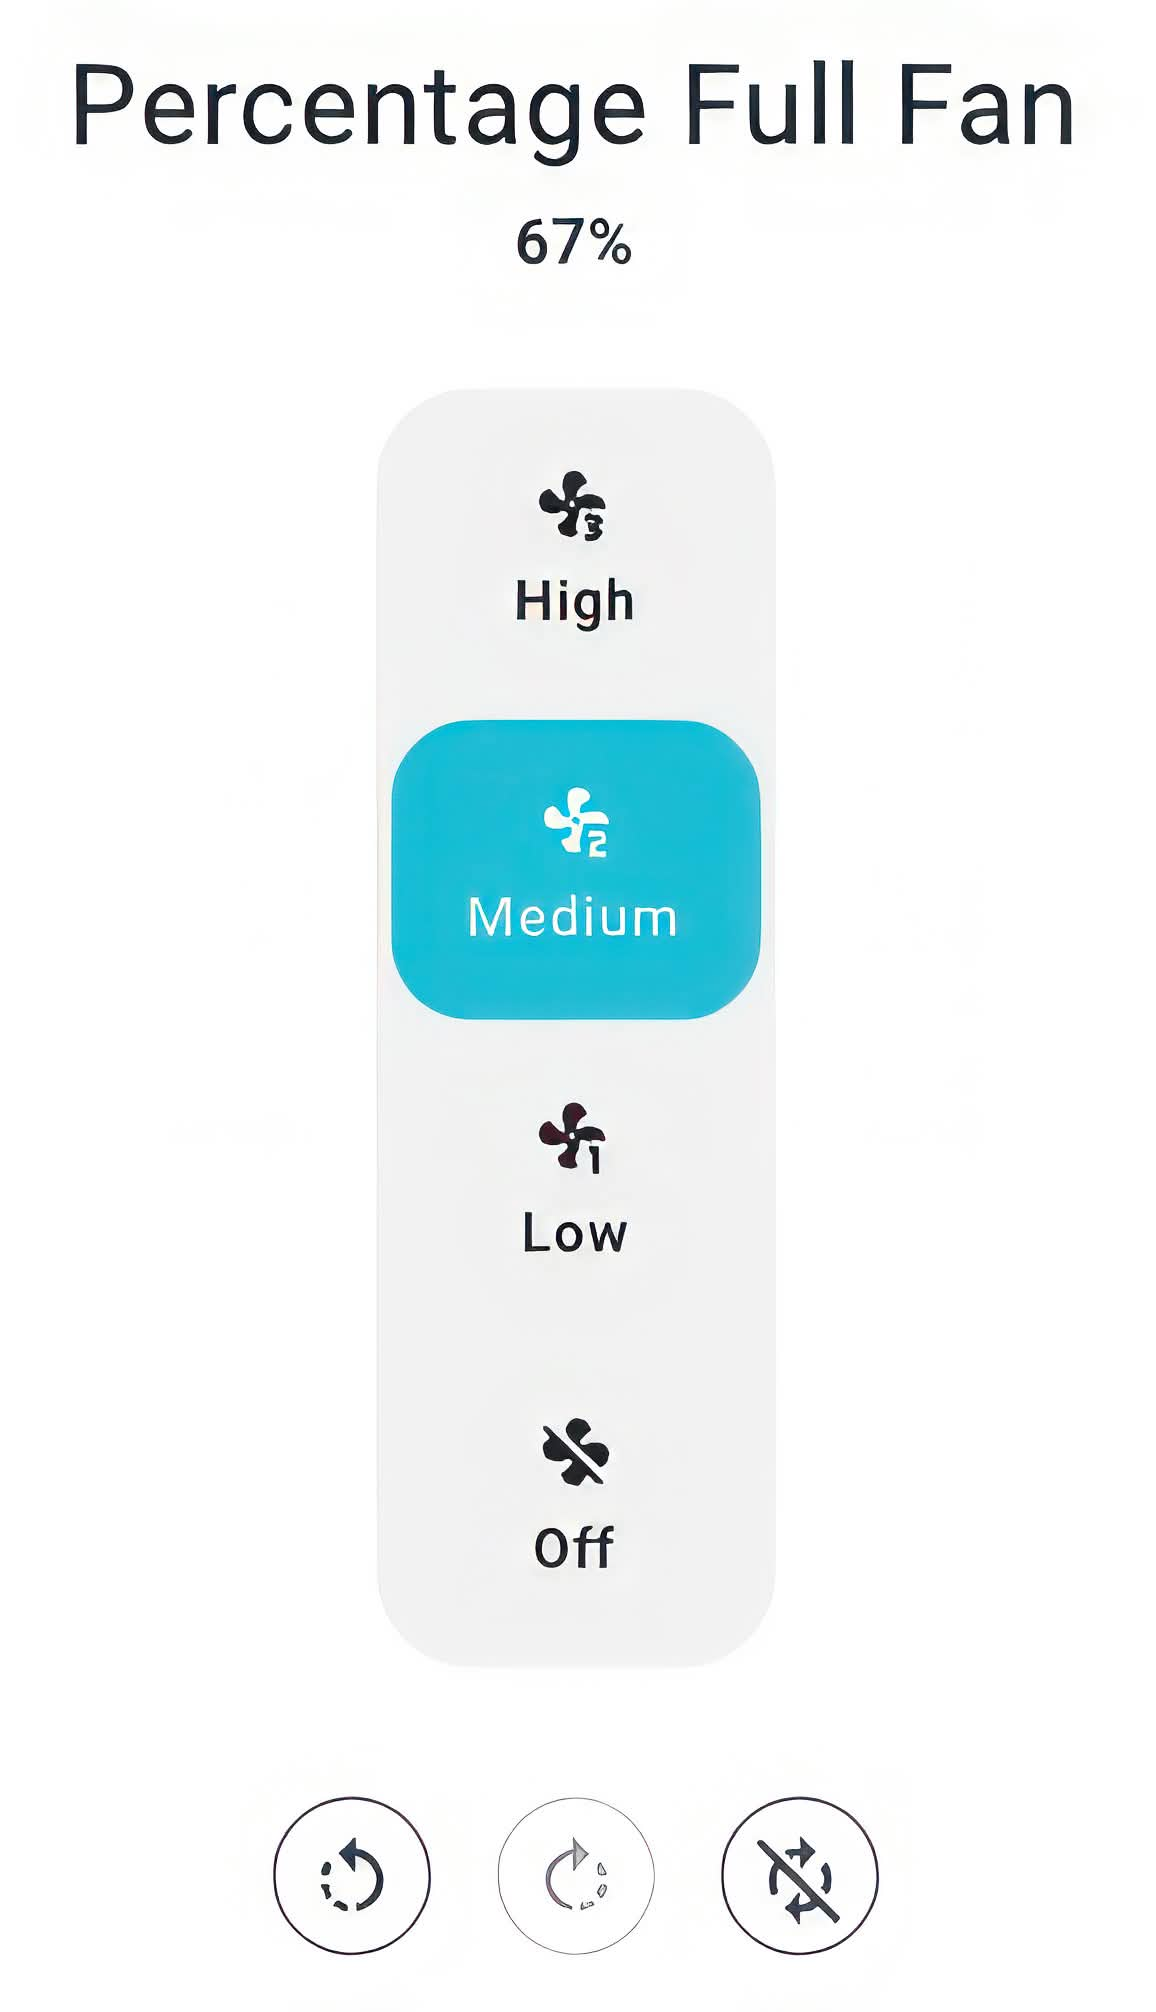
The image is a screenshot from a home assistant dashboard showing the control interface for a fan, labelled “Percentage Full Fan.” The fan's current speed is set to 67%. Below this, there is a vertical menu with four options for fan speed: “High,” “Medium,” “Low,” and “Off.” The “Medium” option is highlighted with a blue background, indicating the current selection. Each option is accompanied by an icon of a fan with varying numbers of blades to represent the speed settings. At the bottom of the screen, there are three circular icons, likely representing additional fan control options, such as oscillation and direction.
The image is a screenshot from a Home Assistant Dashboard displaying the control interface for a fan, labelled “Fan Percentage.” The current fan speed is set to 24%. Below the percentage, there is a vertical slider with a blue handle at the bottom, indicating the current speed setting on a scale. Under the slider, there are four circular buttons: a power button, two buttons likely related to oscillation control, and a button that might adjust the fan's direction or stop oscillation. At the bottom of the screen, there is a button labelled “Normal,” which likely refers to the current mode or setting of the fan.

Conclusion

The Home Assistant Core 2023.4 update brings substantial improvements to the Dashboard, making it more user-friendly and adaptable to different needs. The new dialogues for alarms, covers, and fans demonstrate a commitment to enhancing the user experience by providing more intuitive, accessible, and visually appealing controls. Whether you’re adjusting your alarm settings, managing your window coverings, or fine-tuning your fan speed, these updates make interacting with your smart home simpler and more enjoyable.

A portrait photo oif Liam Alexander Colman, the author, creator, and owner of Home Assistant Guide wearing a suit.

About Liam Alexander Colman

is an experienced Home Assistant user who has been utilizing the platform for a variety of projects over an extended period. His journey began with a Raspberry Pi, which quickly grew to three Raspberry Pis and eventually a full-fledged server. Liam's current operating system of choice is Unraid, with Home Assistant comfortably running in a Docker container.
With a deep understanding of the intricacies of Home Assistant, Liam has an impressive setup, consisting of various Zigbee devices, and seamless integrations with existing products such as his Android TV box. For those interested in learning more about Liam's experience with Home Assistant, he shares his insights on how he first started using the platform and his subsequent journey.

Leave a comment

Share to...