
Integrating Polar with Home Assistant is a smart move for anyone looking to take their fitness tracking to the next level. With a wide range of sensors and data points to choose from, you'll have everything you need to make your smart home react to your health and fitness status.
Contents
Who is Polar?
Polar, the Finnish manufacturer of sports training computers, has been perfecting its fitness trackers, heart rate monitors, and other fitness products since 1977. Their products are used worldwide by athletes, researchers, and fitness enthusiasts alike, and have gained a reputation for accuracy and advanced technology. Polar not only produces top-of-the-line equipment, but also strives to help people improve their overall health and fitness.
While its largest competitor, Garmin, may be a household name, it's worth noting that Polar has been a key player in the fitness technology space for over 40 years. Their core strengths lie in heart rate monitoring and training analysis, which is why they're often the go-to choice for those looking to track and improve their fitness levels.
Why integrate Polar with Home Assistant?
By integrating Polar with Home Assistant, you'll gain access to a wealth of valuable information that can be used to create custom automations and scripts. Specifically, you'll be able to track daily activity metrics like calories burned, duration, and steps taken, as well as monitor sleep-related data such as the last nightly recharge and sleep score. Additionally, you can keep track of your weight over time, which is a crucial factor in maintaining overall health.
One of the standout features of the Polar integration is the ability to access the last exercise details, which includes important information such as duration, heart rate, sport, and calories burned. This data is broken down into individual sensor attributes, making it easy to monitor your progress and make adjustments to your fitness routine as needed.
How to integrate Polar with Home Assistant
Before you can get started with the Polar integration in Home Assistant, there are a few requirements that need to be met. First and foremost, you'll need to have the Home Assistant Community Store (HACS) installed and working properly. This will ensure a seamless setup process and help ensure that everything runs smoothly from start to finish.
Additionally, your Home Assistant must be publicly accessible in order to use the Polar integration. The easiest way to achieve this is by subscribing to Home Assistant Cloud, which will give you access to a range of powerful features and help ensure that your Home Assistant is always available when you require it.
Finally, you'll need to have a Polar account to connect your fitness data to Home Assistant. If you don't already have an account, you can sign up for one on the Polar website. Once you've created an account, you'll be ready to start integrating your fitness data with Home Assistant and taking your health and wellness tracking to the next level.
Installing the Polar custom component for Home Assistant
While it's technically possible to install the Polar custom component manually, this isn't recommended since it can be a bit tricky to set up and won't give you the option of automatic updates. Instead, I suggest using HACS to install the Polar component. Simply search for 'Polar' in the HACS interface and click the install button. This will automatically set everything up for you and ensure that you always have the latest version of the integration installed. Once the installation is complete, it's important to restart Home Assistant to ensure that everything is working properly.
Creating a Polar Access Link
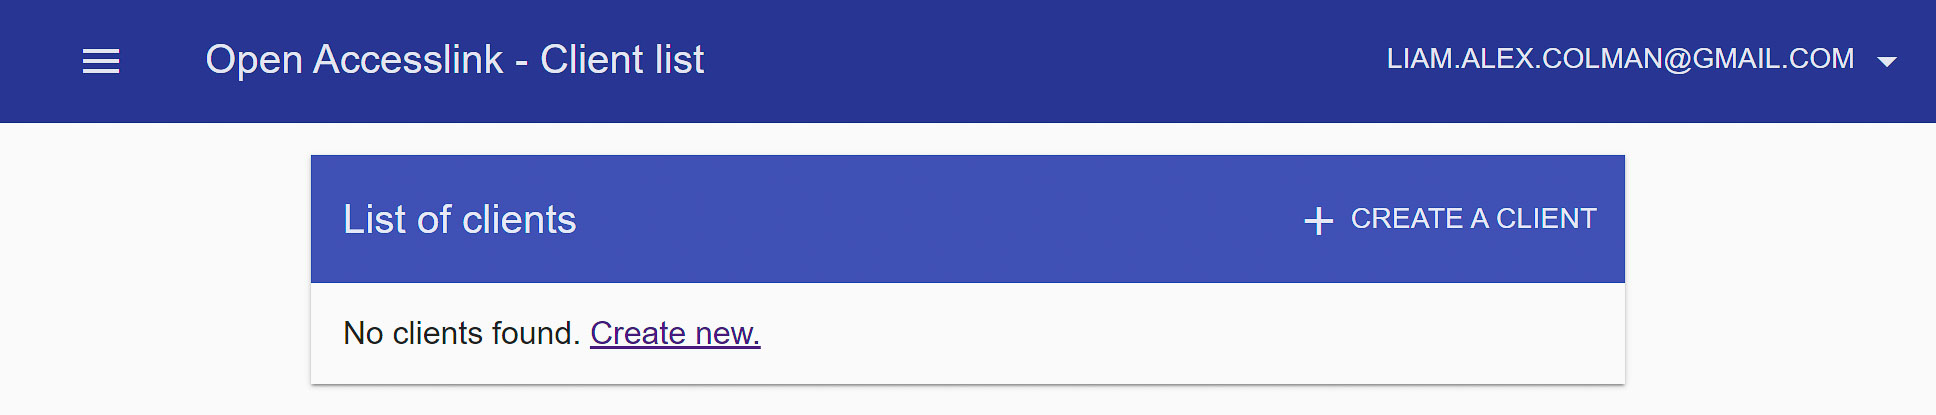
Setting up access to the Polar API for the Home Assistant integration is a quick and easy process, but it does require a few steps to get started. The first thing you'll need to do is sign up for a Polar Access Link account, which will give you the necessary credentials to connect your fitness data to Home Assistant. Once you're logged in to the Polar Access Link website, you should see an empty list of clients. You'll have to create a new client by clicking the 'create a client' button. From there, you'll be asked to enter your organization information, but since you'll be the only one using this client, you can simply enter your personal details.
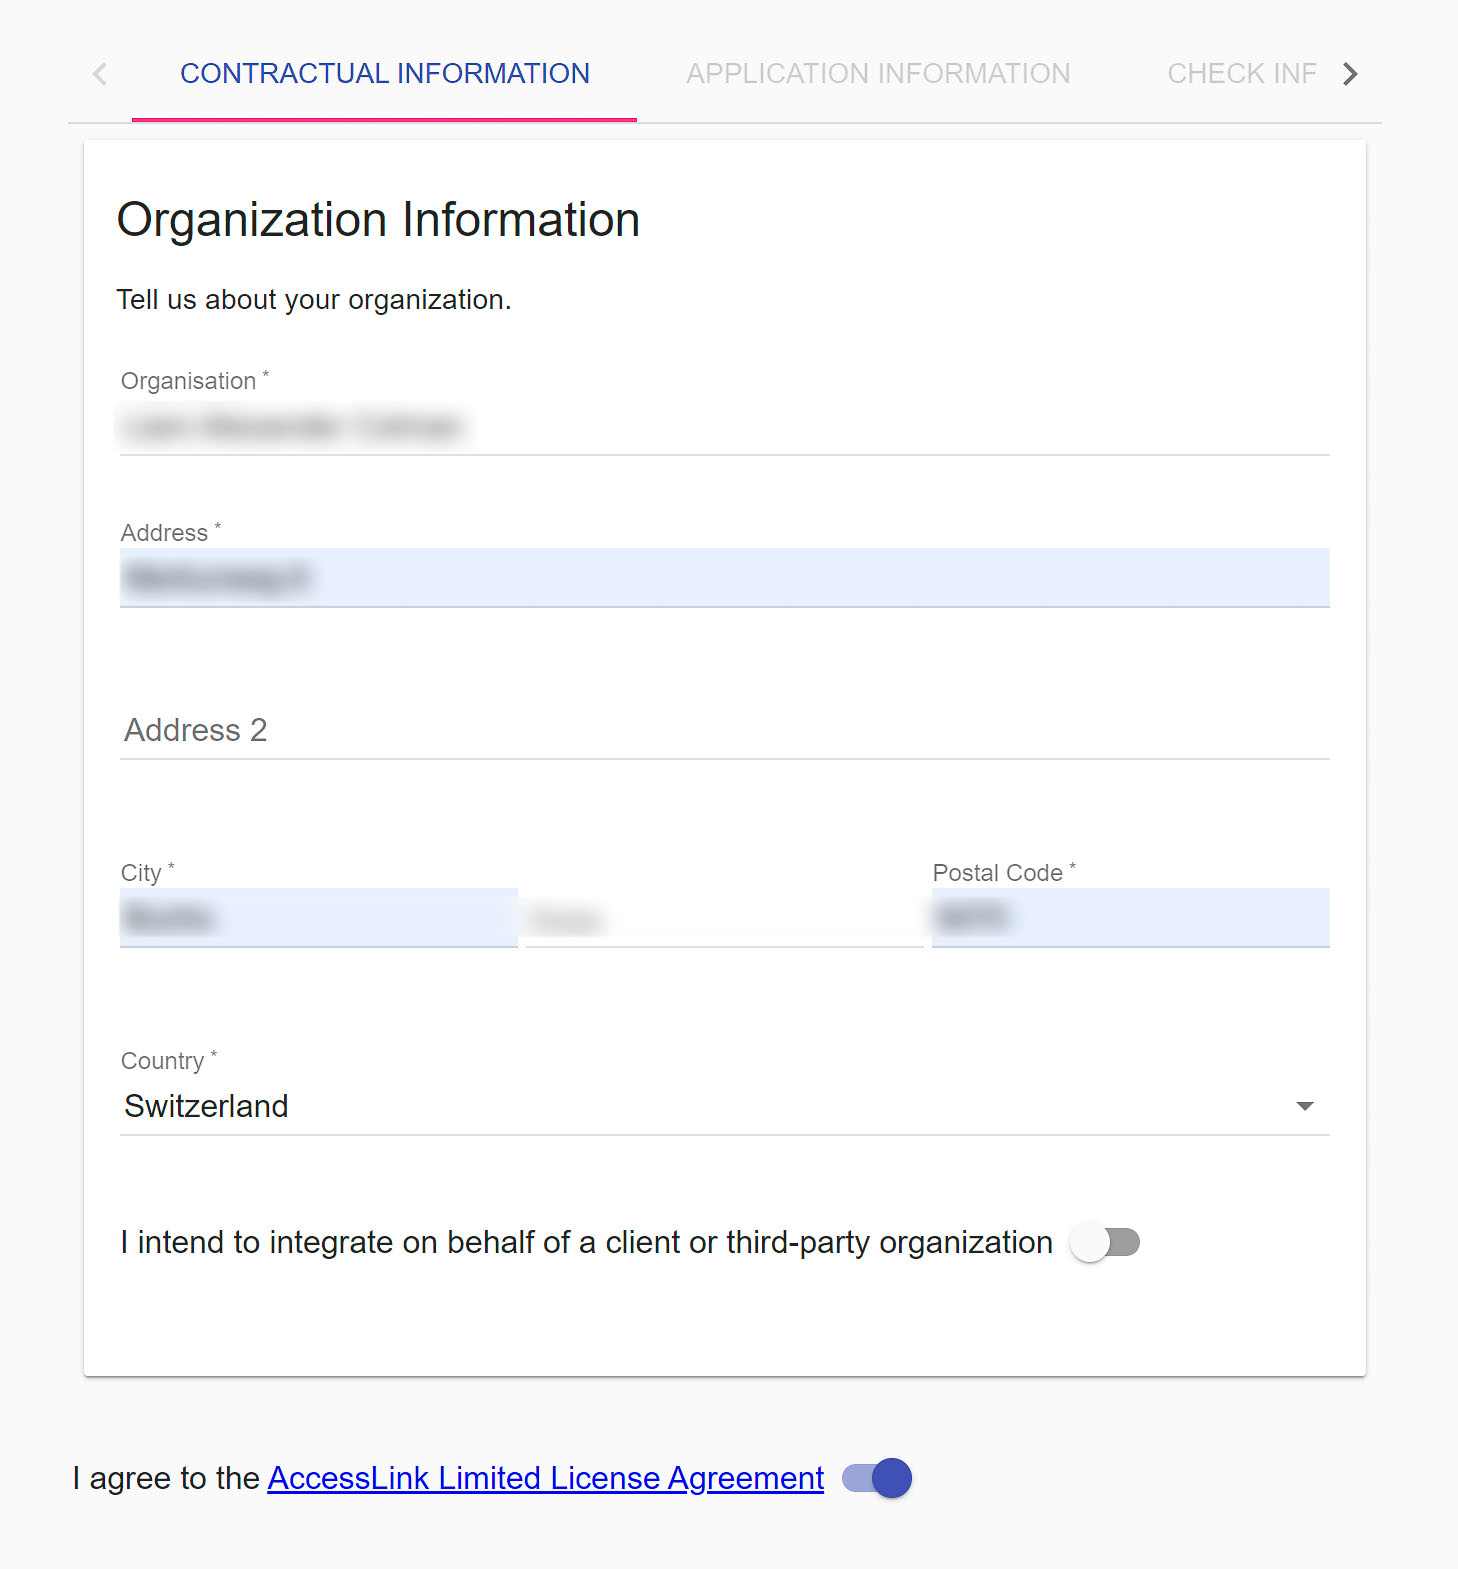
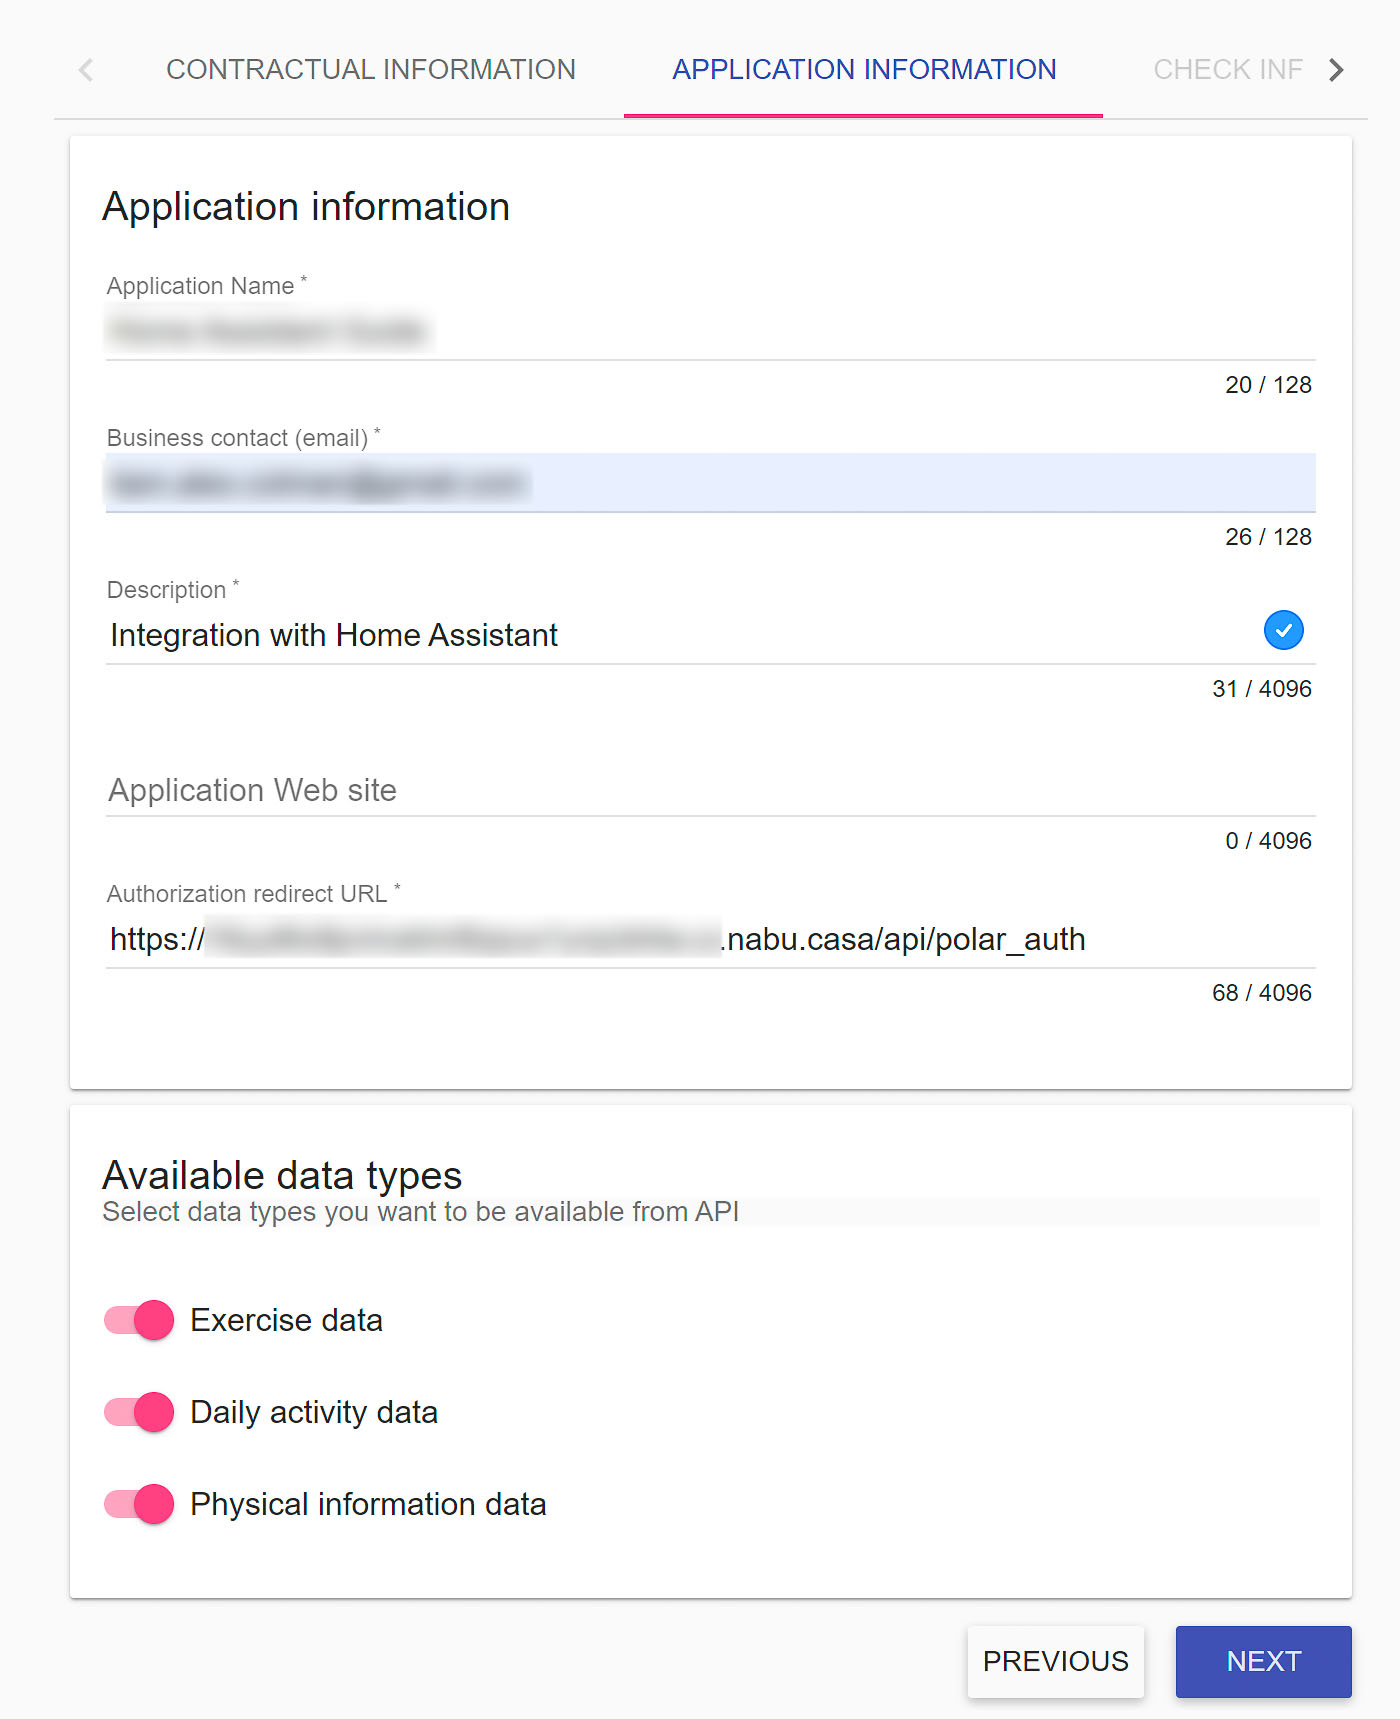
When creating the client, make sure to disable the option that says 'I intend to integrate on behalf of a client or third-party organization'. Then, enter your application name (e.g. Home Assistant), an email address, and a brief description.
One of the most important steps in this process is providing an authorization redirect URL that follows this schema: https://%YOUR_HOME_ASSISTANT_URL%/api/polar_auth. This URL will ensure that your Home Assistant instance can properly authorize and access your Polar data.
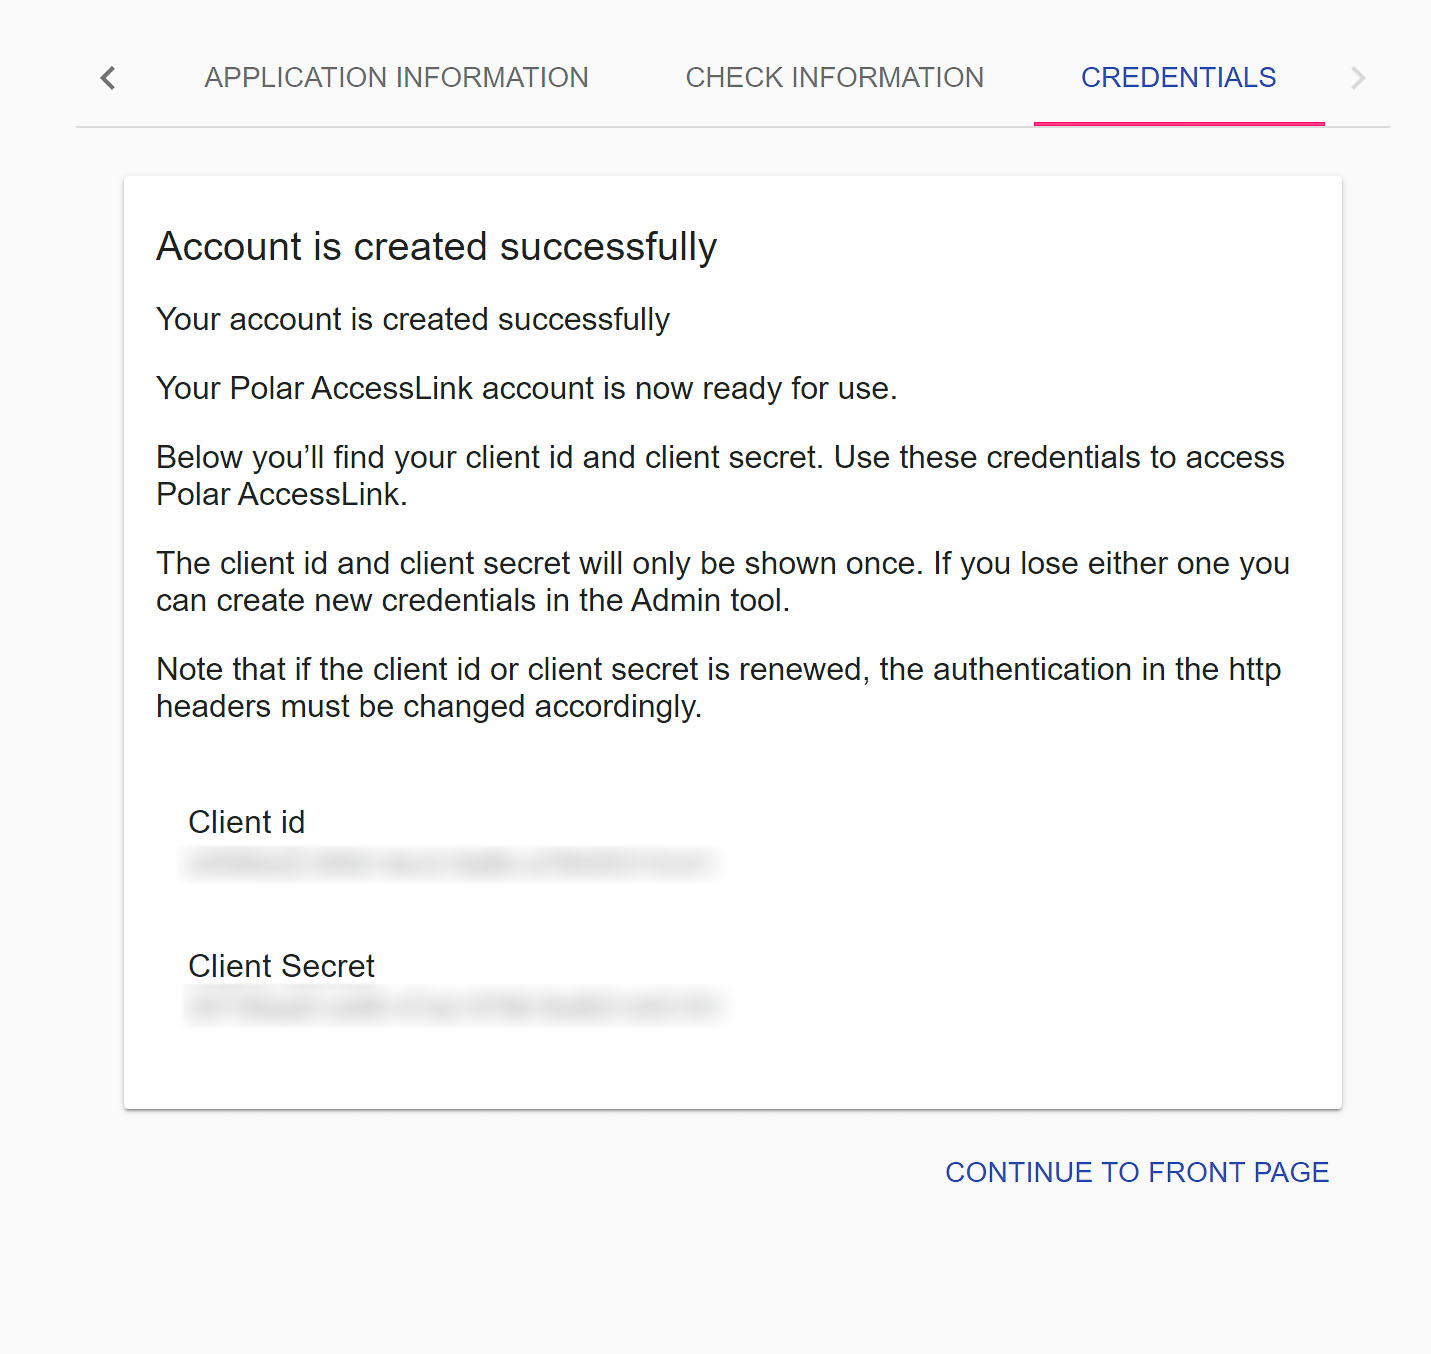
Once you've set up your Polar client for use with the Home Assistant integration, you'll be presented with a set of credentials that allow your client to gather data. It's important to keep this window open or, even better, copy the Client ID and Client Secret into an empty text file. It's essential that the Client ID and Client Secret should never be shared with anyone else. If you suspect that either key may have been compromised in any way, it's essential to remove the client immediately and reset your credentials. By taking these precautions, you can help ensure that your personal data remains secure and protected at all times.
Setting up the Polar integration in Home Assistant
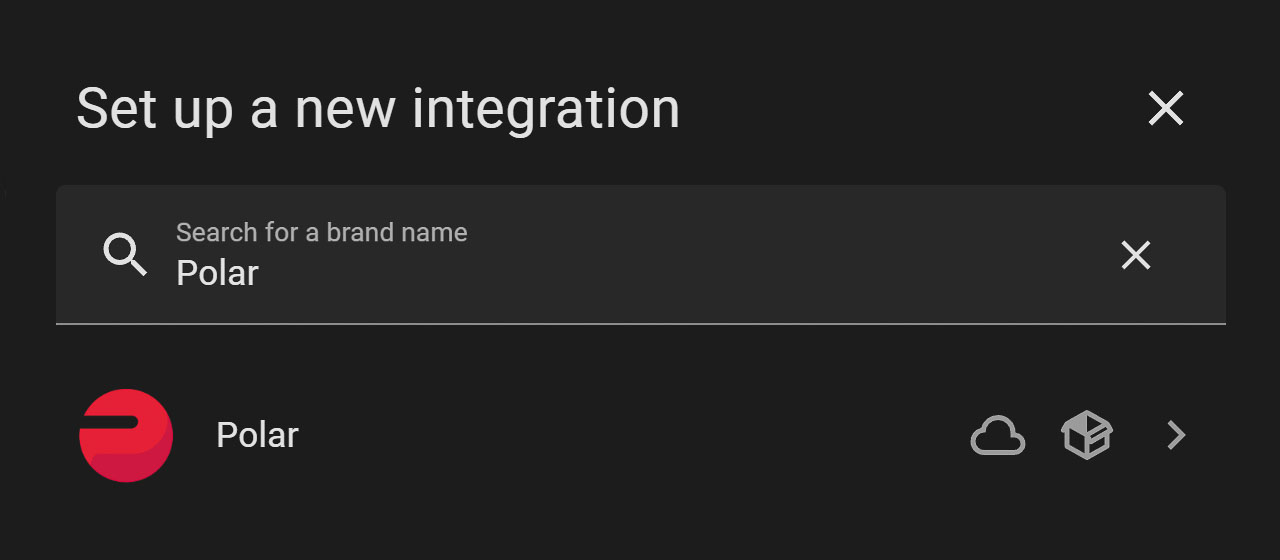
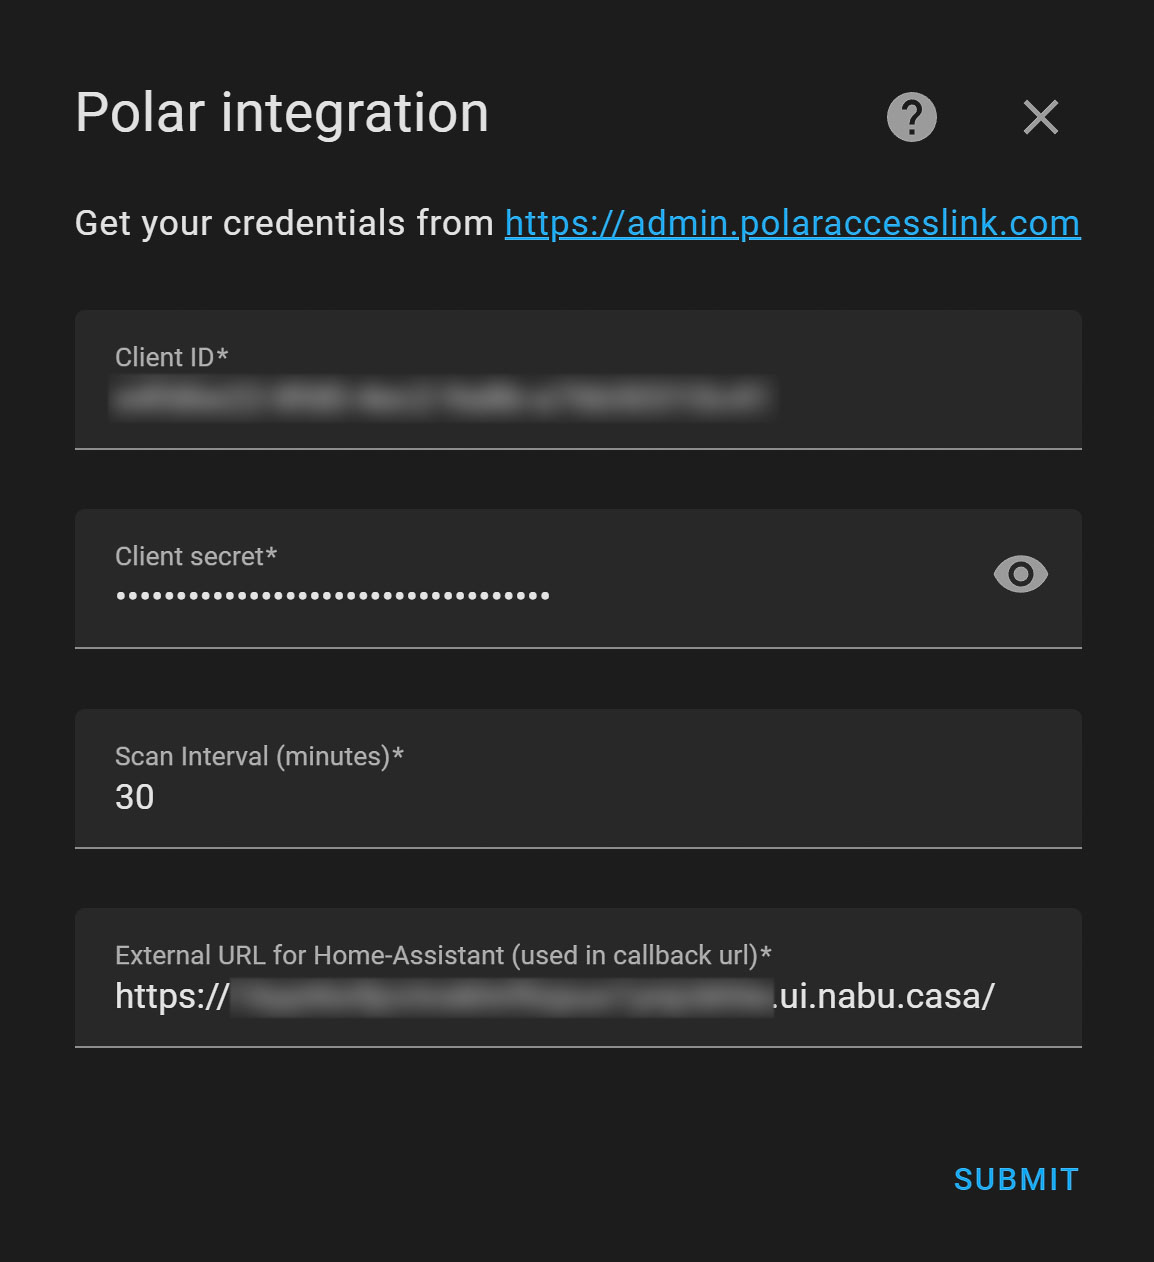
Fortunately, the developer of the Polar custom integration for Home Assistant has made it incredibly easy to set up without having to touch any YAML files. Simply navigate to Home Assistant's settings and look for the integrations section. From there, you can add a new integration and search for Polar. Once you've selected the Polar integration, you'll be prompted to enter your Client ID, Client Secret, scan interval in minutes, and external URL for Home Assistant. The scan interval determines how often the Polar custom integration will fetch data from Polar, so be sure to choose an interval that works best for your needs. It's important to note that the external URL should only include your external URL and should not include '/api/polar_auth'.
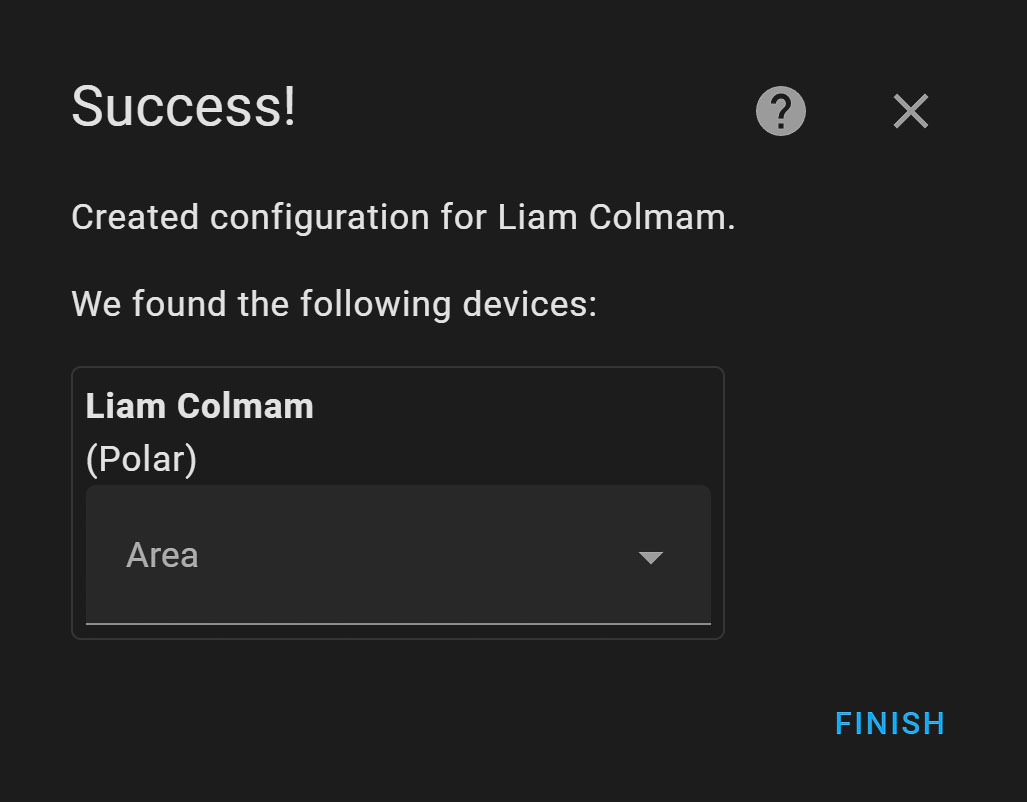
Once you've entered your credentials and set up the Polar integration in Home Assistant, you'll be redirected to the Polar website. Here, you'll need to sign in and grant permissions to Home Assistant to access your fitness data. Once you've accepted this option, the integration will be complete!
