
In this article, we'll explore an exciting project created by GitHub user adamaze: a hands-on volume knob for controlling media entities within Home Assistant. By utilizing ESPHome, this project seamlessly integrates with Home Assistant, offering an intuitive way to adjust the volume of any connected media device.
Contents
Discover ESPHome Projects
As enthusiasts of ESPHome, the quest for innovative projects is a constant. To fuel this passion, we're launching a series showcasing remarkable ESPHome projects developed by the vibrant Home Assistant and ESPHome community. Although these projects are not our original creations, they represent the collective ingenuity of this dedicated community.

Preparing for Your ESPHome Volume Controller Project
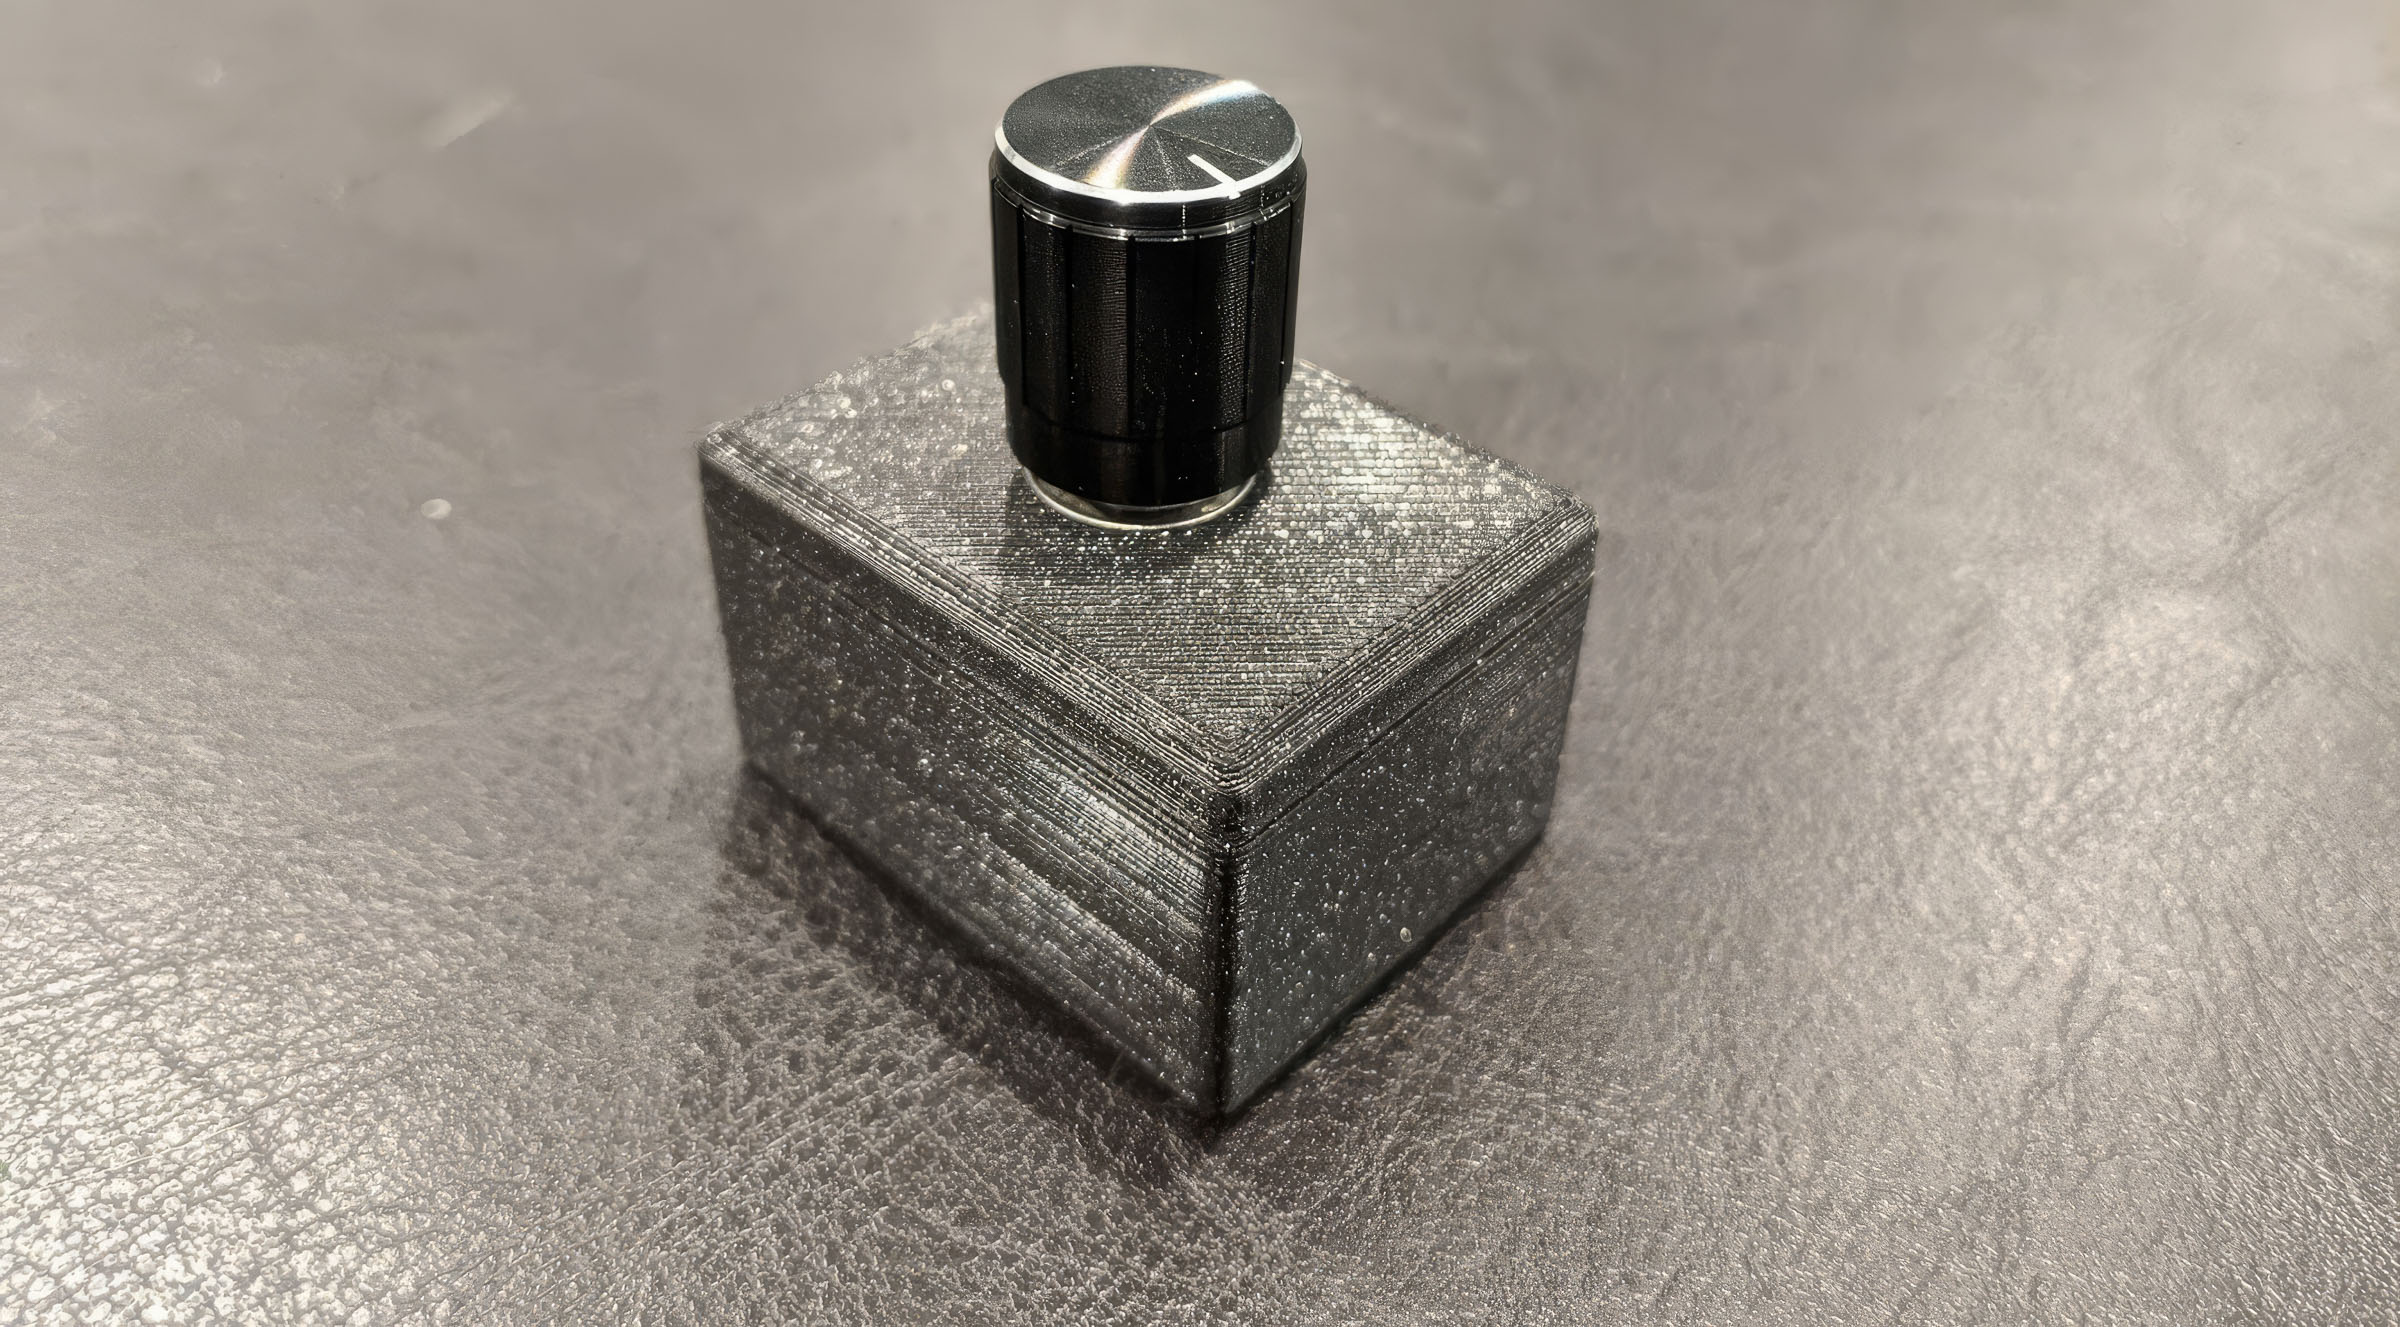
The foundation of this project is the LOLIN D1 Mini board, powered by the ESP8266 microcontroller. The key feature of this project is the free-spinning rotary encoder with an integrated push button, enabling easy volume adjustments without having to synchronize with Home Assistant's volume settings.
A significant investment might be a 3D printer if you don't already own one. The Ender 3 series comes highly recommended within the community. Before purchasing, consider exploring reviews to find a model that suits your needs.
Your toolkit should also include a soldering iron, solder wire, isolated wires, a Micro-USB cable, and optionally, a power supply to connect to the ESP8266.
The Multifaceted ESPHome Volume Controller
The volume controller powered by adamaze's code isn't just a static piece of hardware. Here's what it offers:
- Volume Up: A clockwise twist of the rotary encoder activates the
media_player.volume_upservice. - Volume Down: Spin it counterclockwise to engage
media_player.volume_down. - Play/Pause: A quick press acts as a toggle for
media_player.media_play_pause. - Next Track: A swift double-tap progresses to
media_player.media_next_track. - Playlist Selection: A long press summons a script to launch your chosen Spotify playlist.
What makes this project so appealing is the sheer elegance of its execution. With just a concise YAML script, these capabilities come to life, negating the need for additional automations or scripts within Home Assistant itself.
Crafting the ESPHome Volume Controller
To house this savvy controller, you'll be printing a case using designs courtesy of adamaze's repository, available in the form of .stl files. The assembly begins with connecting a rotary encoder to an ESP8266 board using four essential wires. Then, encase this setup within the 3D-printed shell, with the D1 mini ESP8266 board snugly fitting in the base, powered via a Micro-USB connection.

Tailoring the Code
Before diving into the code, it's assumed that your Wi-Fi credentials are securely housed within the secrets.yaml file. Should this not reflect your setup, a slight modification in the code will be necessary.
Moreover, the code needs to be customized to target the specific speaker under your control. For instance, the default is set to media_player.kitchen_speakers, but your device will likely have a unique identifier. Personalizing the node's name and IDs adds that individual touch, enhancing the overall user experience.
The implementation makes use of the homeassistant.service action, which is an ESPHome feature that empowers the device to execute Home Assistant services directly. This means the volume controller is fully functional without the need for extra scripting or automation within Home Assistant, offering a seamless and user-friendly experience.
Ultimately, the long-press function is yours to customize, providing a tailored experience to fit your personal or family needs.
By following these detailed instructions, you're not just building a device; you're creating a tailored experience that adds convenience and a touch of magic to your smart home environment.
