At the heart of many smart homes lies Home Assistant, a powerful platform that brings together various smart devices and services. For those utilizing Home Assistant within a Docker environment, there's an indispensable tool that enhances this experience - Monitor Docker. This article delves into how Monitor Docker, a custom component for Home Assistant, transforms the way Docker containers are managed, making the oversight of your smart home system both intuitive and robust. Whether you're a seasoned Home Assistant enthusiast or new to the realm of smart home automation, understanding the synergy between Docker containers and Home Assistant through Monitor Docker will elevate your control and insight into your smart home setup.
Contents
Understanding Docker Containers
Before delving into the nuances of container monitoring in Home Assistant, it's essential to understand what Docker and containers are. Docker, an innovative open-source platform, facilitates the development, deployment, and running of applications using containerization. Containers are lightweight, self-sufficient packages that encapsulate everything necessary for running an application - code, runtime, libraries, and settings. This isolation ensures consistent performance across diverse environments, making Docker a cornerstone in modern software deployment.
In a smart home context, like that managed by Home Assistant, monitoring these Docker containers is crucial. It enables users to ensure seamless operation and quick troubleshooting of various smart services and devices interconnected within the system. Now, with Monitor Docker, users of Home Assistant can enjoy a more streamlined and efficient monitoring process.
Why Choose Monitor Docker?
Monitor Docker emerges as a superior tool, especially for those running Home Assistant Core in a Docker environment. It builds upon the capabilities of its predecessor, HA Dockermon, which, despite being functional, hasn't seen updates since September 2019. Monitor Docker stands out for several reasons:
- Automated container configuration
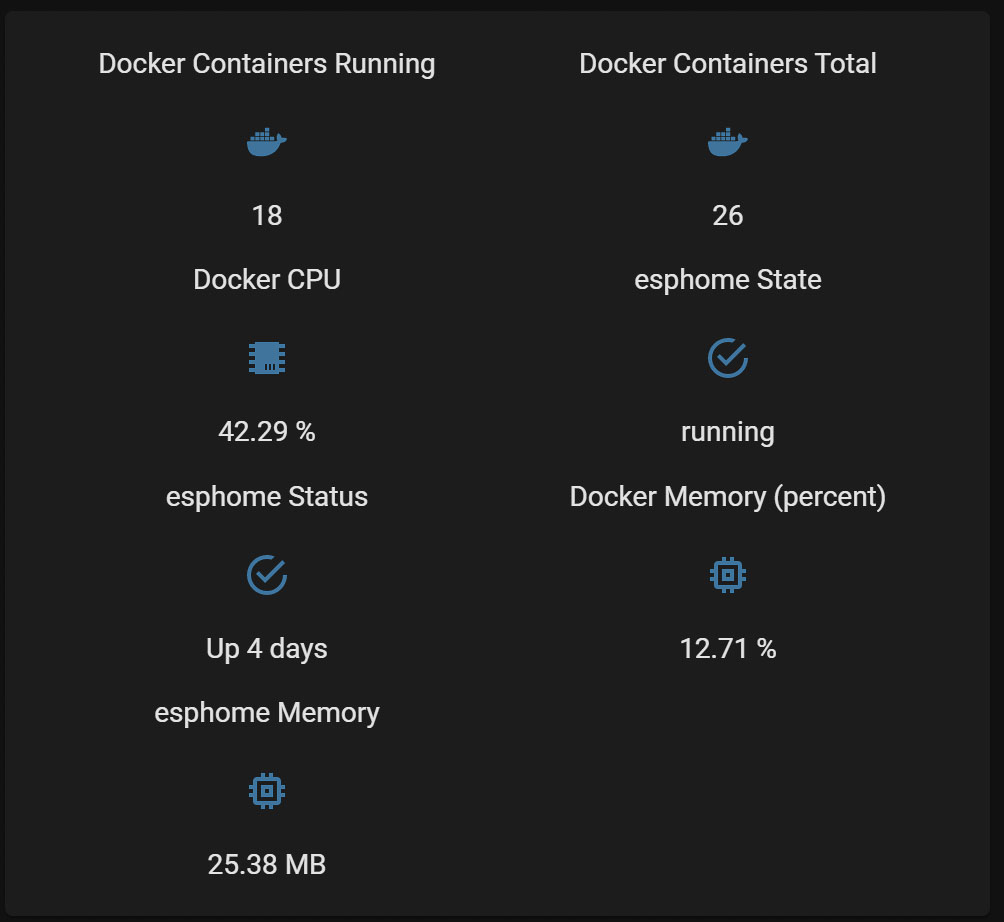
- Detailed monitoring of both individual container metrics and overall Docker performance
- Comprehensive reports on container-specific statistics like memory usage, state, and uptime
However, it's worth noting that Monitor Docker does not support shell commands for restarting Docker containers, including Home Assistant Core, unlike HA Dockermon.
The Functional Spectrum of Monitor Docker
With Monitor Docker, users gain a transparent view of all Docker containers, including status and uptime. This is instrumental in troubleshooting and setting up scripts for container management, enhancing the overall stability of the Home Assistant ecosystem.
Simplified Installation Process
Installing Monitor Docker is hassle-free, especially when done through HACS (Home Assistant Community Store), ensuring easy updates. For those preferring manual installation, steps are straightforward but require manual updates.
Configuring the Home Assistant Docker Container
To integrate Monitor Docker with Home Assistant running in a Docker container, users need to mount the Docker daemon as follows:
For Docker:
-v /var/run/docker.sock:/var/run/docker.sockFor Docker Compose:
volumes:
      - /var/run/docker.sock:/var/run/docker.sock
Subsequent steps involve editing the Docker Compose file and executing commands to update and build the Home Assistant container.
Customizable Monitoring Configuration
Configuring Monitor Docker is done via YAML in the configuration.yaml file of Home Assistant. Users can tailor their monitoring settings to include specific containers or rename them for better management. Detailed instructions and additional configuration examples are available on the Monitor Docker GitHub page.
monitor_docker:
- name: Docker
monitored_conditions:
- version
- containers_running
- containers_total
- containers_cpu_percentage
- containers_memory
- containers_memory_percentage
- state
- status
- memory
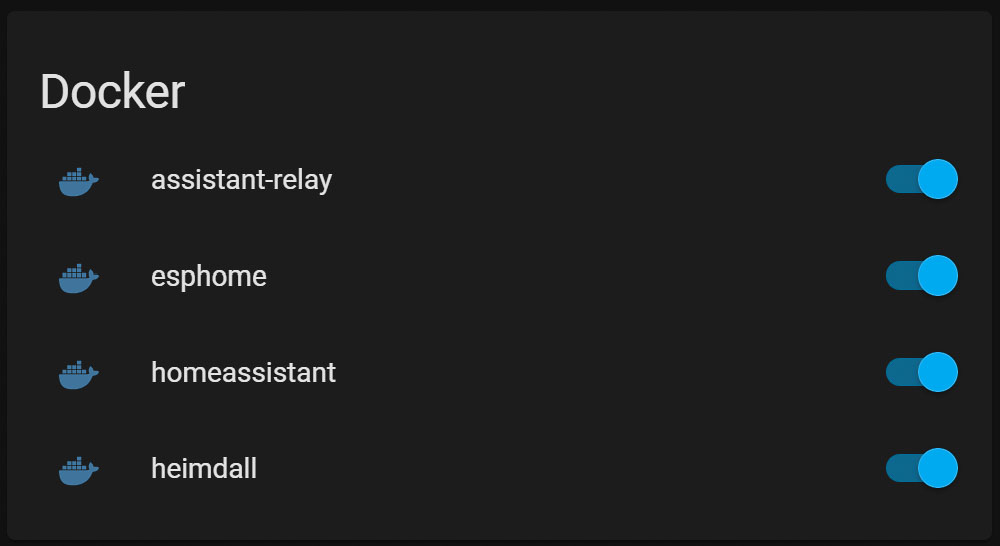
- memory_percentageSeamless Integration and Control
Post-configuration, Monitor Docker allows Home Assistant users to seamlessly integrate container monitoring into their smart home setup. This includes creating easy-to-access switches and sensors for each container, which can be incorporated into the Home Assistant Dashboard for efficient automation and script control.