
Are you tired of having to click yourself through countless menus, just to edit on setting? What if I told there was an easy way of adding internal links to the Home Assistant sidebar that can take directly to an internal page, such as one of the many option in the configuration? This guide will show you how to do just that.
What you need to do is simply: Add the panel_custom component to your configuration. You can then set up as many internal links in the sidebar as you want. I wouldn't recommend adding to many, as you might end up having to search through your sidebar instead of the settings. In this example, I will be adding direct links to the integrations, automations, and server controls.
Contents
Enabling Home Assistant's advanced mode
The first thing on the to-do list, is to enable Home Assistant's advanced mode. This can be done by clicking on your profile in the sidebar and scrolling down until you find the option.
The advanced mode isn't as frightening as it may sound, and it doesn't suddenly complicate the configuration. All it does is allow you to add more customizations, such as adding internal links to Home Assistant's sidebar.

Accessing the configuration file
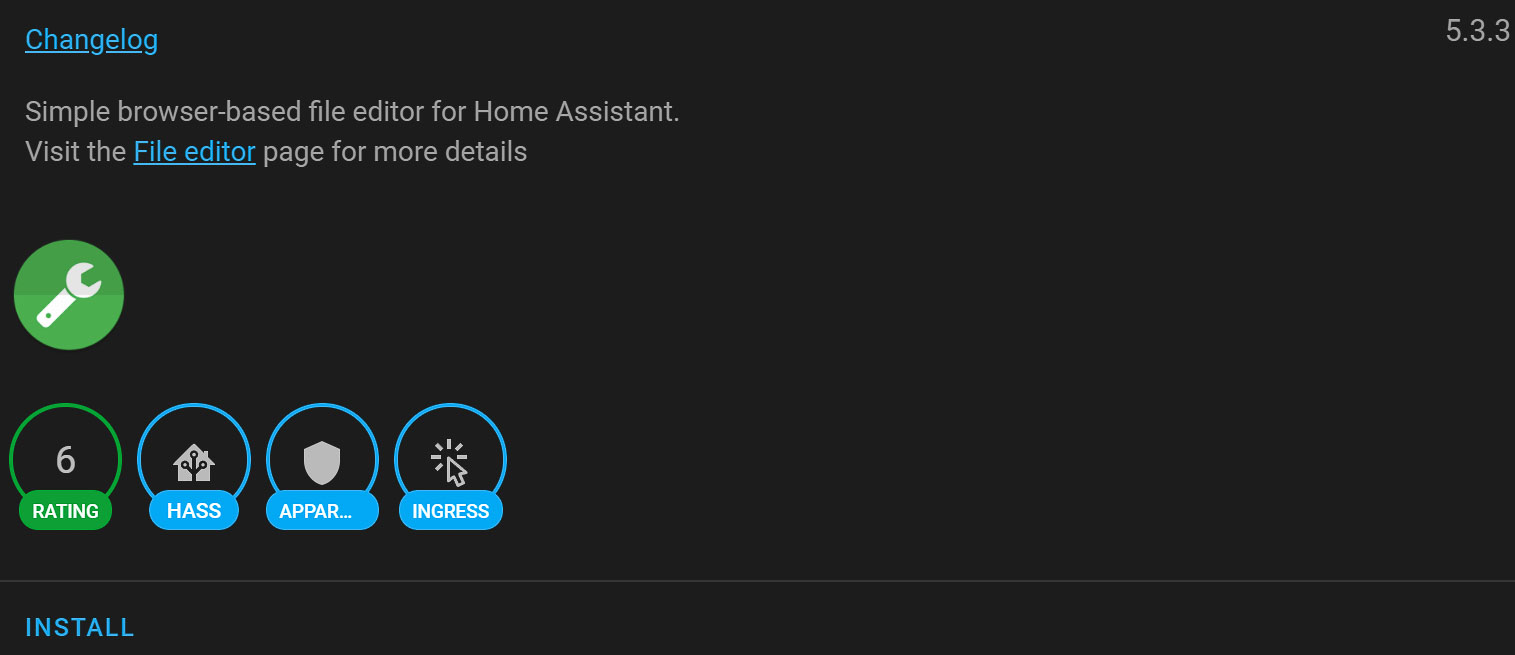
To be able to add the panel_custom to Home Assistant, you will need to access your configuration.yaml file. If you are using Home Assistant OS on a Raspberry Pi or similar platform, the easiest way of accomplishing that is by using the File Editor add-on. Simply visit the Home Assistant Add-On Store, which is found under the Supervisor entry in the sidebar, and search for it.
Once installed, you will be presented with a short selection of settings. I recommend enabling the option to start the File Editor on start, as you will be using it frequently. Home Assistant isn't quite far enough to be solely configured from the web dashboard. The other setting I enable, is the option to have it in the sidebar. This allows you to quickly access the add-on with just a single click.
Once the File Editor has started, you can open it and look for the configuration.yaml file by clicking the folder icon in the top-left corner.

Adding internal links to the Home Assistant sidebar
With the file editor installed, and the advanced mode enabled, you can finally start adding your desired internal links to the Home Assistant dashboard. To make things easier, I have prepared a few example for you to copy. Simply scroll to the last line of the configuration.yaml file, and add the following code:
panel_custom:
  - name: panel_server_controls
    sidebar_title: Server Control
    sidebar_icon: mdi:restart
    url_path: 'config/server_control'
    module_url: /api/hassio/app/entrypoint.js
    embed_iframe: true
    require_admin: true
  - name: panel_integrations
    sidebar_title: Integrations
    sidebar_icon: mdi:audio-input-rca
    url_path: 'config/integrations'
    module_url: /api/hassio/app/entrypoint.js
    embed_iframe: true
    require_admin: true
  - name: panel_automations
    sidebar_title: Automations
    sidebar_icon: mdi:cogs
    url_path: 'config/automation'
    module_url: /api/hassio/app/entrypoint.js
    embed_iframe: true
    require_admin: true
For these items to appear in the Home Assistant sidebar, you will need to restart the system. Luckily for you, the server controls are one of the added links, so you will never have to look for them in the configuration again.
Let us take apart one of these entries and explore what each line does. The name has to be unique, but aside from that limitation, can be anything you want. As this name won't be seen anywhere, I suggest picking a logical name and not a pretty name.
The **sidebar_title** is what you will see in the sidebar. As the sidebar is there to make finding certain settings quick and easy, I suggest a simple but precise name. The second option that will influence the look of the sidebar is the sidebar_icon. You can use any Material Design Icon to customize your entry.
The final option for you to change is the url_path. This entry will determine what will be shown when you open the panel from your Home Assistant sidebar. As you might have guessed from the titles, the three entries listed above will link to the server controls, integrations, and automations. Let's say you wanted to add Blueprints to the sidebar too. Simply navigate to the Blueprints option in the menu and copy the URL. In my case, it is: http://192.168.1.6:8123/config/blueprint/dashboard. From this URL, all that is needed for this configuration, is config/blueprint. Make sure to not add any further slashes, as that would mess things up.
Leave the module_url as it, this is the JavaScript module that is loaded when you open the panel. The same goes for embed_iframe. You can set the option require_admin to false, if you wanted those that don't have admin access, to be able to access the panel. I don't recommend changing this setting.
