In a recent guide, I demonstrated how to convert an Aqara/Xiaomi water leak sensor in to a chair occupancy sensor. If you are anything like me, it will annoy you to no ends that the sensor will still report either the status wet or dry, instead of the more fitting detected or clear. After all, I do hope my chair is dry while I work.
While this won't make any difference to how automations and scripts use the sensor, you might want to keep everything nice and tidy. For that reason, I will be showing you how to customize any entity in Home Assistant.
Changing the sensor name
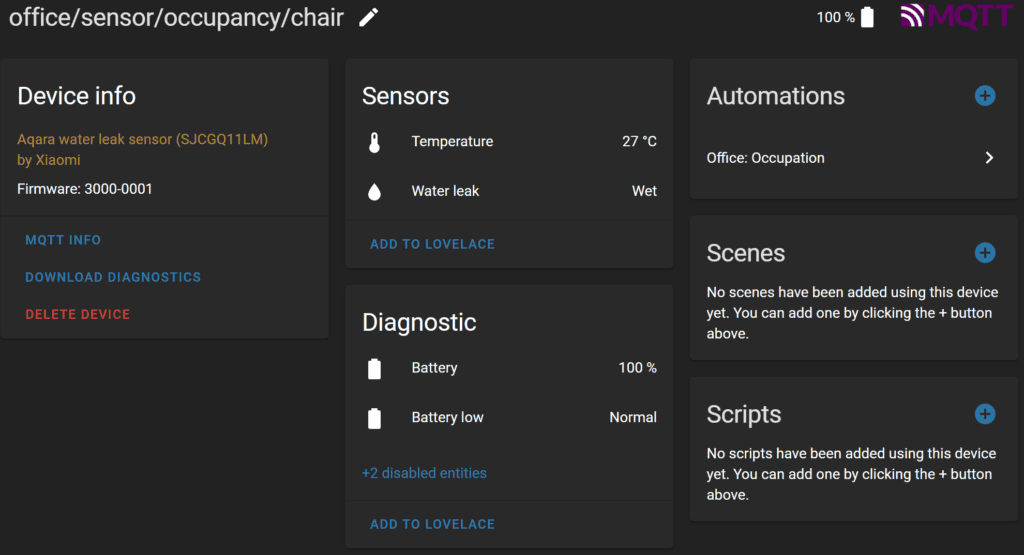
Because I use Zigbee2MQTT, which, as the name suggests, uses MQTT to communicate with Home Assistant, the name of the sensor isn't exactly friendly. As demonstrated by the screenshot above, it currently follows a structure frequently used for MQTT. To change the name of an entity, you can click on the edit icon next to it. I have named mine office chair occupancy.
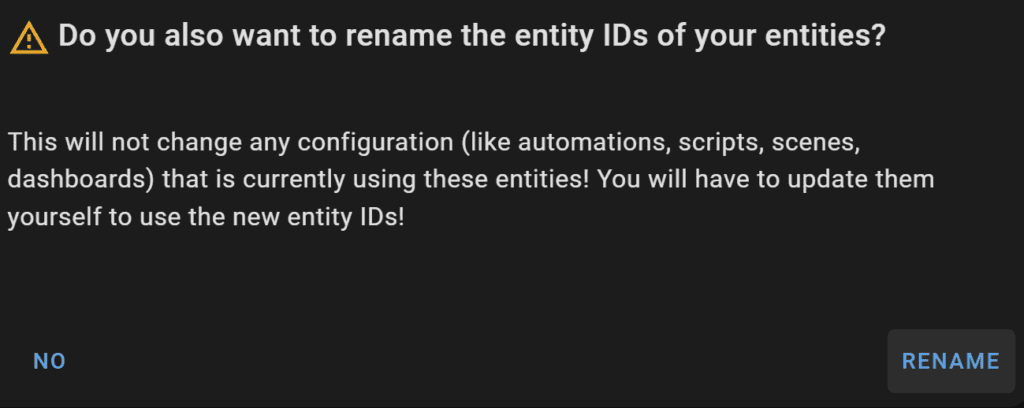
Once changed, you will be prompted to decide whether you want to rename your entity IDs. This would, for example, change water leak component from binary_sensor.office_sensor_occupancy to binary_sensor.office_chair_occupancy.
Before you do this, keep in mind that you will need to adjust your automations and scripts that are already using the sensor, as the new ID won't be updated. The same also applies to your Lovelace dashboards.
Cleaning up Home Assistant entities
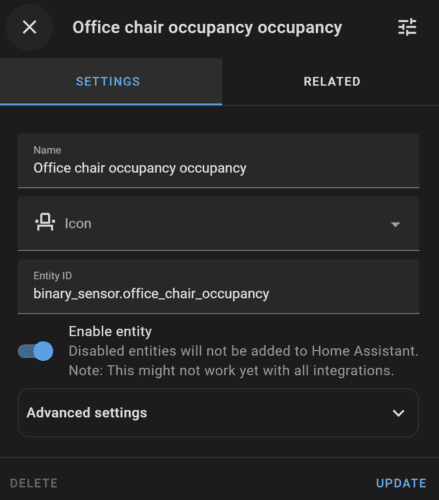
With the entity's name and IDs updated, I like to go ahead and disable any sensors and diagnostic information I don't need. This makes editing the Lovelace UI and automations a faster process, as fewer entities to chose from makes finding the correct one easier.
In this sensor's case, the temperature reading is absolutely useless, and I also don't need to be informed that the battery is low by an additional sensor. I can do that using just the percentage. Disabling an entity is as easy as opening it app and clicking on the slider.
Changing a Home Assistant sensor's type
The final adjustment I want to make is to change the fact that the sensor is reporting my chair to be wet when I'm sitting on it. Technically, it doesn't matter what it reports, as a binary sensor will always report either on or off. Aesthetically, however, there is a difference. Call me vain, but I like my sensors to represent what they are actually doing.
To do so, you will need to open your configuration.yaml file. At the end of this file, add the following:
homeassistant:
  customize: !include customize.yaml
You can then create a new file titled customize.yaml in the same folder as the configuration file. Here you can add the sensor you intend to change and add any of the variables found in the documentation. In my case, only two changes were necessary. I decided on a fitting Material Design Icon, and set the device's class to occupancy.
binary_sensor.office_chair_occupancy:
  icon: mdi:seat-outline
  device_class: occupancy
With the file saved, you will need to restart Home Assistant and your customization should show up immediately. Because you just created the customize.yaml file, this restart is necessary. For any future changes, reloading the YAML configuration from the Server Controls should suffice.


Thank you very much!
Finally i understand it