
In this guide, I will be showing you how to connect Tasker, the most popular automation app for Android, with Home Assistant, easily the best home automation tool available. For those unaware of the app, Tasker was the app for power users of the in the early days of Android. Back when Google's operating system was still new and exciting but also very rough around the edges. Using it, you could drastically extend your device's battery life by toggling the Wi-Fi radios when you weren't home and switching from 3G networks to 2G networks when the screen was off.
Contents
Tasker: The Trailblazing App
Tasker was also one of the first apps that allowed users to do just about everything using cheap NFC tags, which is something Home Assistant itself has recently implemented too. Your imagination is often the only limiting factor when it comes to setting up tasks using Tasker. Some popular automations include automatically opening Spotify when Bluetooth headphones are connected or opening Google Maps when in the car. By cleverly using Google's APIs, Tasker can detect what you are doing and where you are doing. It even knows when you are sleeping.
Even today, Tasker still has strong support from communities such as the XDA Developers Forums. While it might no longer be needed to stretch your phone's battery life to last a full day, there are still many interesting tasks to be created with it.
Using a Long-Lived Access Token and scripts
The easiest way of integrating Tasker with Home Assistant used to be a manual setup using a couple of variables, and you might still prefer this setup if you don't fancy installing an additional app on your Android smartphone. There is a detailed guide on this method in the Home Assistant community. There is an easier way, though (read on), and it offers more in terms of functionality.
Using the Home Assistant Plug-In for Tasker
The easier way of Integrating Home Assistant with Tasker is by using a plugin developed by MarkAdamson. The only requirements for this app are that you have Tasker installed on an Android device running Android 4.0 (Ice Cream Sandwich) or newer. Your Home Assistant Core shouldn't be any older than version 0.78.
Once installed, you will need to create a long-lived access token for Tasker to be able to control and communicate with Home Assistant. I recommend you create it using the same mobile device Tasker is installed in. That way, you can easily copy and paste later on.
To activate the Home Assistant Plug-In for Tasker, you will need to create a new task. As I mentioned, the plug-in app has no interface of its own. Though you can delete the task after the settings have been saved, meaning you can easily create one just for this purpose. Once the new, empty task has been created, click on the large and orange plus button and select “Plugin” from the list of action categories. Here you should now see the Home Assistant Plug-In for Tasker. Select one of the possible actions to move on (Call Service, Get State, or Render Template).

Edit the configuration by clicking on the edit icon in the top left-hand corner.
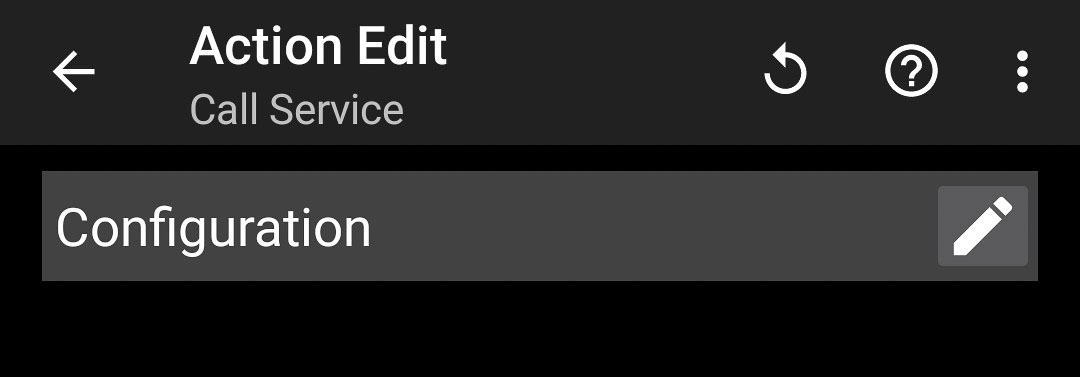
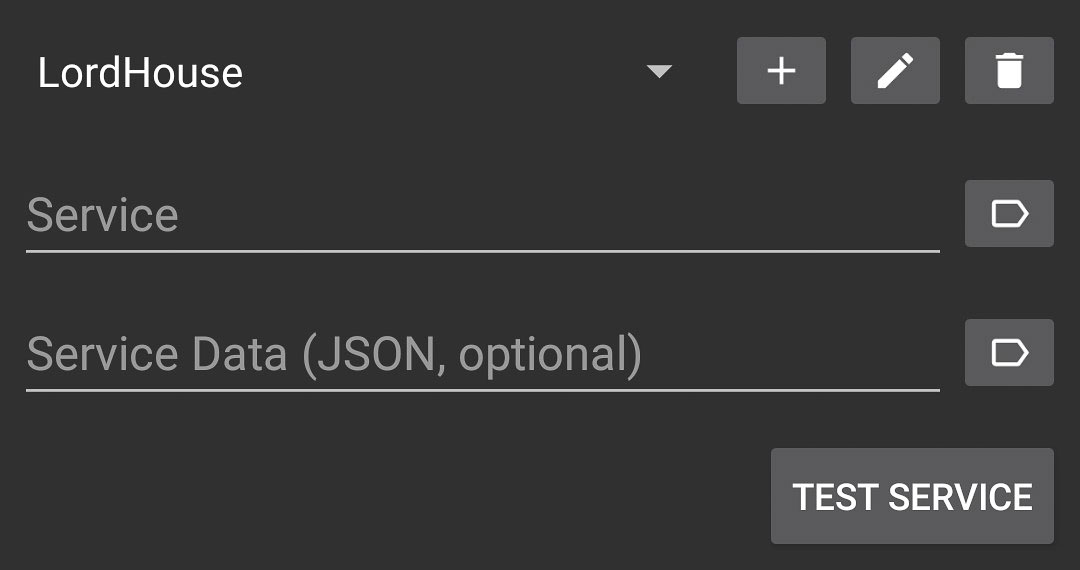
Edit the configuration by clicking on the edit icon in the top left-hand corner. In the following settings, add a new Home Assistant server by clicking on the "+" icon, and enter your access details.
With your server details entered, Tasker and Home Assistant should now be capable of communicating with one another. I will be covering some useful automations created using the Home Assistant Plug-In for Tasker in upcoming articles, the goal today was to just cover the basics. You do have the option of signing up to the Home Assistant Guides Newsletter to receive any upcoming guides directly in to your inbox.

The plug-in cannot be installed from the Google Play Store to a device running Android 14