Our in-depth guide unlocks the full potential of integrating Google Calendar with Home Assistant, transforming your day-to-day automations and scripts. Imagine your entire schedule seamlessly blended into your smart home ecosystem, displayed elegantly on the Home Assistant Dashboard through the stunning Calendar Card. While basic guides may leave you wanting more, our comprehensive walkthrough, enriched with detailed screenshots and expert tips, is tailored to ensure a smooth and efficient integration experience, elevating your smart home to new heights of convenience and functionality.
Contents
Setting Up on Google Cloud Platform
Integrating Google Calendar with Home Assistant requires more than a simple URL copy-paste or dashboard clicks. The process begins on the Google Cloud Platform, which may seem daunting at first. But fear not! By following these steps, you can easily set up your integration.
Creating a Google Cloud Platform Project
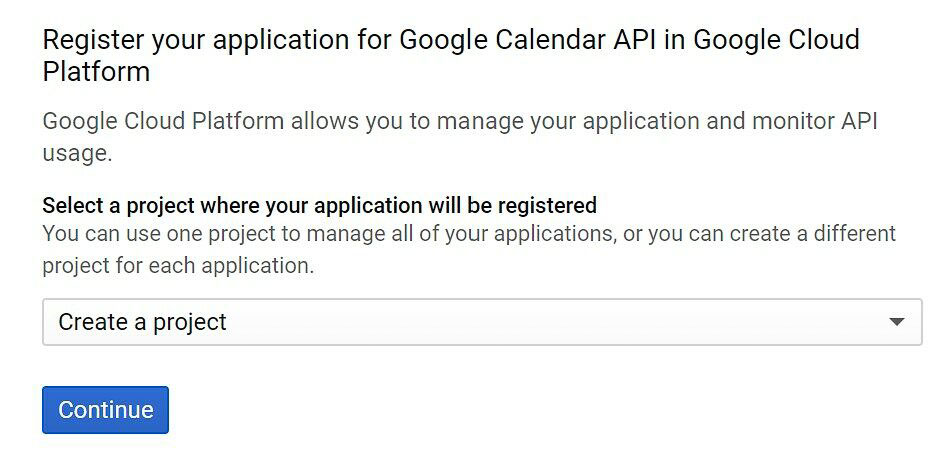
Begin by creating a new project or selecting an existing one on the Google Cloud Platform. For a thorough guide, I'll demonstrate creating a new project. However, if you have a pre-existing project from a previous integration, it's best to use that to avoid multiple individual projects.
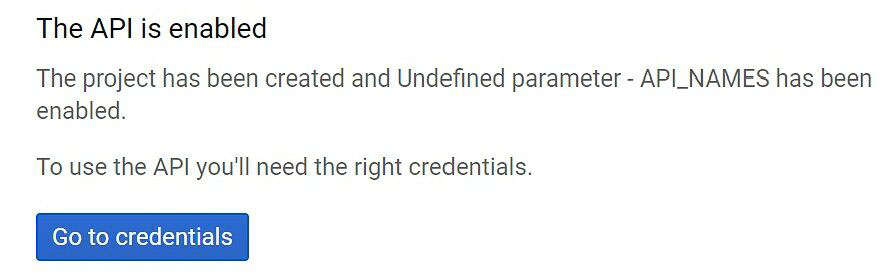
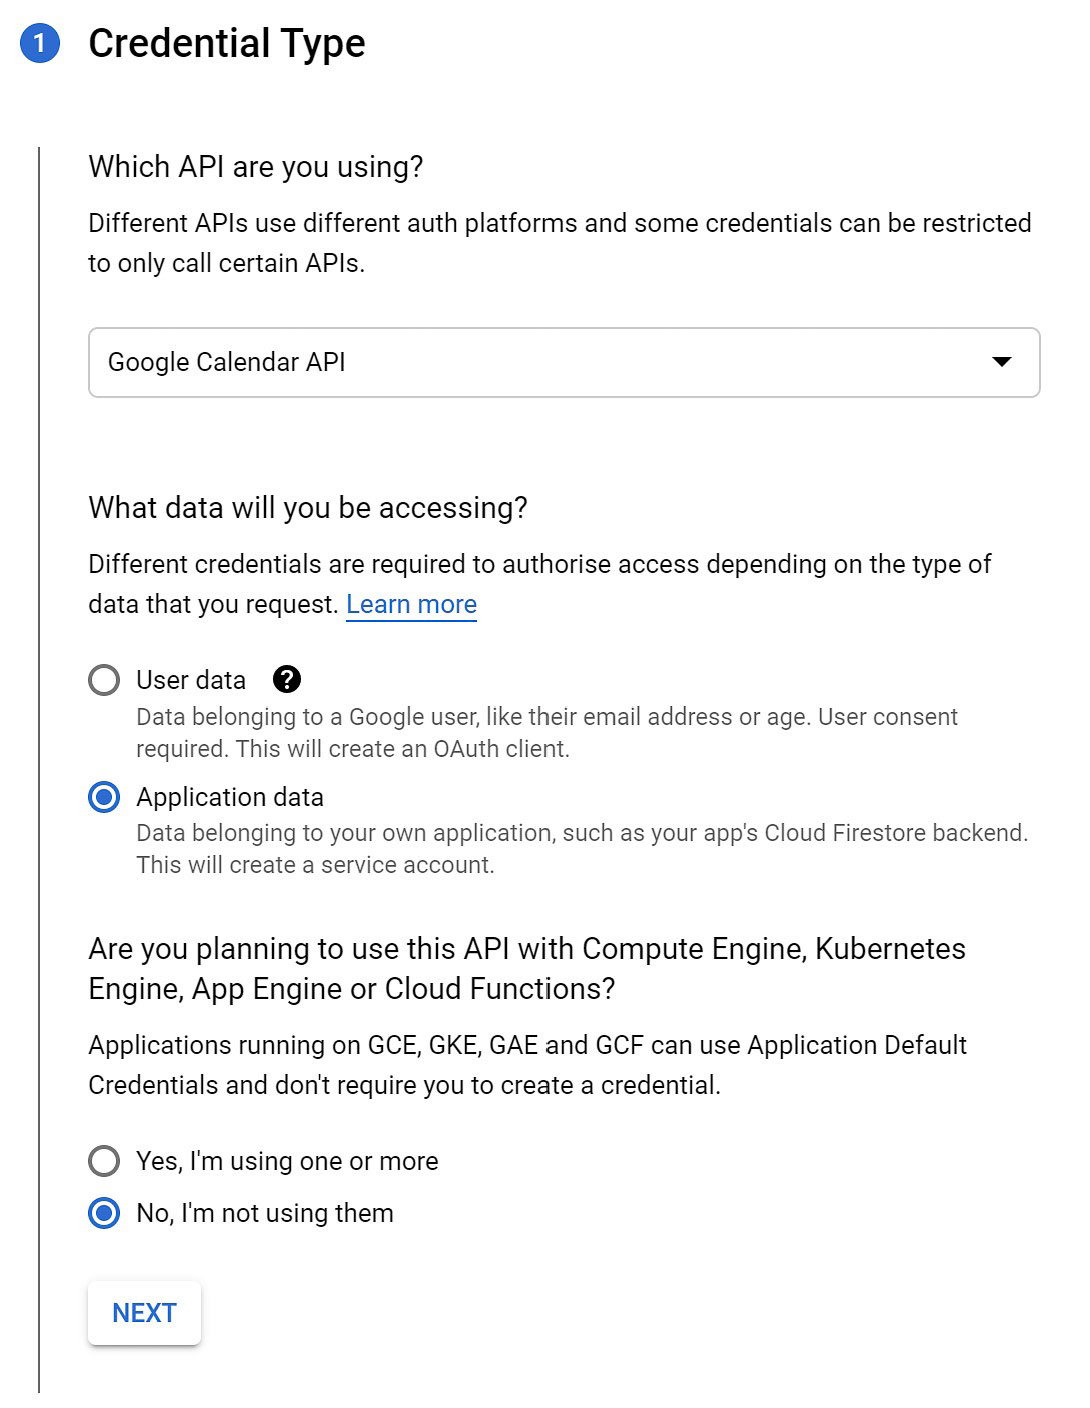
After project creation or selection, a confirmation message will appear, signalling the API's activation. Click on 'go to credential' to proceed. Keep the API set to Google Calendar API. Since this integration doesn't collect third-party user data, selecting 'application data' is appropriate. Answer 'no' to the final question, as this integration does not require access to other services.
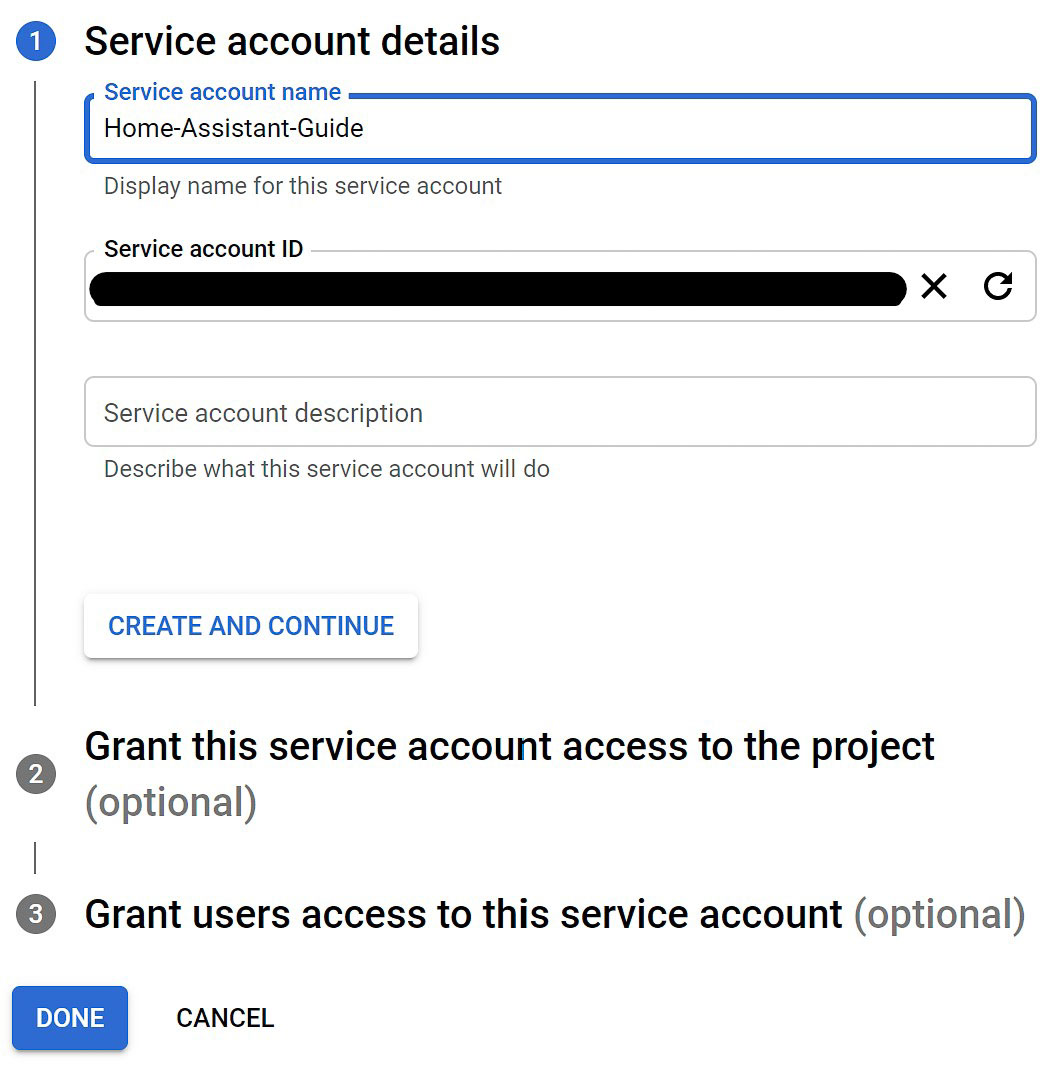
In the 'service account details' section, assign a name to your account and take note of the assigned account identification. You can also add a description if desired. The next two parts are optional and can be quickly completed by clicking 'done'.
Generating Client ID and Secret for Home Assistant
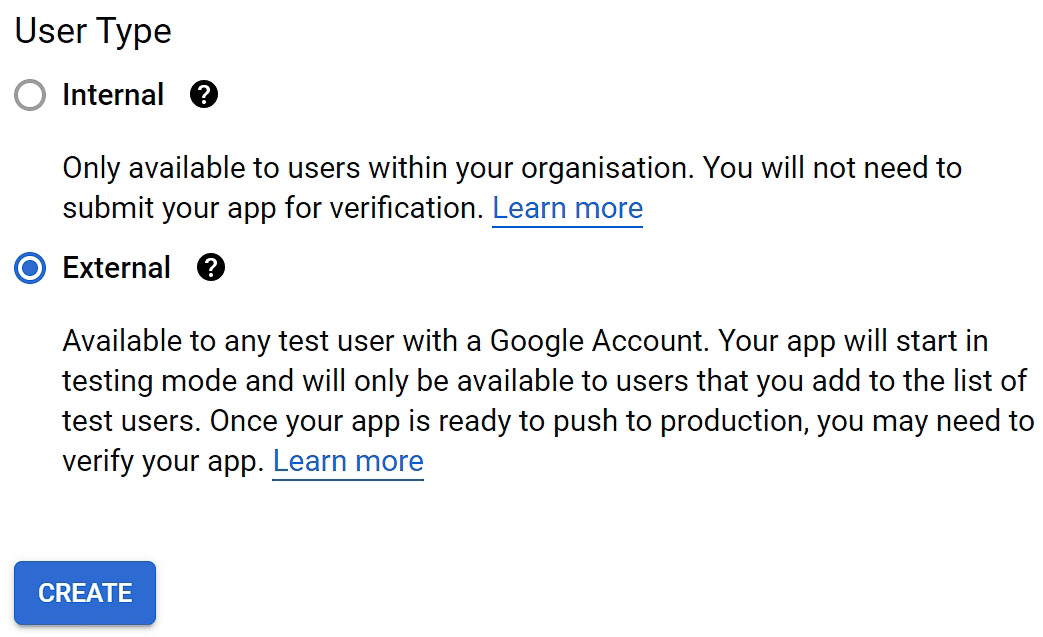
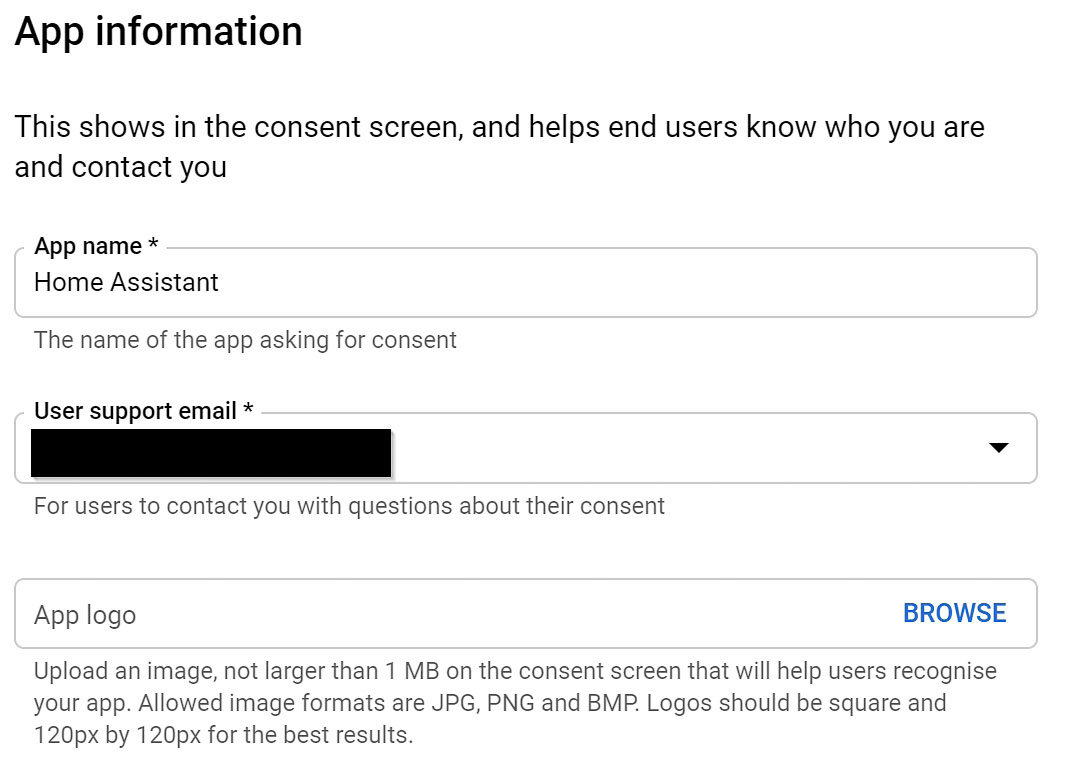
The next step involves configuring a consent screen in the Google Cloud Console. Choose the external user type and create your “app” (a term used in the process) by naming it, preferably Home Assistant, and providing your email as the user support email. Fill in the required information and proceed.
Skip the scopes section and add your email as a test user. This completes the consent screen configuration.
Creating Home Assistant Credentials in the Google Cloud Platform
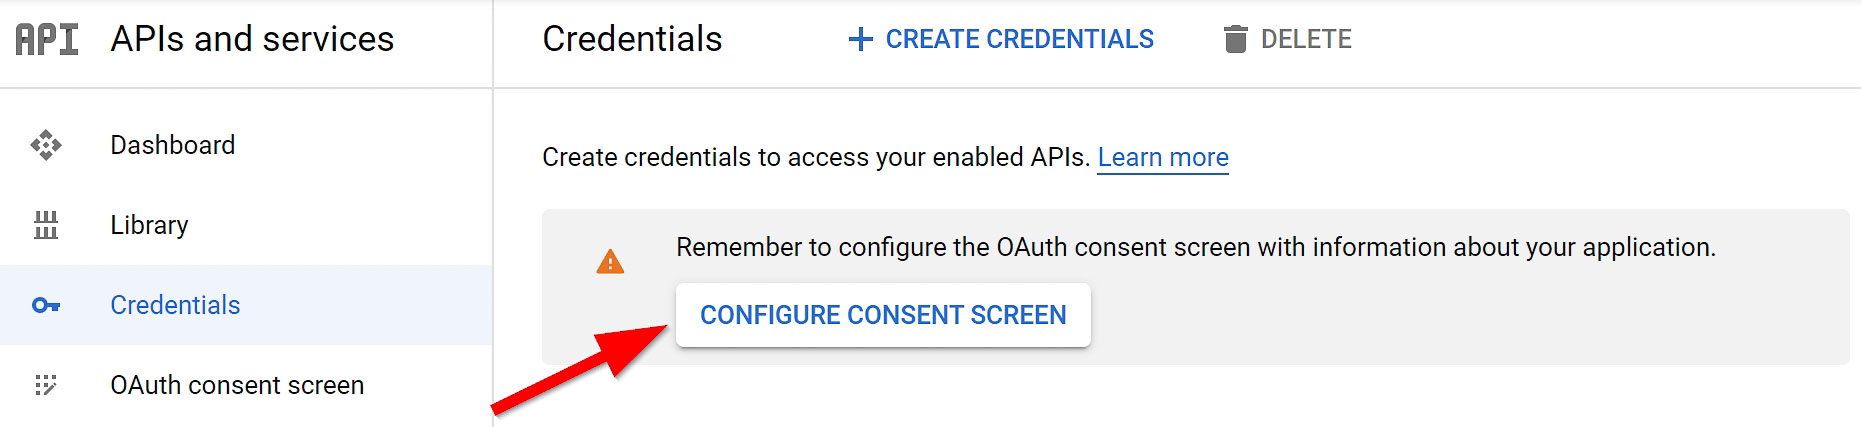
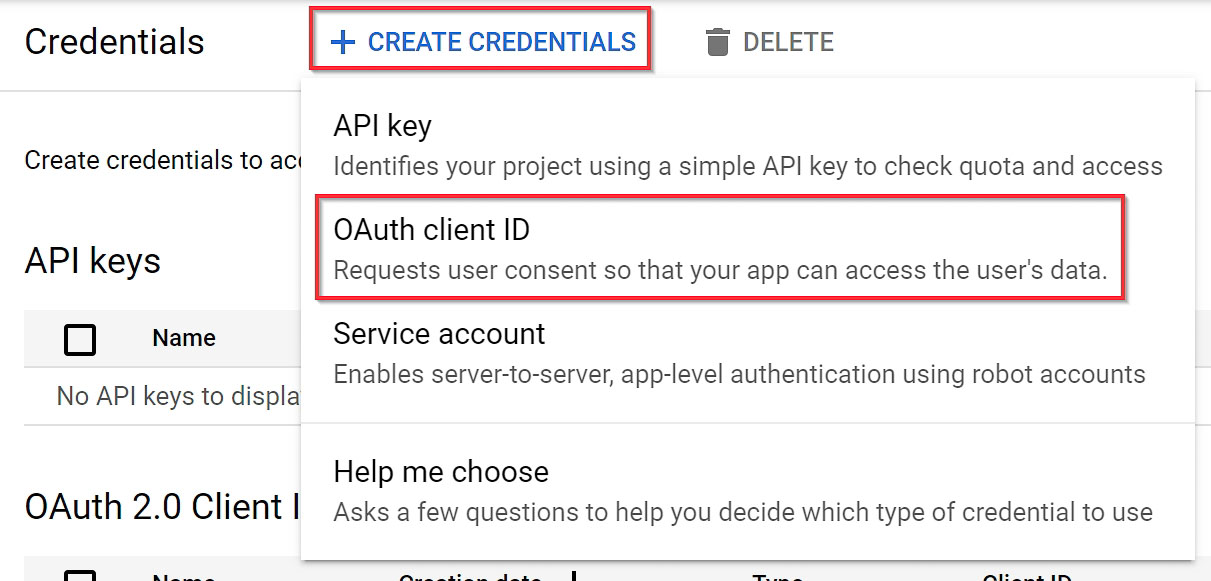
Now, create credentials for Home Assistant to access Google Calendar. In the APIs and services page, select 'create credentials' and choose 'OAuth client ID'.
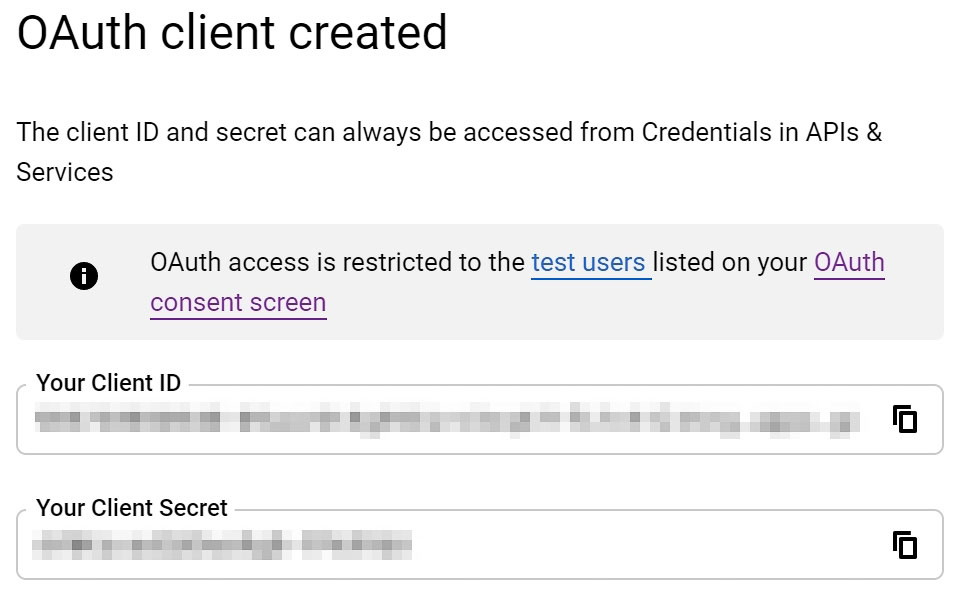
Select 'TVs and Limited Input devices' as the application type and name it recognizably, like 'Home Assistant Credentials'. After creation, a pop-up with your client ID and secret will appear. Copy these to an external editor for later use, and remember never to share them. If you were to accidentally leak your credentials, delete them immediately and create a new set.
If accidentally closed, you can retrieve them from the credentials overview. Simply click on the pencil icon, and they will be displayed on the right-hand side.

Enabling the Google Calendar API
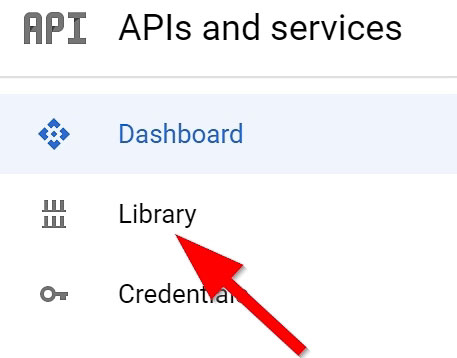
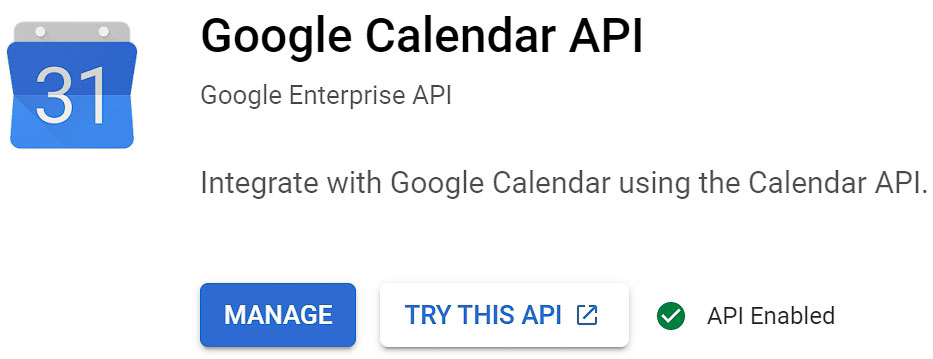
To prevent future issues, verify that the Google Calendar API is enabled by clicking on 'Library' in the menu and searching for the Google Calendar API. It should be enabled, as signified by a green tick; if not, enable it here.
Completing Google Calendar Integration with Home Assistant
Now, almost there with integrating Google Calendar into Home Assistant! Add the copied client ID and secret to your configuration.yaml file:
google:
  client_id: YOUR_CLIENT_ID
  client_secret: YOUR_CLIENT_SECRET
  # Optional options
  track_new_calendar:
  calendar_access:
For security, store these credentials in your secrets.yaml file instead of directly in the configuration file. Additional configuration options include:
As the client identification and secret strings are highly confidential, I recommend storing them in your secrets.yaml file, and not directly in the configuration file. There are two further optional options that can be configured:
track_new_calendar: falseto prevent tracking of newly added calendars.calendar_access: read_onlyto set Home Assistant's access to read-only, restricting event creation or modification by automations.
Restart Home Assistant and wait for the authentication notification, but note there might be a current issue preventing its appearance, which shall be tackled in the following paragraphs.
Resolving Authentication Issues
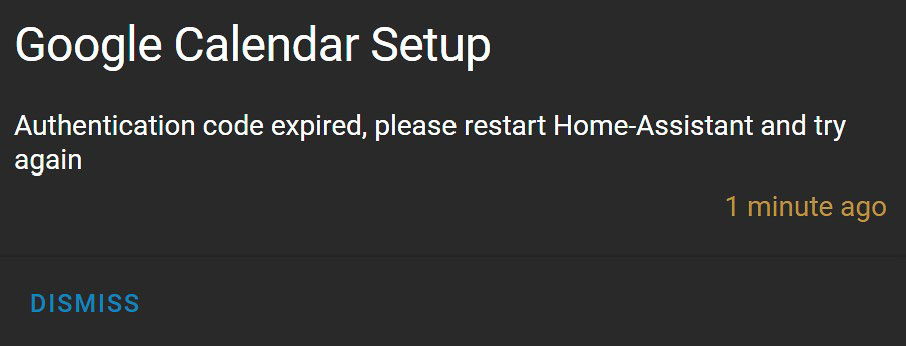
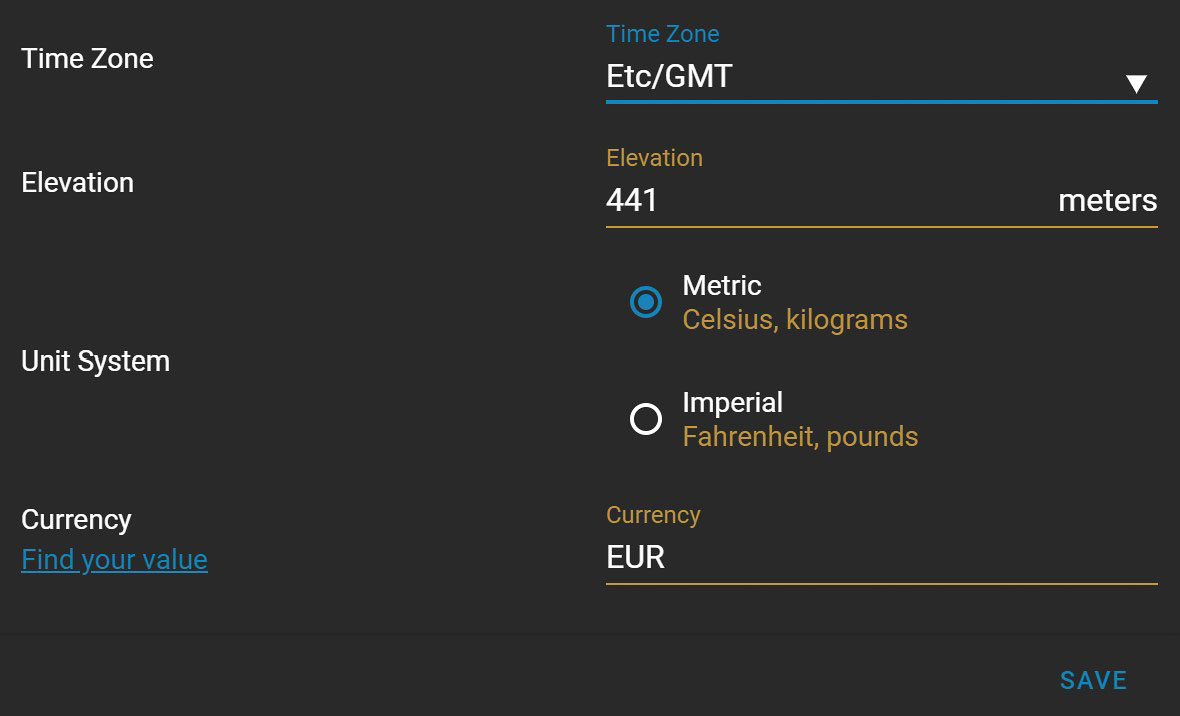
If an error stating “Authentication code expired, please restart Home Assistant and try again” appears, set your time zone to Etc/GMT in general settings, restart Home Assistant, and then complete the authentication. Afterward, revert to your original time zone.
Configuring Individual Calendars
Your Google Calendars will now be visible in Home Assistant’s developer options, and a google_calendars.yaml file will be created. Customize this file as needed, ensuring not to alter the cal_id.
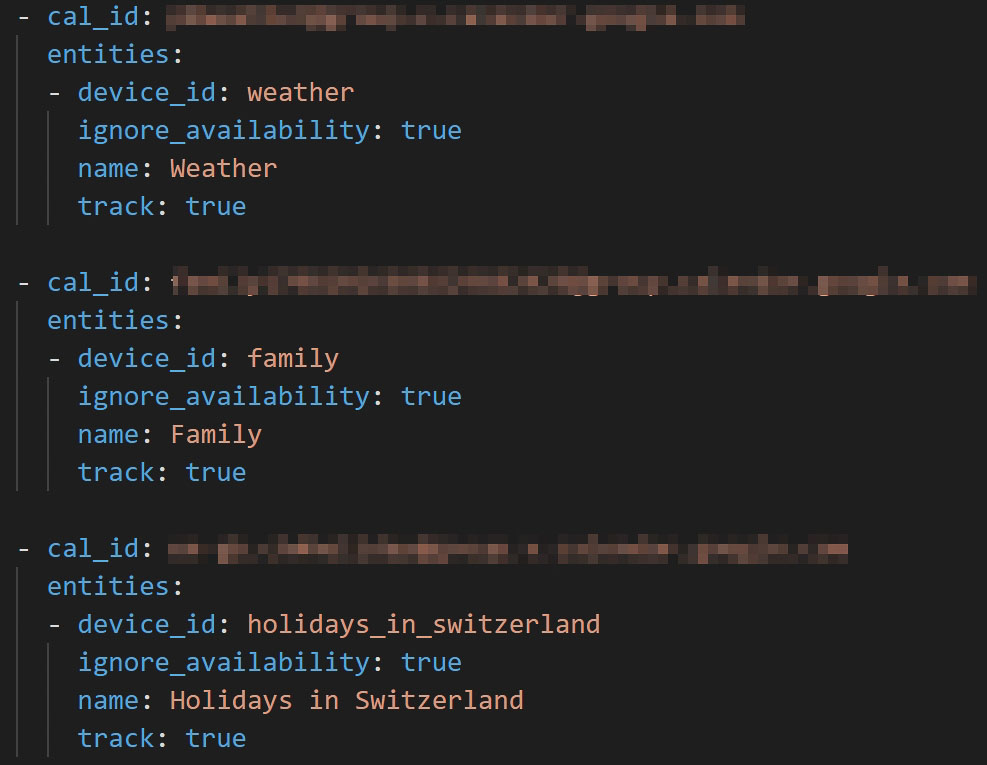
Required variables for the Google Calendar integration with Home Assistant
nameanddevice_id: Changeable and required for front-end display and automation/script usage.track: Set tofalseto ignore a calendar in Home Assistant.
Optional variables for the Google Calendar integration with Home Assistant
ignore_availability: Choose whether to respect the free/busy flag in Google Calendar.max_results: Set the number of events fetched (default is 5).search: Filter events by title keywords.offset: Pre-trigger state changes on the sensor ahead of event times.
