
Integrating MeteoSwiss with Home Assistant can provide accurate, local weather data directly from Switzerland's # Federal Office of Meteorology and Climatology (known as MeteoSwiss). If you're a Home Assistant user in Switzerland, this guide will walk you through setting up the MeteoSwiss integration, leveraging the power of the Home Assistant Community Store (HACS) to enrich your home automation setup.
Contents
What Is The Federal Office of Meteorology and Climatology MeteoSwiss?
Switzerland's Federal Office of Meteorology and Climatology, known as MeteoSwiss, is a government agency responsible for weather forecasting and climatological research within the country. It operates under the Federal Department of Home Affairs, providing crucial services that include monitoring weather and climate conditions, issuing weather warnings to protect life and property, and conducting climate studies to understand and predict changes in the environment.

Starting With Home Assistant and HACS
First and foremost, ensure that HACS is installed and configured in your Home Assistant environment. This is a prerequisite for adding the MeteoSwiss integration. HACS enriches Home Assistant by enabling the addition of custom integrations and plugins not found in the official repository. The installation requires Home Assistant Core version 0.110.0 or newer, a GitHub account, and file system access to where Home Assistant is installed. Detailed installation instructions are available on the HACS official website.
How to Install the MeteoSwiss Integration
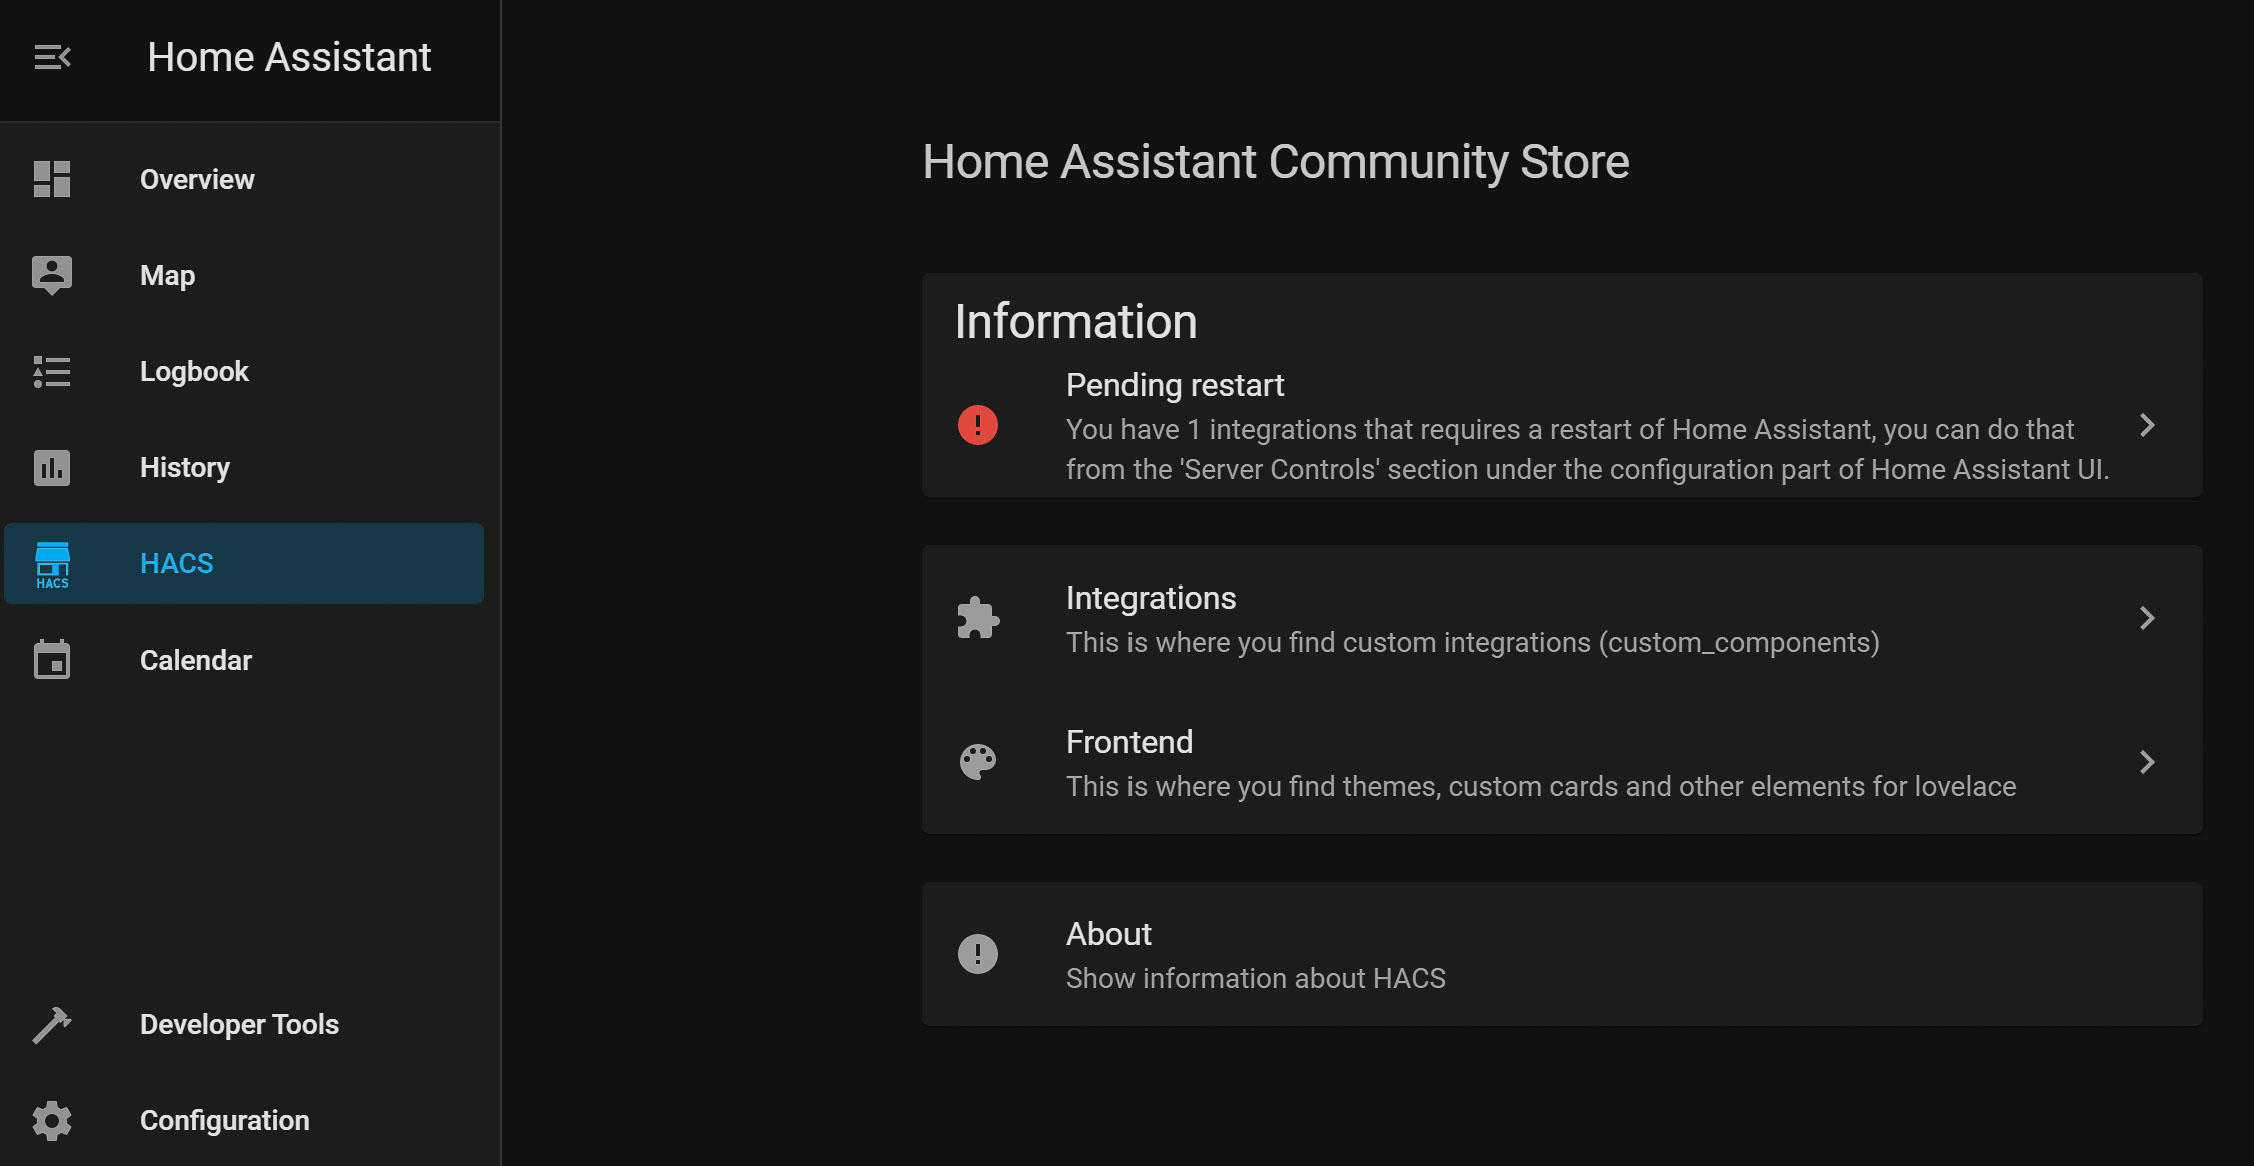
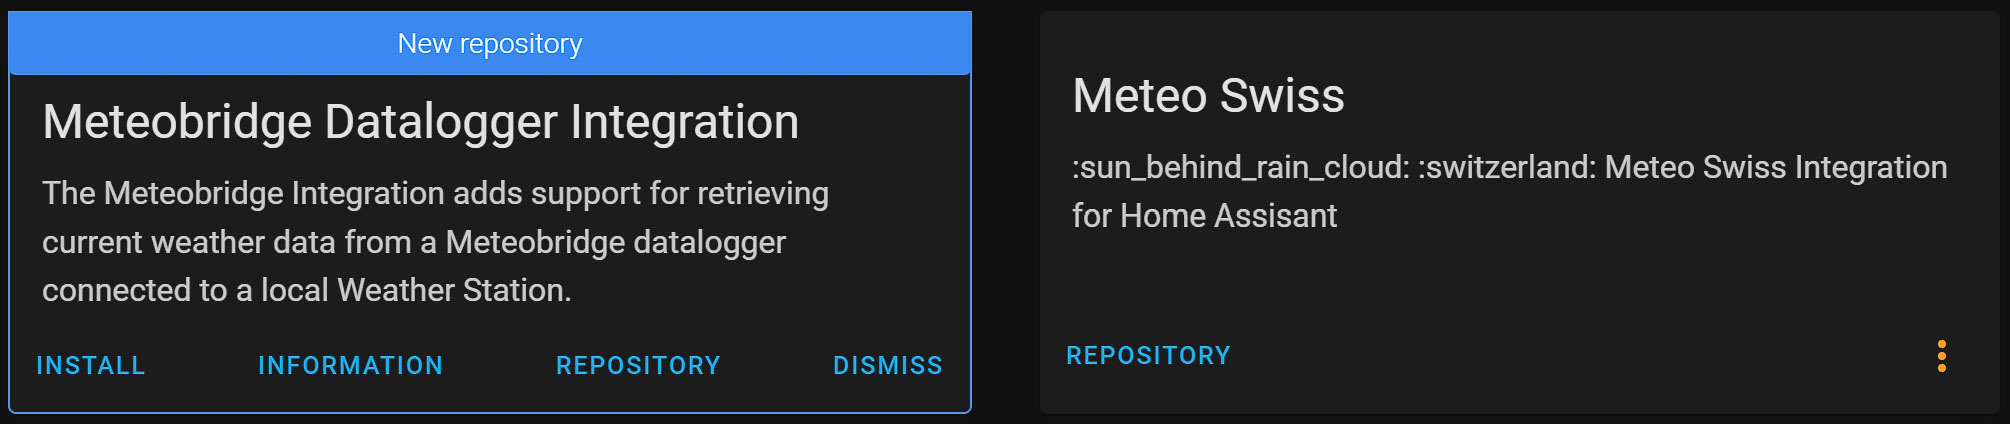
Once HACS is set up, navigate to the HACS section in your Home Assistant Dashboard, select Integrations, and search for MeteoSwiss. Install the integration with a click. Remember, if you've previously installed it, the install button will not appear. Post-installation, a restart of Home Assistant is mandatory to activate the integration.
Configuring MeteoSwiss in Home Assistant
After installation, configuration is the next step. This involves:
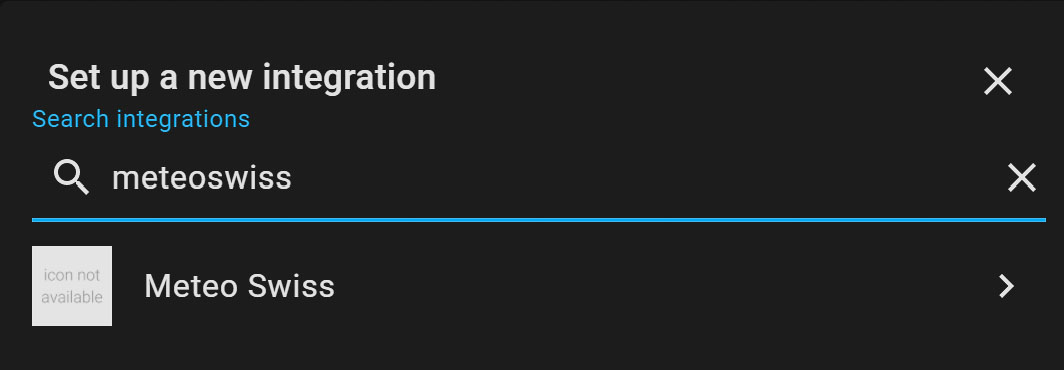
- Going to the Integrations page via the Configuration menu.
- Clicking the '+' button to add a new integration and searching for MeteoSwiss.
- Entering your postal code and selecting your nearest weather station for optimal accuracy. If the automatic suggestion doesn't suit your needs, manual adjustment is possible. A full list of stations can be found here.
MeteoSwiss Sensors and Data in Home Assistant
The MeteoSwiss integration offers various sensors to monitor different aspects of the weather, including temperature, humidity, wind speed and direction, and more. The availability of these sensors may depend on the selected weather station.
Displaying Weather Data on Your Home Assistant Dashboard
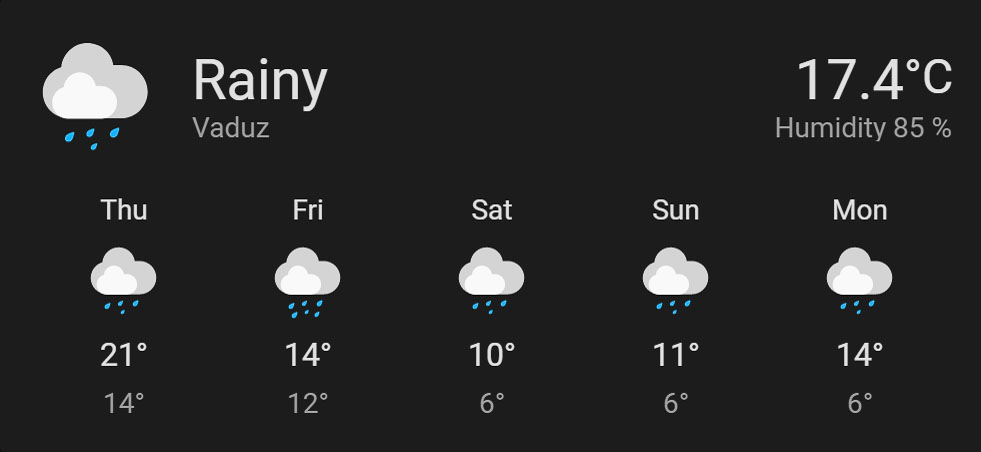
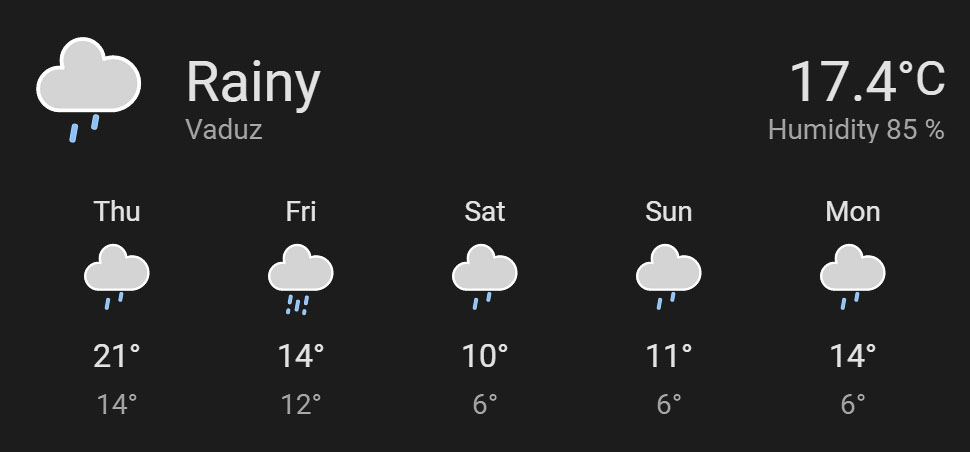
To display MeteoSwiss weather information, the Weather Forecast Card in Home Assistant is your go-to solution. Simply add this card to your dashboard and configure it to display data from the weather.[station name] entity. For a more visually appealing option, consider the animated weather card available within HACS.
How to Use Weather Data in Home Assistant
Home Assistant, leveraging weather data, can transform a smart home setup into a highly adaptive and responsive environment. Here are some examples of how weather data can be utilized within Home Assistant to enhance home automation and personal comfort:
- Climate Control Adjustments: Automatically adjust heating, ventilation, and air conditioning (HVAC) settings based on current or forecasted temperatures. For instance, reducing heating when a warm day is expected or starting air conditioning ahead of a heatwave.
- Irrigation and Gardening: Use precipitation forecasts to control smart irrigation systems, ensuring lawns and gardens are watered optimally. Home Assistant can delay watering schedules on rainy days or increase watering ahead of hot, dry weather.
- Energy Management: Integrate weather data to optimize energy consumption. On sunny days, for instance, prioritize solar energy usage or automate blinds and curtains to manage indoor temperatures naturally, reducing reliance on heating and cooling systems.
- Safety and Alerts: Use weather warnings to trigger alerts or automate preparations for severe weather conditions, such as closing windows and securing outdoor furniture in the event of high winds or storms.
- Window and Awning Control: Automatically close windows and retract awnings based on weather conditions like rain or high winds, protecting your home and extending the lifespan of outdoor furnishings.

In Summary
Integrating MeteoSwiss with Home Assistant offers a seamless way to access reliable weather forecasts and conditions, enhancing the functionality of your smart home in Switzerland. By following the steps outlined in this guide, you can enjoy a detailed, accurate weather data within your Home Assistant Dashboard, adding both utility and aesthetic appeal to your setup. Whether you're planning your day or automating your home environment based on weather conditions, the MeteoSwiss integration is an invaluable addition to your Home Assistant ecosystem.

Hi there
I installed Meteo swiss through HACS which worked fine and added the integration too. I only get the sensors as entities but cant get the data for my region. I’ve also installed Weather Forecast card but it seems like its not getting the data from Meteo Swiss. I only got one weather-entity which is called weather.home (from Meteorologisk institutt).
What am I doing wrong? Any help is much appreciated.
BTW, nice blog, just about to check it out a bit 🙂
Kind regards
Andreas
Hello
I have the same problem on my site. In the meantime do you have a workaround or a solution?
Kind regards
Patrick
Hey there. I’ve been experiencing the same issues, which is a massive shame (I will have to make an amendment to this post). On GitHub, there is a “fix” which I couldn’t get to work.
On the bright side, it does appear that for the first time, things are being developed again. I guess we just wait for the next release. Meanwhile, I have switched to OpenWeatherMap.
I just realized what I was doing wrong. In setting up the integration, it would auto-populate the PLZ with my current location. But the weather station it had selected was in another town. I changed the PLZ and now it works!
Thank You !!!
Worked (almost like a charm), just need to add a step after the integration in HACS, that to get meteoswiss appearing in HA integration you may need to webbrowser cache (once more even if done to get HACS initial integration).
From above: I just realized what I was doing wrong. In setting up the integration, it would auto-populate the PLZ with my current location. But the weather station it had selected was in another town. I changed the PLZ and now it works!
Hi work great. Any idea where I might get a list of all possible states?
e.g. the output list from {{states.weather.bern.state}}
partlyCloudy
snowy-rainy
rainy
…