In the age of digital media, managing a large home video collection can be both challenging and resource-intensive. Enter Tdarr, a cutting-edge, distributed transcoding system designed to streamline your media management. This guide delves into the seamless integration of Tdarr with Home Assistant, a powerful tool that transforms your approach to handling media files. By combining Tdarr’s transcoding capabilities with Home Assistant’s automation features, you unlock a new level of efficiency and control. Whether you're looking to optimize your media for different devices, free up disk space, or simply organize your collection more effectively, this integration presents an innovative solution. Read on to discover how you can harness the full potential of Tdarr and Home Assistant.
Contents
Tame Your Growing Video Collection With Tdarr
Struggling with an overflowing video library and unused or underused GPU? Tdarr is your solution. This powerful, distributed transcoding system specializes in converting, cleaning, and organizing media files efficiently. It's compatible with Windows, macOS, and Linux, and supports both x86 and Arm processors. Tdarr stands out with its use of renowned engines like HandBrake and FFmpeg, and offers a Docker image for convenience.
Why Tdarr and Home Assistant Are a Perfect Pair
Integrating Tdarr with Home Assistant elevates automation to a new level. This pairing brings your transcoding tasks into the realm of smart automation, syncing seamlessly with platforms like Plex Media Server. Imagine having your transcoding pause automatically when streaming begins, or optimizing GPU use during peak solar energy hours. That's the efficiency Tdarr and Home Assistant offer.
How to Install the Tdarr Integration in Home Assistant
As there currently is no official integration, following this guide will require you to install the Tdarr custom integration for Home Assistant. As is always the case when it comes to custom integration and third-party Home Assistant Dashboard cards, the only recommended way of adding them is by using the Home Assistant Community Store (HACS). If you haven't done so yet, you will need to set it up by following the guide on the website.
With HACS set up, you can enter it and search for tdarr, which should bring up the custom integration automatically. Install the integration and restart Home Assistant when prompted, to complete the task.
Adding a Tdarr Server to Home Assistant
Before you start, make sure you have at least one node connected to your Tdarr server. If you don't, the integration won't work properly. After completing this step, head over to the Home Assistant Dashboard and look for the Tdarr integration in the settings section. There, you can add the IP and port of your Tdarr server. Once you hit the submit button, the configured server should automatically show up in your list of integrations. By default, the Tdarr server will be polled every minute, a number which you can adjust in the integration's settings.

Tdarr Sensors in Home Assistant
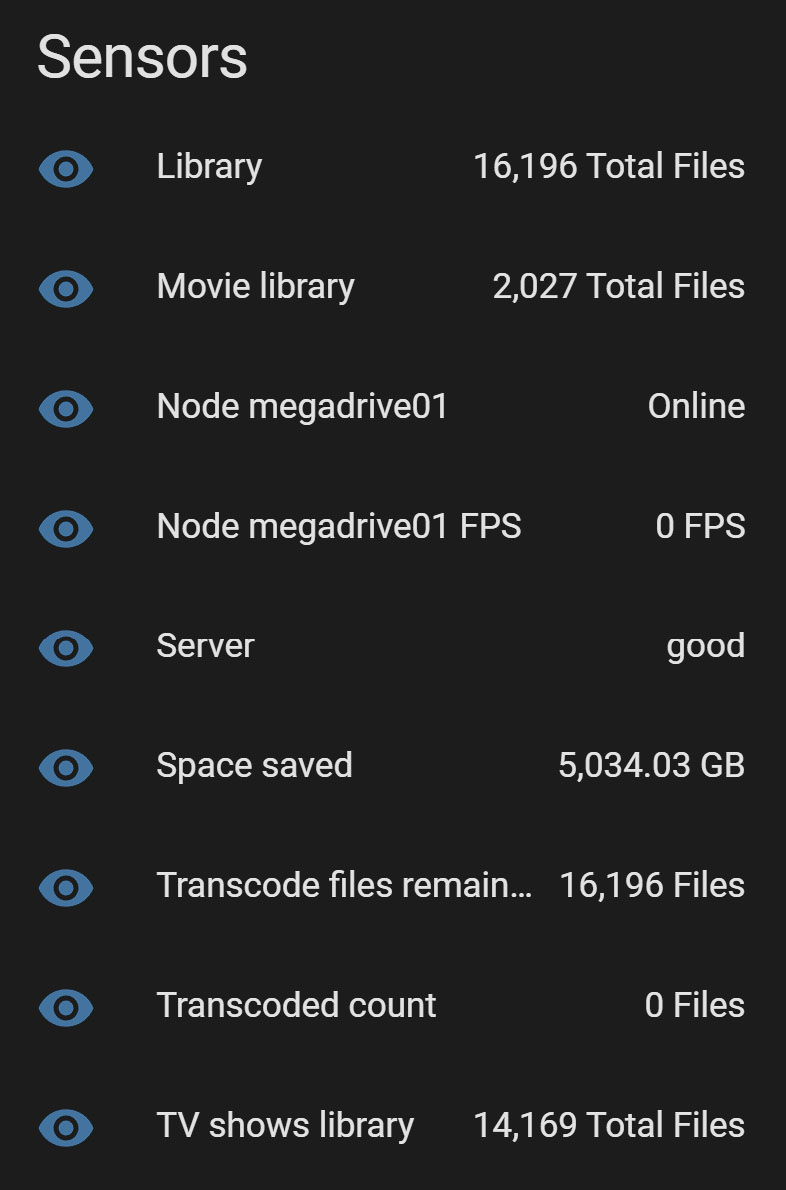
Integrating Tdarr with Home Assistant unlocks a range of insightful sensors, providing a comprehensive overview of your media transcoding activities:
- Comprehensive Library Insight: Instantly view the count of files in each of your libraries, along with a cumulative total across all libraries, giving you a clear picture of your media collection.
- Node Status Updates: Keep tabs on the health and activity of each Tdarr node linked to your server, ensuring optimal transcoding performance.
- Disk Space Tracker: Monitor the efficiency of Tdarr in real-time by tracking the amount of disk space recovered through its transcoding processes.
- Transcoding Workflow Overview: Stay updated with the count of files awaiting transcoding and track the progress with a summary of already transcoded files, keeping you informed about the workflow status.
These sensors enhance your Home Assistant experience by providing essential data, allowing you to manage and optimize your media library more effectively.
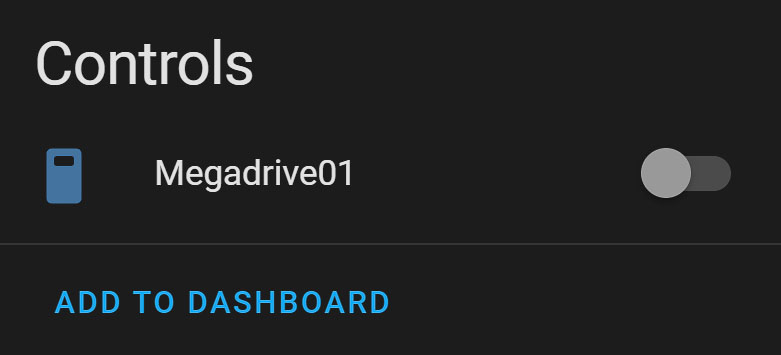
Tdarr switches in Home Assistant
Finally, and most importantly, the Tdarr integration with Home Assistant provides you with access to switches. These can be used to activate and deactivate individual nodes.