
Imagine this: you've proudly built your very own chair occupancy sensor, but alas, it's playing a game of musical chairs with your Home Assistant occupancy groups. Fear not, dear reader, for I shall be your guide in this thrilling adventure of inverting binary sensors in Zigbee2MQTT.
Contents
Access the Inner Sanctum: configuration.yaml
To rectify this perplexing inversion issue, you must first venture into the heart of Zigbee2MQTT: the configuration.yaml file. Although Zigbee2MQTT's dashboard is a veritable treasure trove of options, it is no help when it comes to this particular task.
Before embarking on this digital odyssey, make a brief stop at the dashboard to identify the type of sensor you're wrestling with. In our case, it's a contact sensor, as evidenced by the accompanying screenshot.

The Art of Inversion
With the sensor type in hand, it's time to dive into the depths of configuration.yaml. If you haven't already, consider assigning a friendly name to your sensor via the Zigbee2MQTT dashboard. Doing so will make finding your sensor as easy as spotting a bright red apple in a sea of green.
Once you've located your sensor, add these lines to the file, taking care to replace contact with the appropriate sensor type:
'0x0015bc001e014be2':
    friendly_name: office/sensor/chair_occupancy
    homeassistant:
      contact:
        payload_on: true
        payload_off: false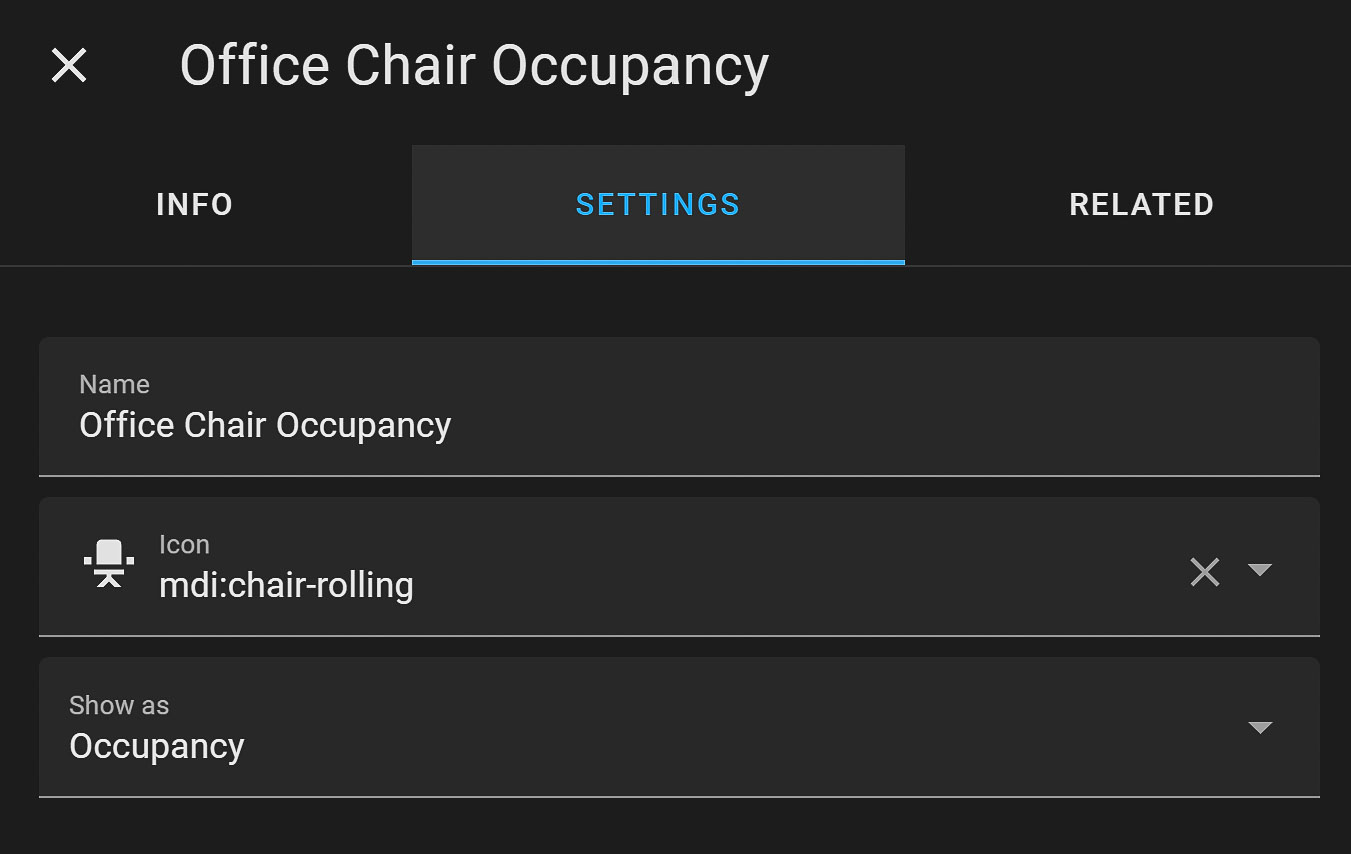
Victory: Inverted Sensor Achieved
Congratulations, intrepid explorer! You've successfully inverted your binary sensor in Zigbee2MQTT. But before you celebrate, remember to restart the application to ensure your changes take effect.
As a final precaution, return to Home Assistant and confirm that your sensor is indeed reporting accurately. Now you can sit back (literally) and enjoy the fruits of your labour, knowing that your chair occupancy sensor is working in perfect harmony with Home Assistant.
