Installing and configuring the Studio Code Server add-on for Home Assistant is a pivotal step in simplifying your smart home system's configuration. This guide walks you through adding this indispensable tool, designed to assist with setting up integrations not directly configurable from the Dashboard and streamline configuration edits. Leveraging the prowess of Microsoft's popular Visual Studio Code, this add-on taps into the code editor's popularity and versatility, offering a browser-accessible version, code-server, tailored for Home Assistant use.
Contents
Prerequisites
This guide is a continuation of the Home Assistant Beginner's Guide. Previously, we showed you how to install the Home Assistant Operating System, on top of which Home Assistant Core runs, on a Raspberry Pi. Before you get started with configuring anything, we highly recommend setting up regular, automated backups, as these will allow you to restore your system, should you make any mistakes.
Installing the Studio Code Server Add-on for Home Assistant
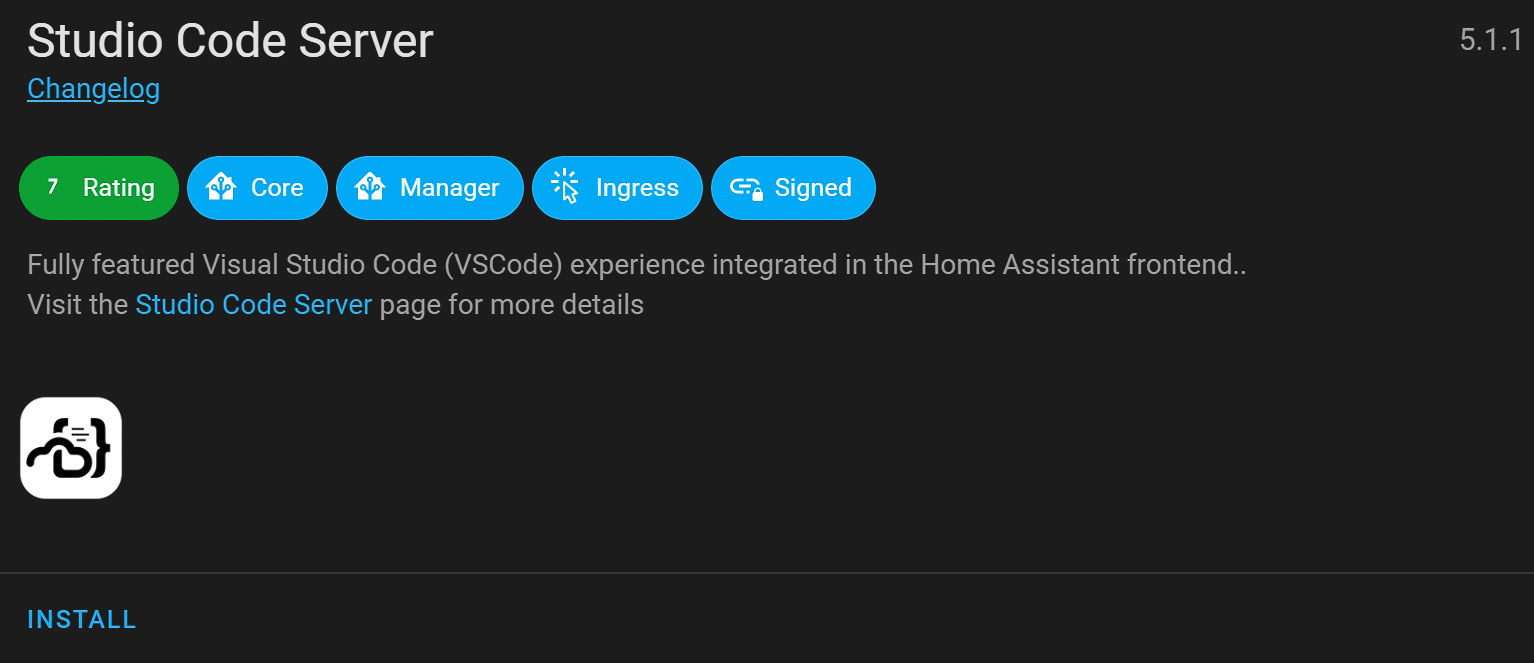
To start, the installation process is conveniently straightforward, thanks to the Home Assistant Add-on Store. Unlike some add-ons that require adding external repositories, the Studio Code Server is readily available under the 'Home Assistant Community Add-ons' section. Here's how to do it:
- Navigate to the Add-on Store in your Home Assistant interface.
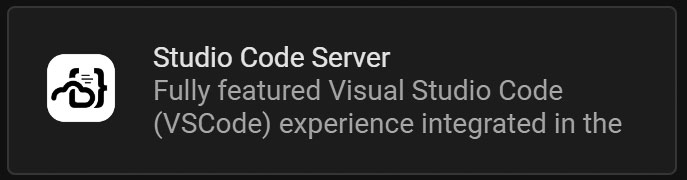
- Scroll or search for the Studio Code Server under the 'Home Assistant Community Add-ons'.
- Click on it and press the installation button in the ensuing window.
We recommend enabling all the options available for the add-on to fully leverage its capabilities, especially as your familiarity with Home Assistant grows.

Configuring the Studio Code Server Add-on for Home Assistant
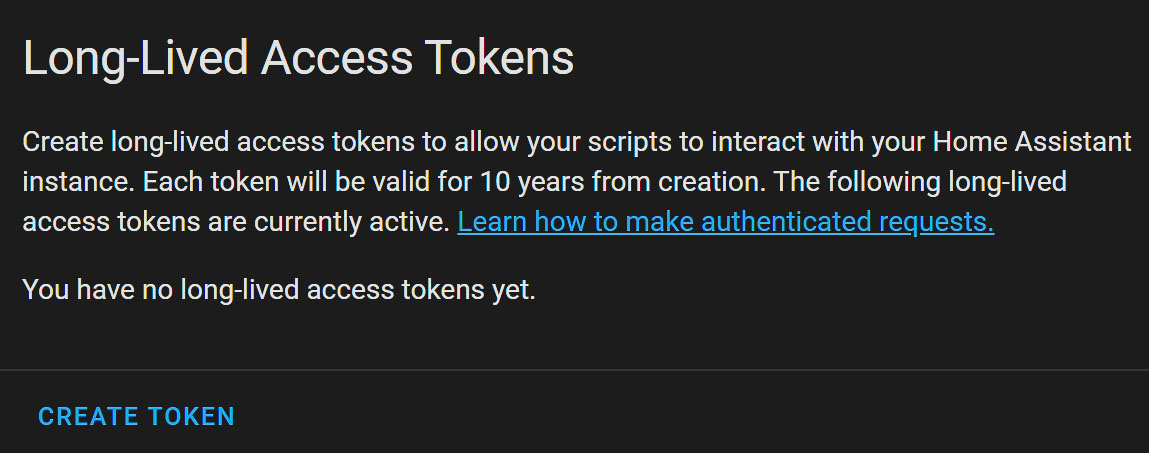
Before you dive into the wealth of features offered by the Studio Code Server, securing its access to your Home Assistant files with a long-lived access token is critical. This step ensures that your interactions with the server remain private and secure. Here's what to do:
- Go to your profile by clicking your profile picture or initials in the bottom-left corner of the Home Assistant dashboard.
- Scroll down to the bottom to find the option to create a new long-lived access token.
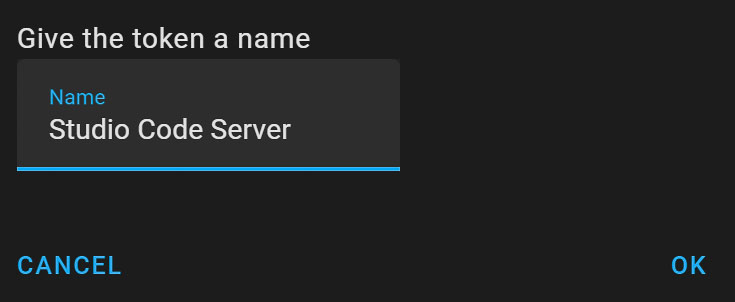
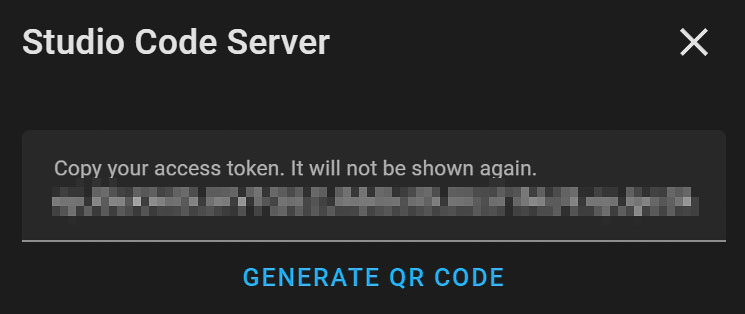
- Name your token for easy identification later on and copy the generated token. Keep this token secure and never share it; if compromised, delete it and create a new one.
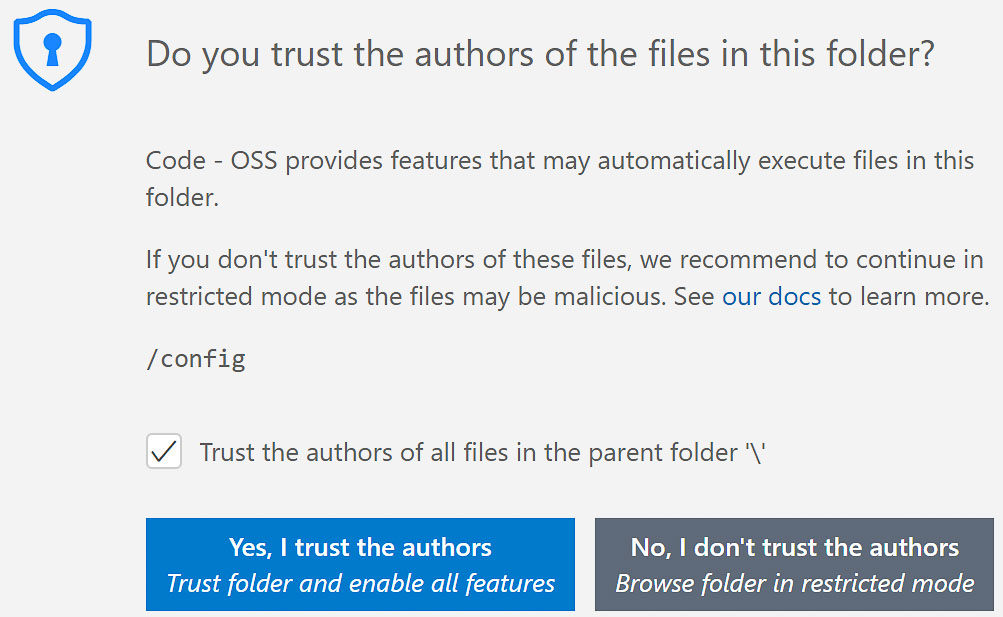
With your token ready, you can now proceed to access the Studio Code Server from the Home Assistant sidebar. Upon first access, you'll be prompted to trust the folder you're accessing. Given this access is restricted to your Raspberry Pi's storage, it's safe to trust the folder and, for convenience, the parent folder too.
Enhancing Your YAML Configuration Experience
The Studio Code Server add-on comes with the Home Assistant extension preinstalled, yet it requires a bit of setup to fully harness its power. This extension significantly enhances your configuration experience by offering features like:
- Autocompletion for entity IDs, services, scenes, and triggers.
- Validation of your configuration against Home Assistant's schema.
- Evaluation of templates directly within the editor, bypassing the need to use Home Assistant's developer tools.
To configure the Home Assistant Config Helper extension:
- Open the Studio Code Server and press
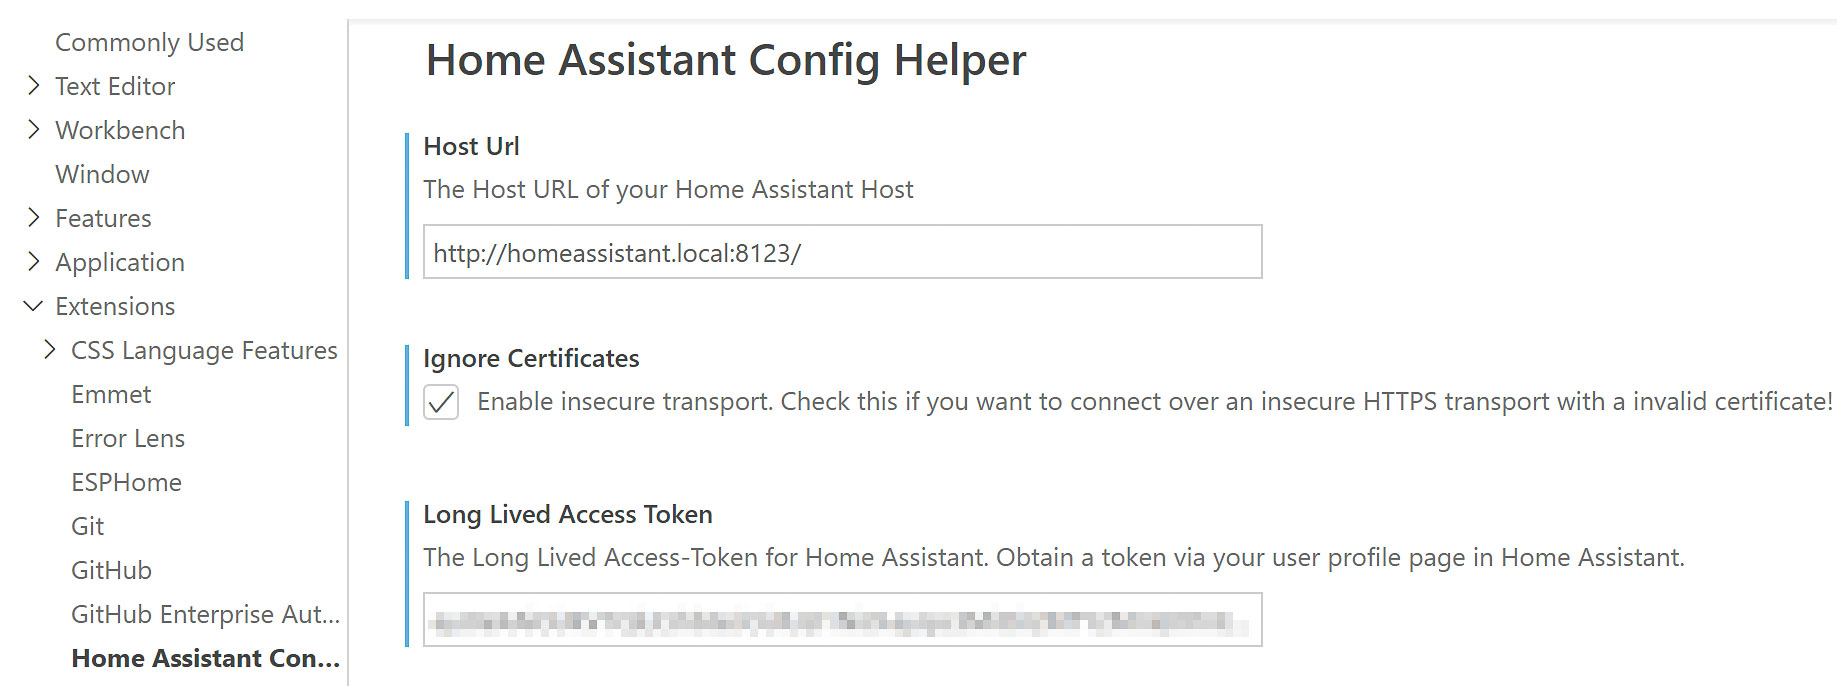
CTRL + ,to access the settings. - Navigate to the extensions menu and locate the Home Assistant Config Helper.
- Enter your Home Assistant's URL and the long-lived access token you created earlier.
This configuration step integrates the extension's functionality directly into your workflow, making editing and validating your YAML configurations as seamless as possible.
How the Home Assistant Config Helper Makes Editing YAML Easier
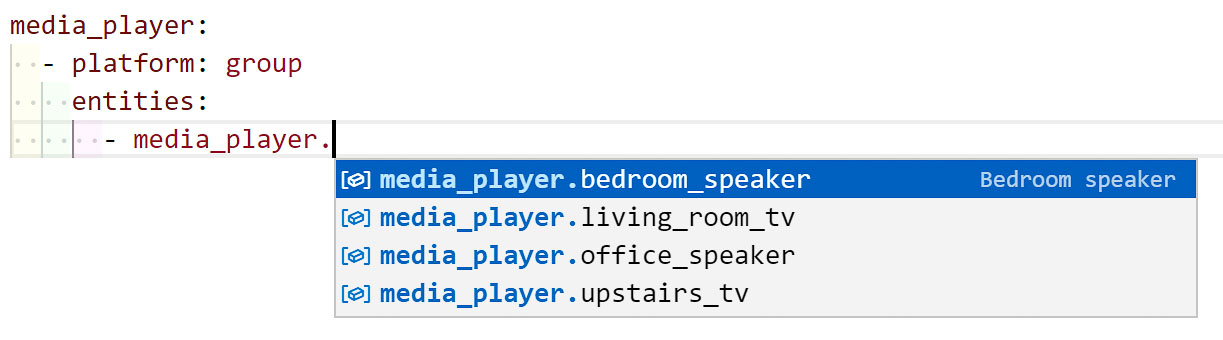
The main reason to be using the Home Assistant Config Helper, is that it can save you time. Take the example shown in the screenshot. The extension will autocomplete any entities you enter, meaning you don't need to look up the correct name, and there is no way of entering the wrong information. You can select the entity you want using the arrow keys on your keyboard, and confirm it by hitting ⏎ RETURN. Your fingers never even have to leave the keyboard.
If, for some reason, the extension shouldn't work, make sure you have selected the correct language mode. At the bottom of the editor, you will see a blue bar, in which the language and keyboard layout are listed.

