Thou shall not use Home Assistant without regularly backing up your configuration. Despite becoming increasingly stable and harder to break, the first thing I suggest doing after setting up Home Assistant is to configure automated backups. Especially if you are using a Raspberry Pi. While the backup prompts Home Assistant automatically presents when installing an update, are great, they aren't quite enough. Let me guide you through configuring Home Assistant to automatically send backups to Google Drive and sparing you any future headaches.
It used to be the case that YAML-errors were the main reason for backing up your Home Assistant configuration. In the early days, before any integration could be set up in the Dashboard, it was all too easy to stop Home Assistant from starting up due to configuration errors. The more user-friendly Home Assistant we have to today does much to circumvent that. However, what it can't do is stop a microSD card from corrupting or braking altogether.
You see, microSD cards are fragile little things, and frequently don't like being written to repeatedly. That is why keeping backups on the same storage medium that is running the Home Assistant Operating System makes no sense.
Contents
Creating a dedicated Google account (optional)
This step is optional, but you might want to create a dedicated Google account just for your Home Assistant backups. Google gives you 15 GB of free storage for, which will be more than enough for Home Assistant. As you hopefully won't need to frequently access the backups, you also won't need to stay logged in to the dedicated account. Besides using up your storage, there are no disadvantages to using your personal account.
Installing the Home Assistant Google Drive Backup add-on
This guide requires a frequently used Home Assistant add-on. Developer Stephen Beechen created the Home Assistant Google Drive Backup add-on, and its full source code is available on GitHub. The add-on being open source does not mean that anyone will be able to see your Google credentials or have access to your Drive. What it does mean is that anyone can view the source, contribute code, and sound the alarm bells if something seems fishy.
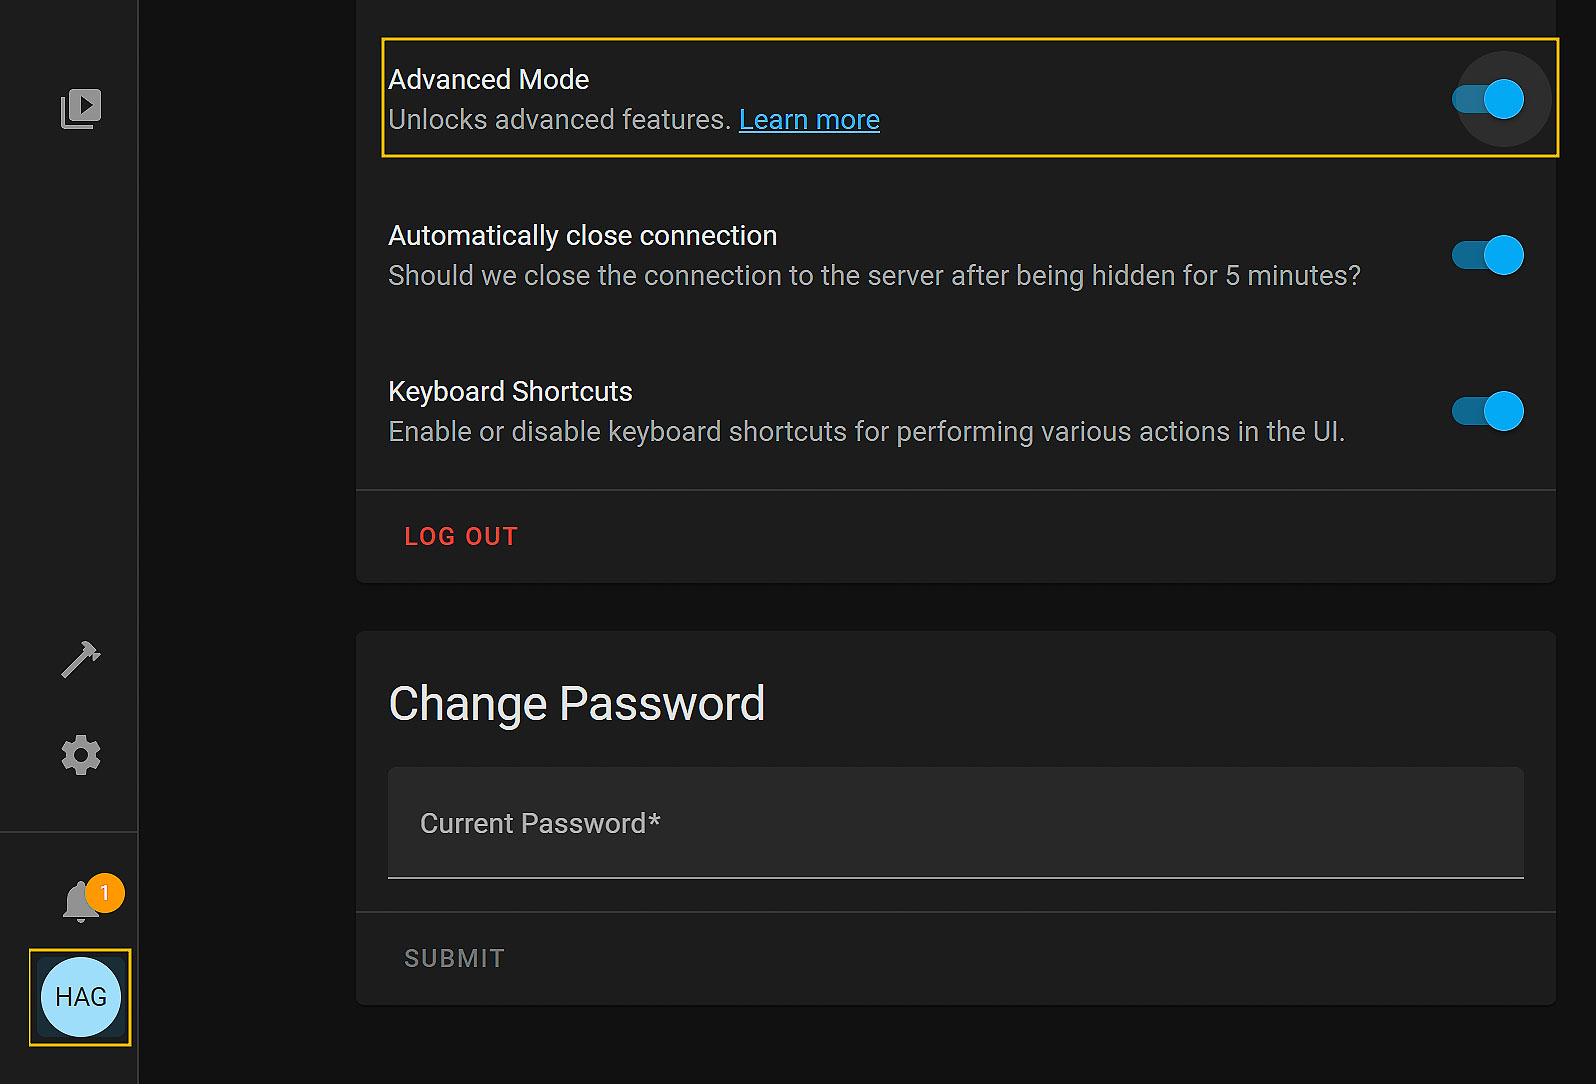
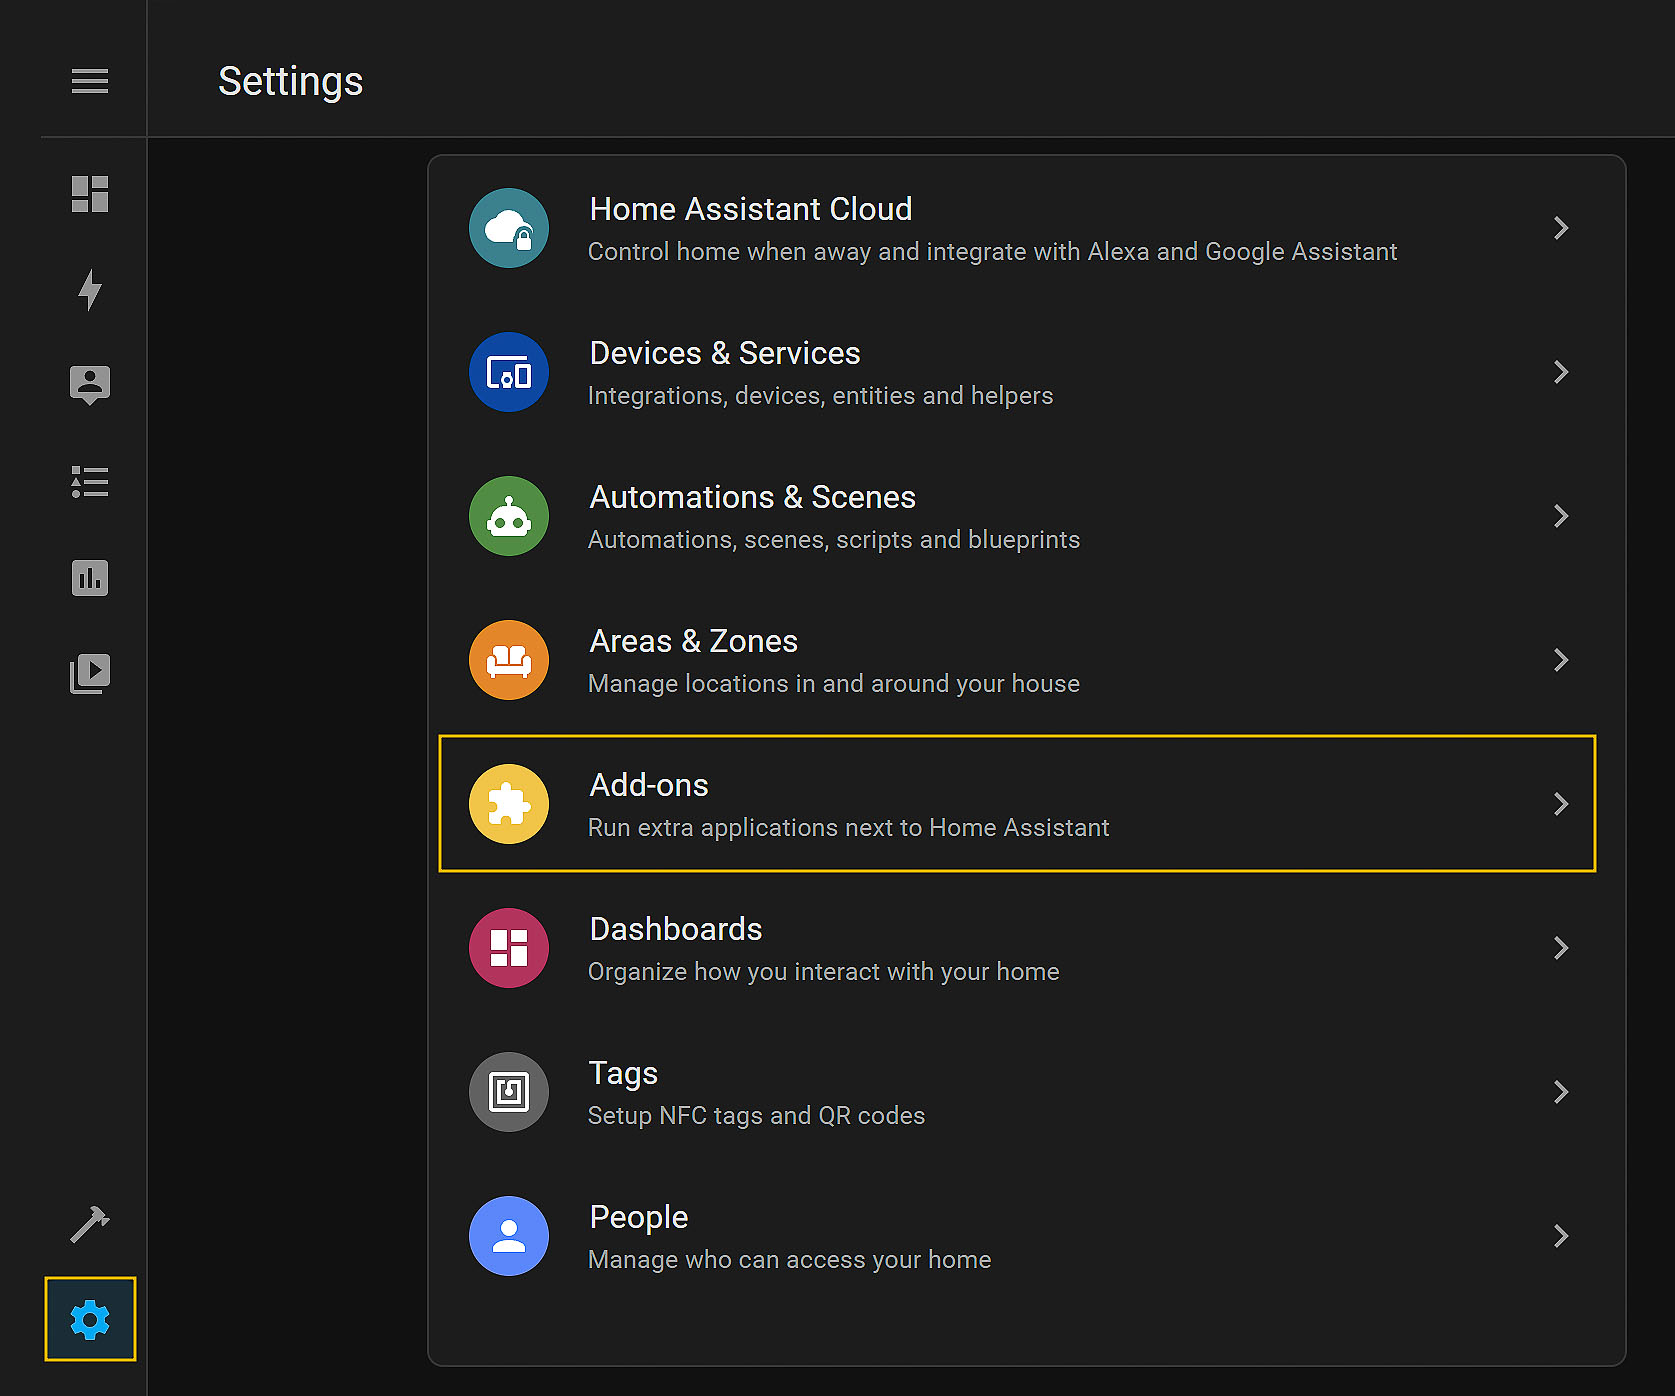
The first step is to enable Advanced Mode in Home Assistant. You will find this option in your user profile settings. This is required to be able to make use of third-party add-ons. Next, enter the settings and select add-ons from the top-level list. If you haven't installed any add-ons yet, you will be notified that that is so. You can continue by clicking on that note.
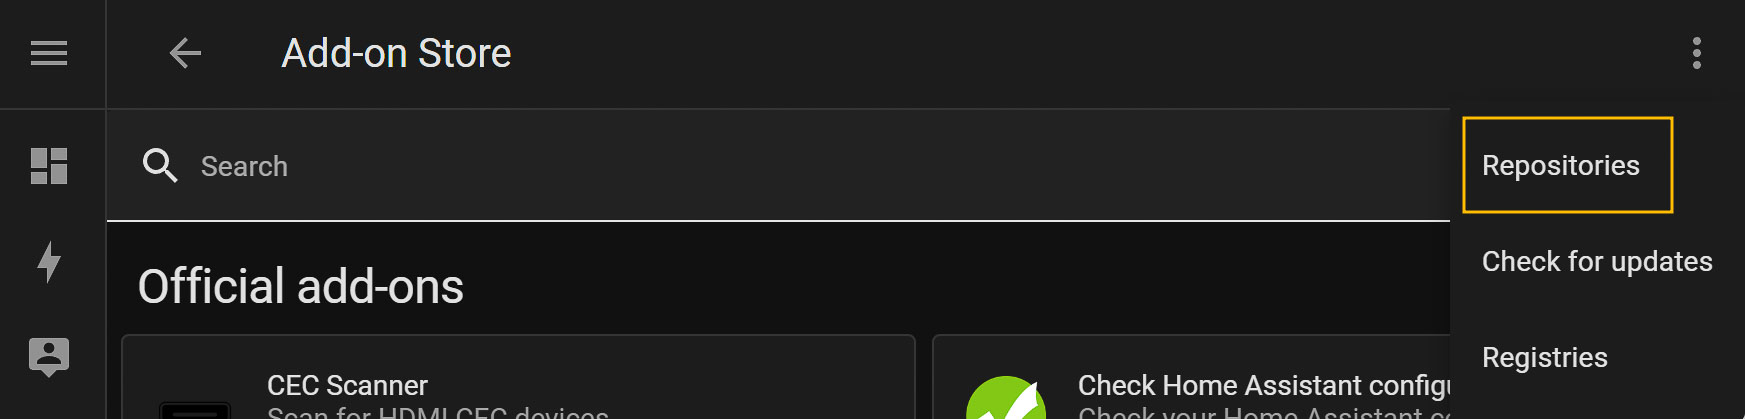
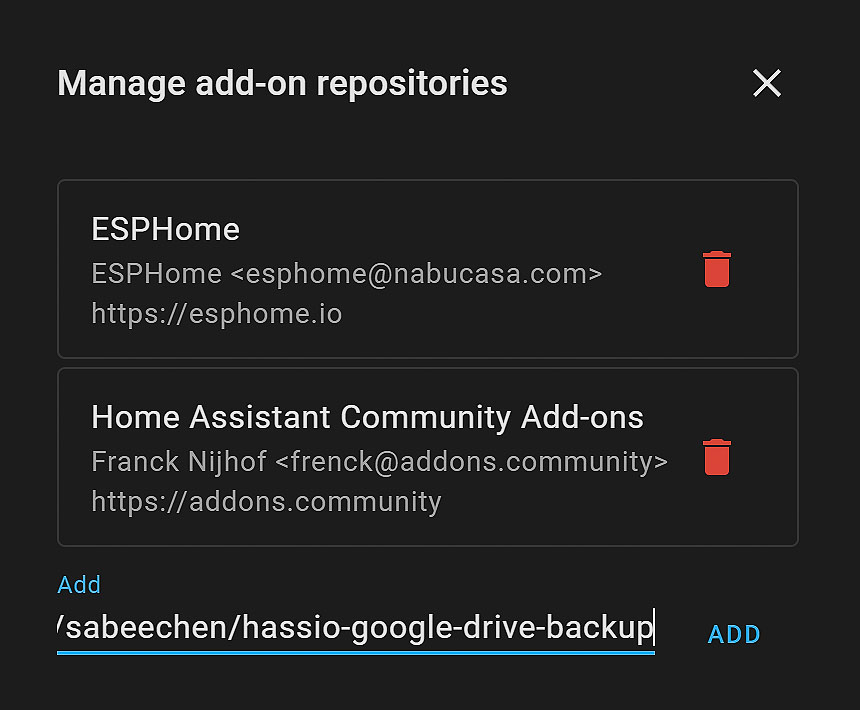
Once you are in the Add-on Store, click on the kebab menu (three vertical dots in the upper-right corner), and select the repositories option. In the following pop-up, enter the URL displayed below and click on add: https://github.com/sabeechen/hassio-google-drive-backup
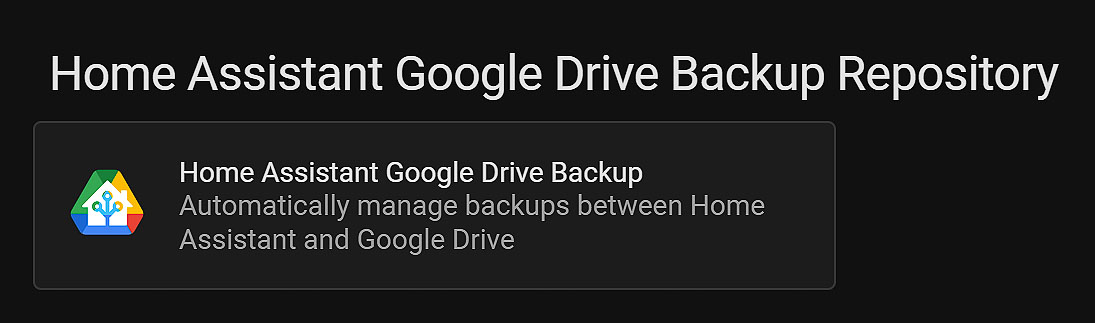
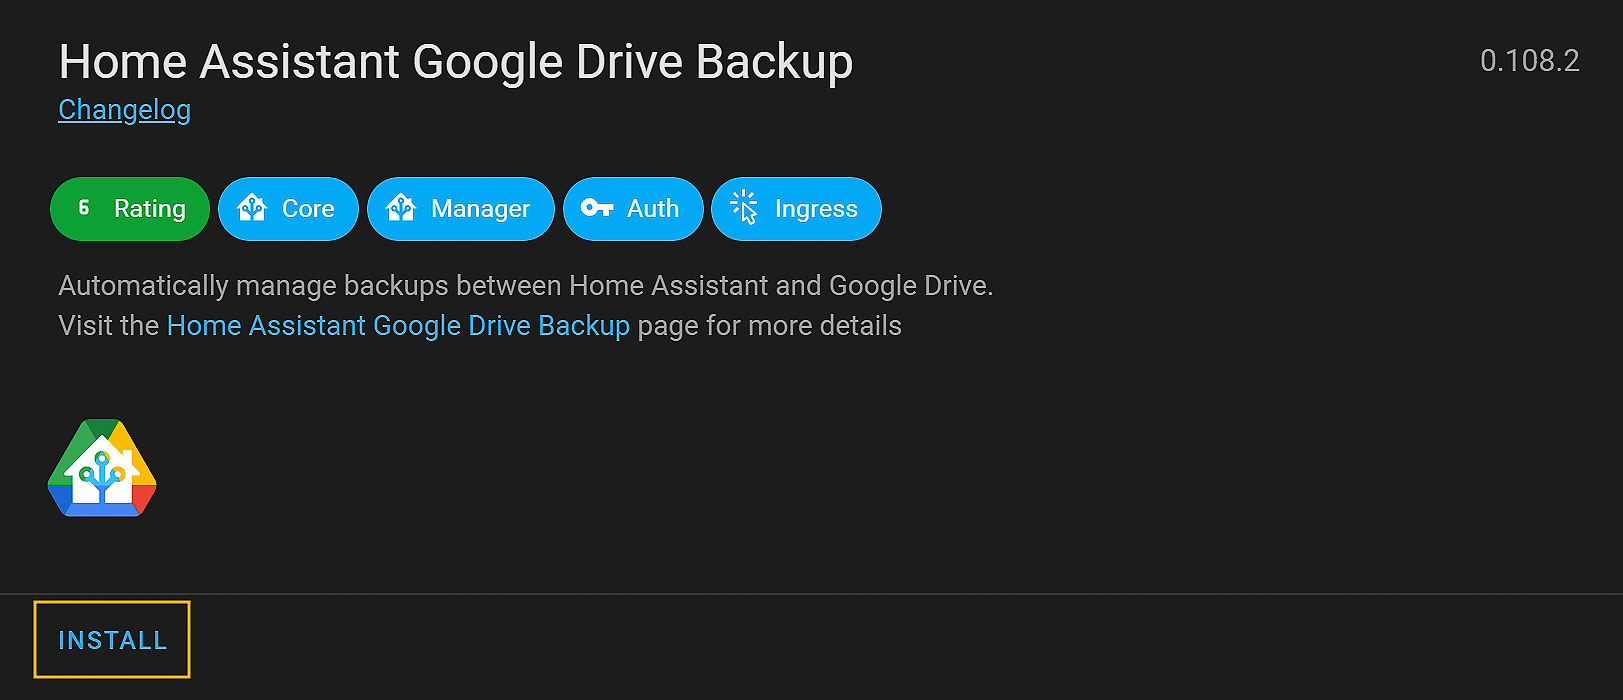
Once the repository is added, you can close the pop-up and scroll to the bottom of the list of available add-ons. You should now see a card with the Home Assistant Google Drive Backup add-on. Click on this card and install it.
Configuring the Home Assistant Google Drive Backup add-on
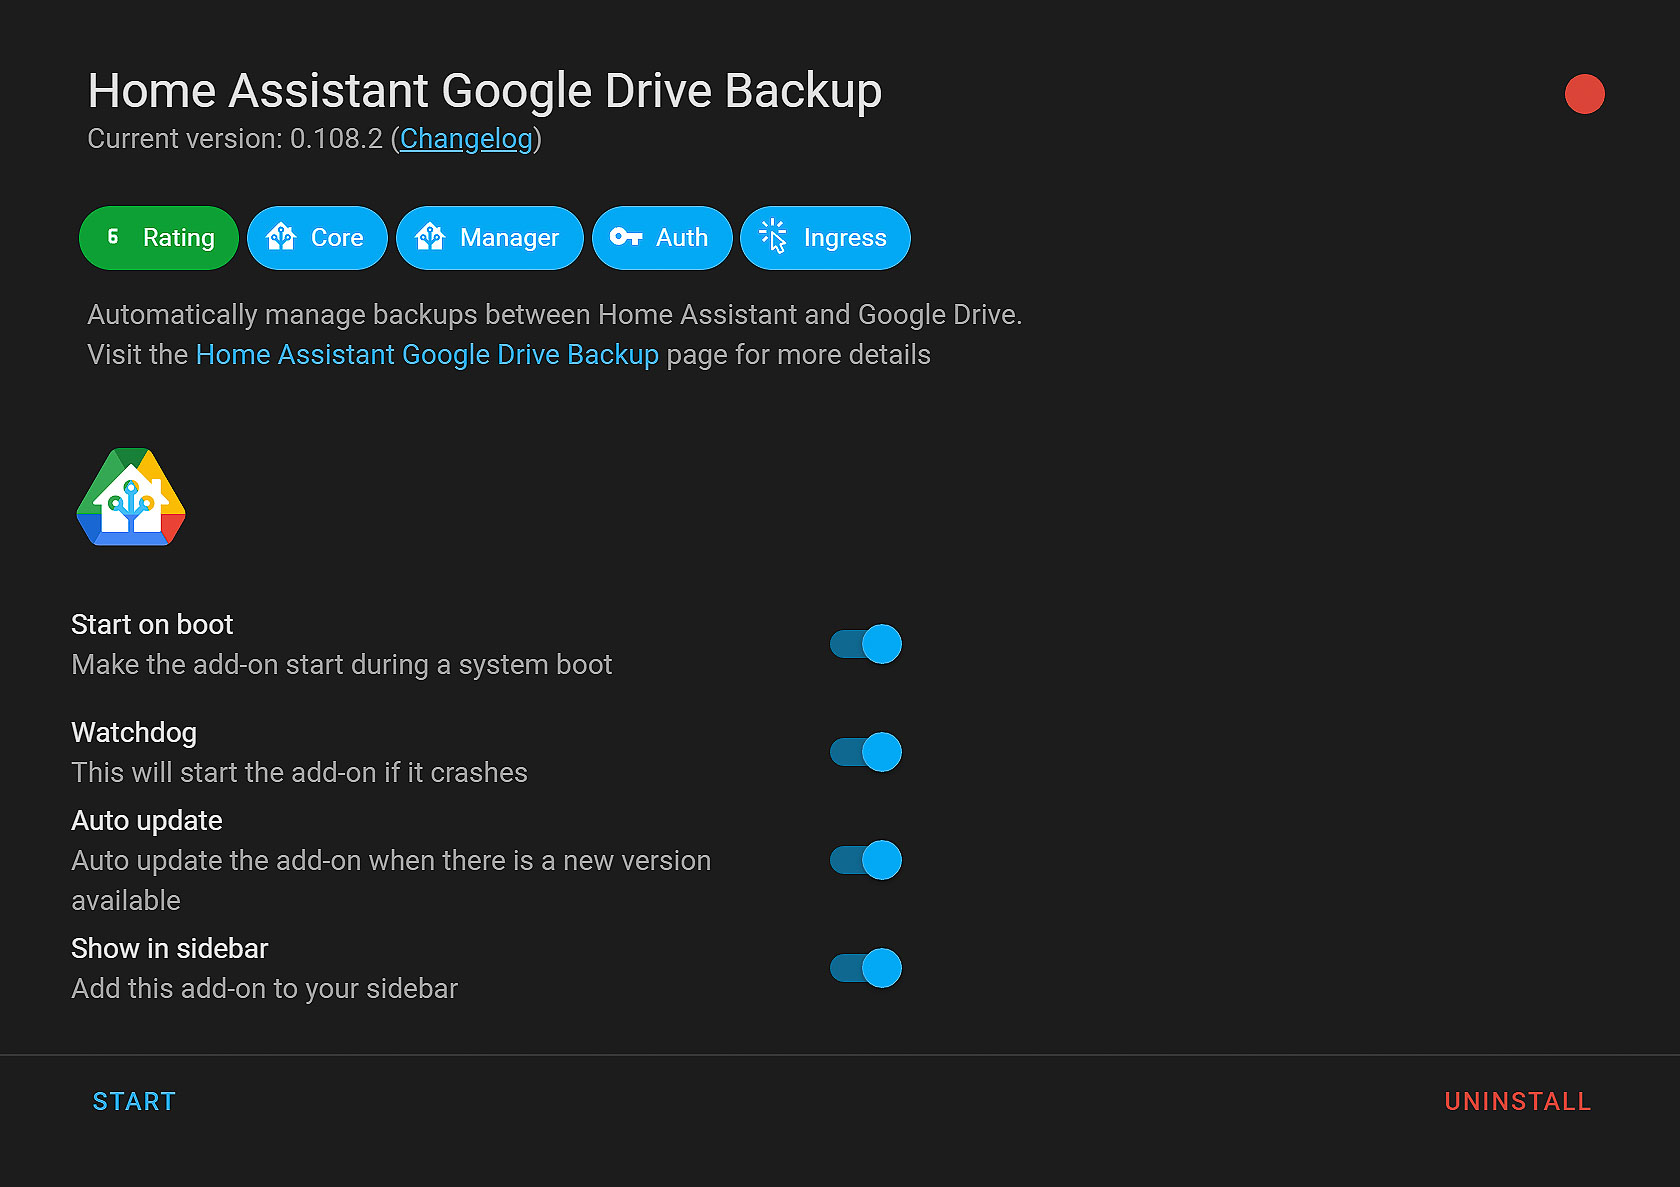
Once Home Assistant has completed the installation, you are presented with four options, which you can individually enable or disable. To start off with, I highly recommend enabling all four options. In the future, you might want to hide the add-on from your sidebar, or perhaps you will only want to manually install updates after waiting to see if any other users reported errors. With all four options enabled, you can start the add-on by clicking on the button in the bottom-right corner.
Connecting Google Drive
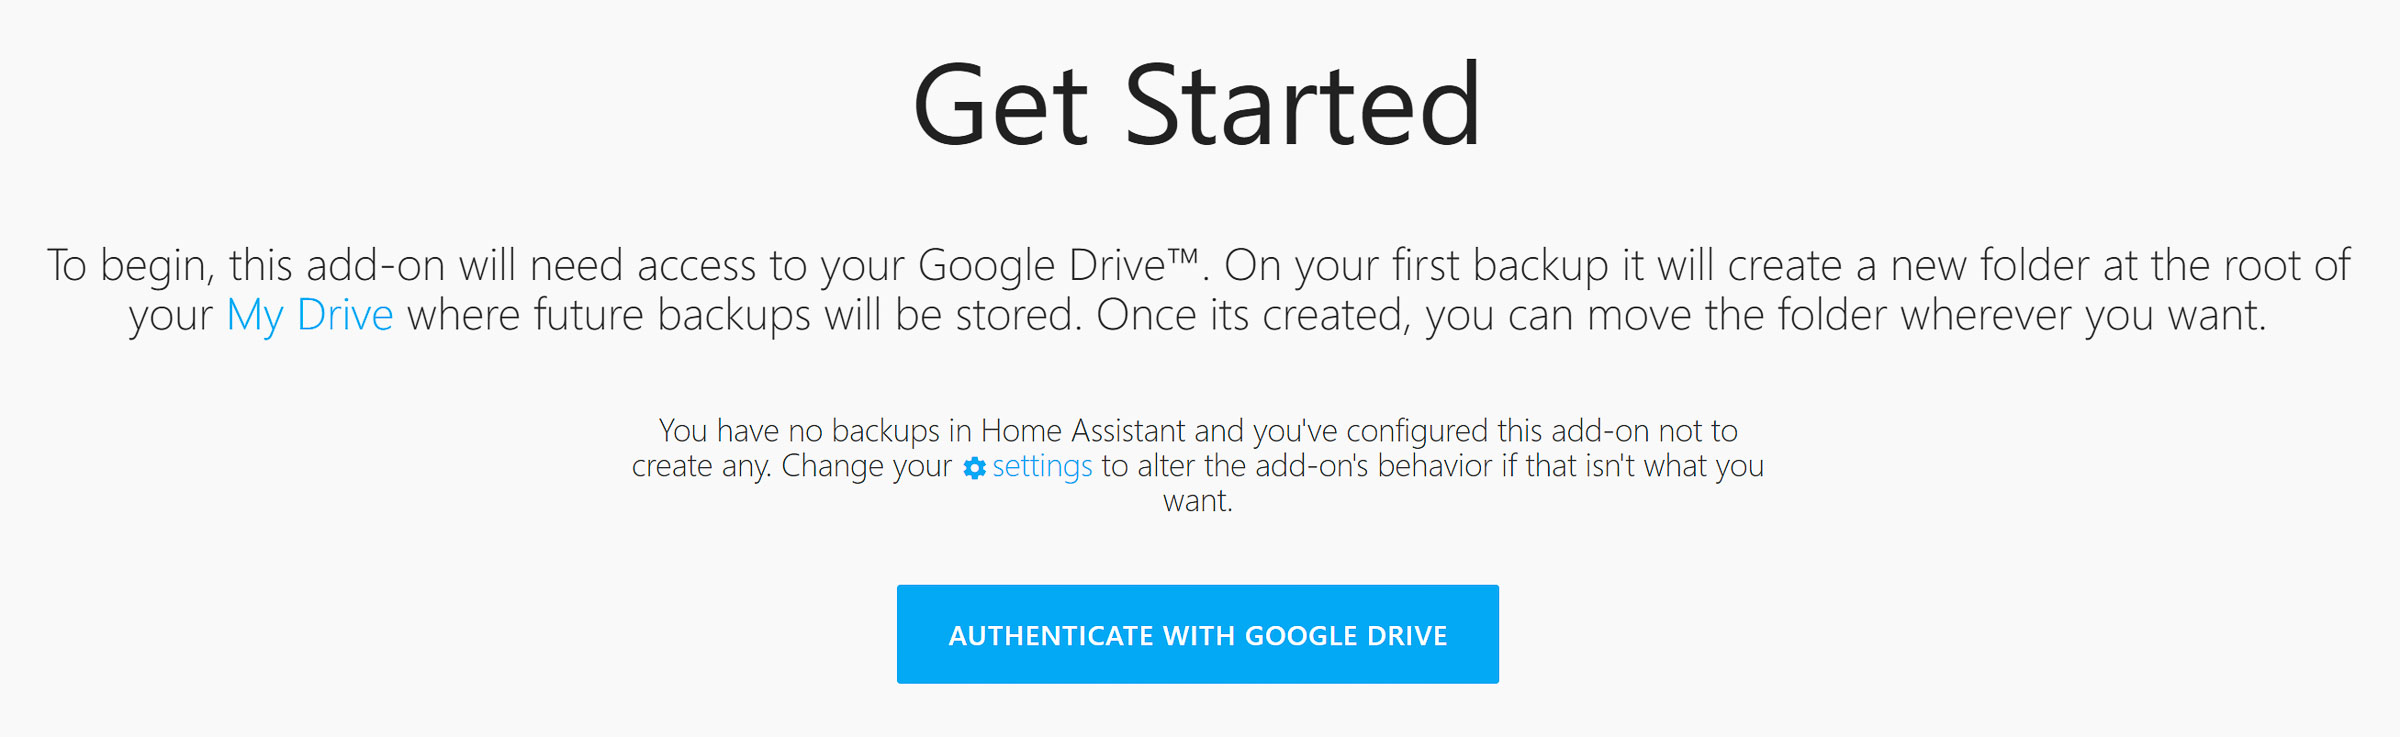
With the Home Assistant Google Drive Backup add-on installed and started, you should see a cloud icon in your sidebar. Click on the cloud to enter the add-on's settings. You will be presented with a button for the authentication with Google Drive. Click on this button, log in to your Google Drive account in the new window that opens, and give the add-on the permissions it needs.
You might notice that you are giving the permissions to https://habackup.io/ and not to Home Assistant or the Google Drive Backup add-on. Threat not, this is the creator's website, and it is needed to make the add-on work. This does not mean that any third party will have access to your Google Drive.
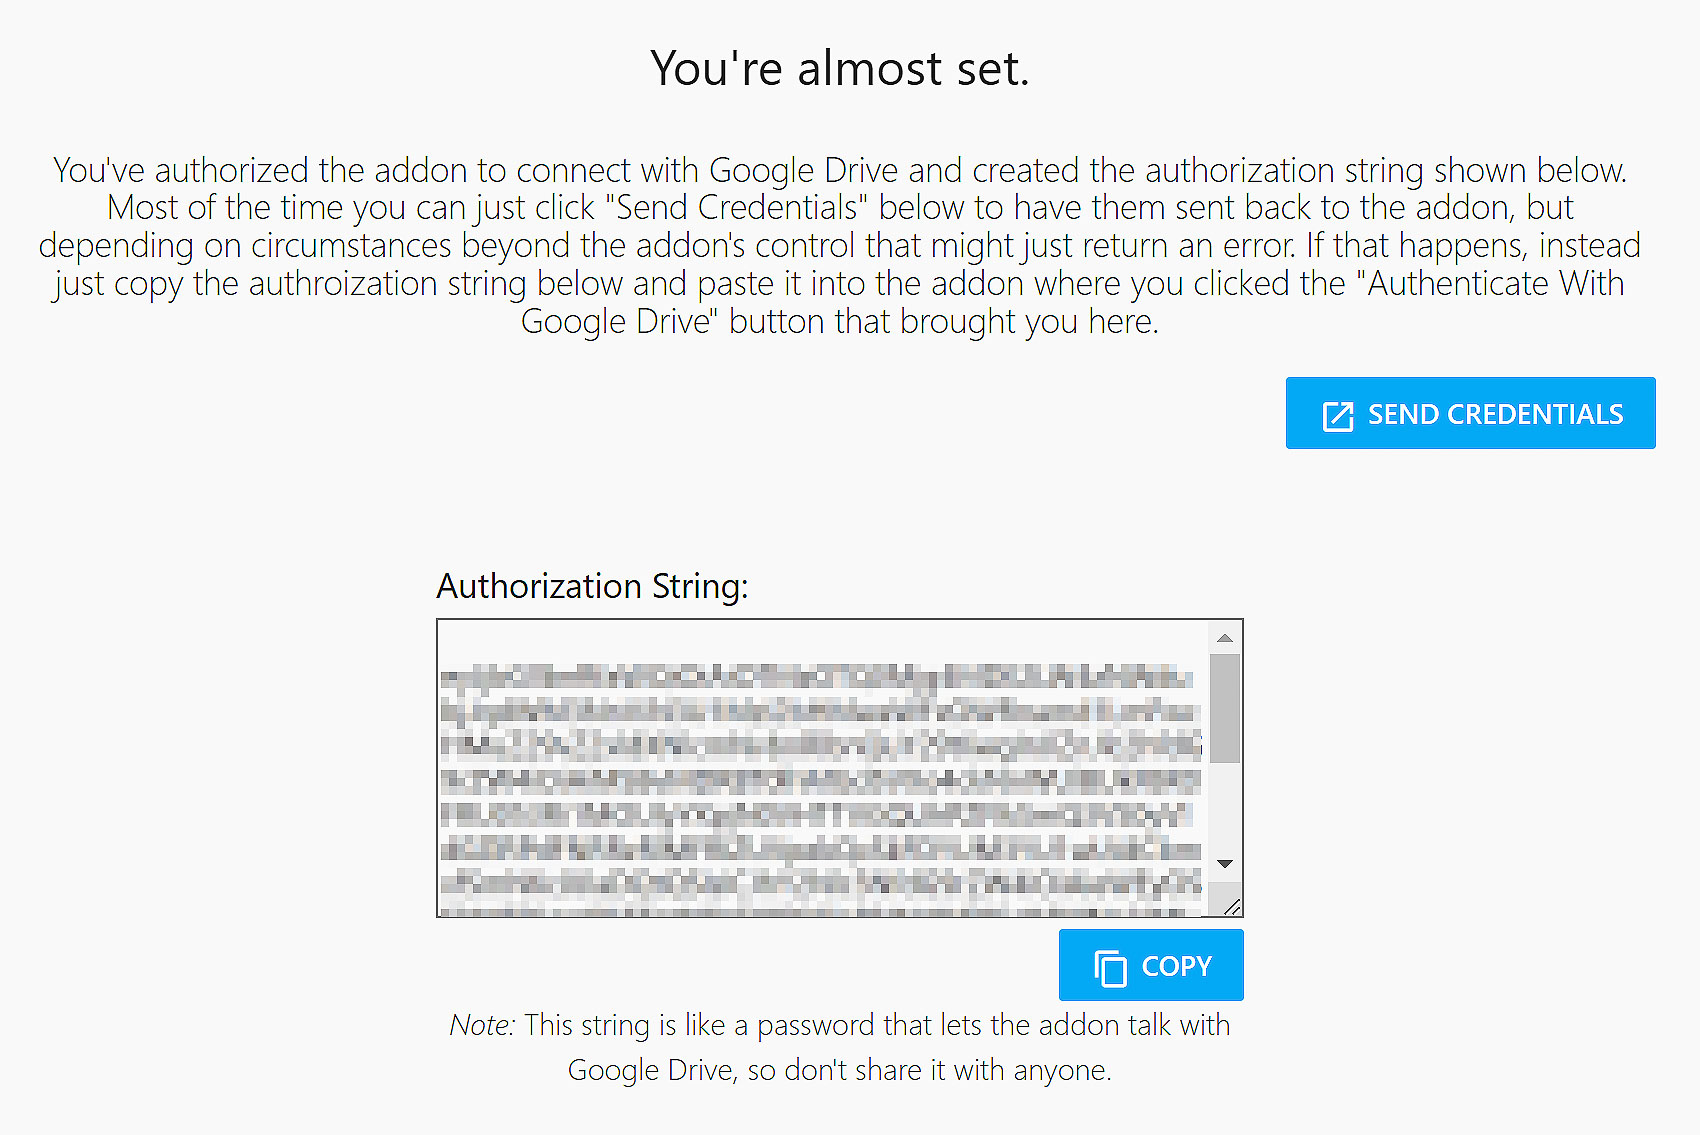
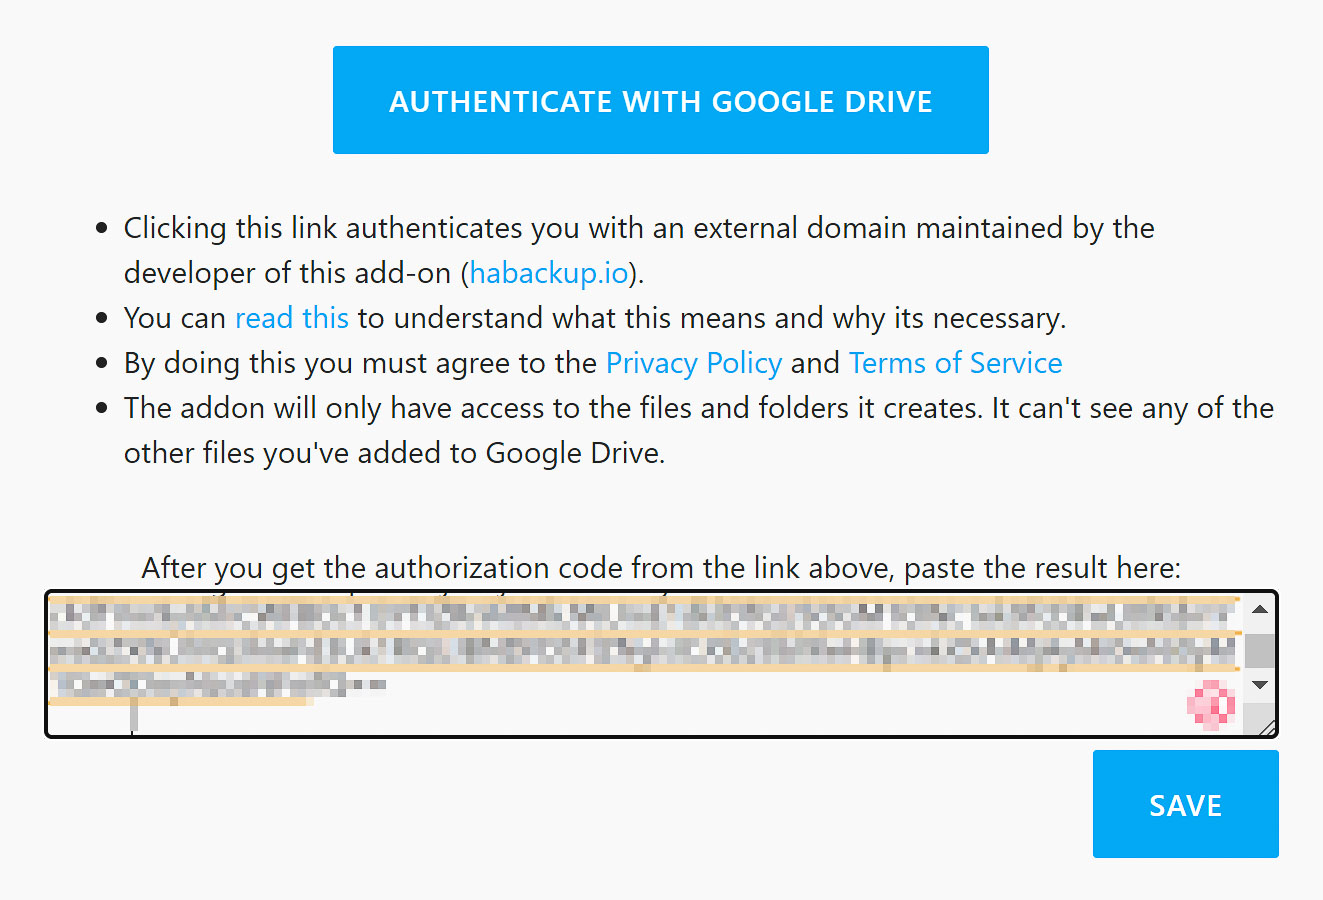
Once you are logged in and have granted the permissions, you will be presented with the options to send the credentials to the add-on automatically and also a string in a text field. You can try to send the credentials, and if that doesn't work (as was the case for me), copy the string using the button and return to the add-on. Underneath the button titled 'Authenticate with Google Drive', you will find an empty field where you can paste the previously copied string. By clicking the button titled 'Save', your Google account should be connected.
It is of utmost importance that you do not share this string with anyone. If you know or suspect that you have done that, head over to https://myaccount.google.com/, remove the add-on from the list of apps with access to your account, and restart this guide from scratch.
Finishing things up
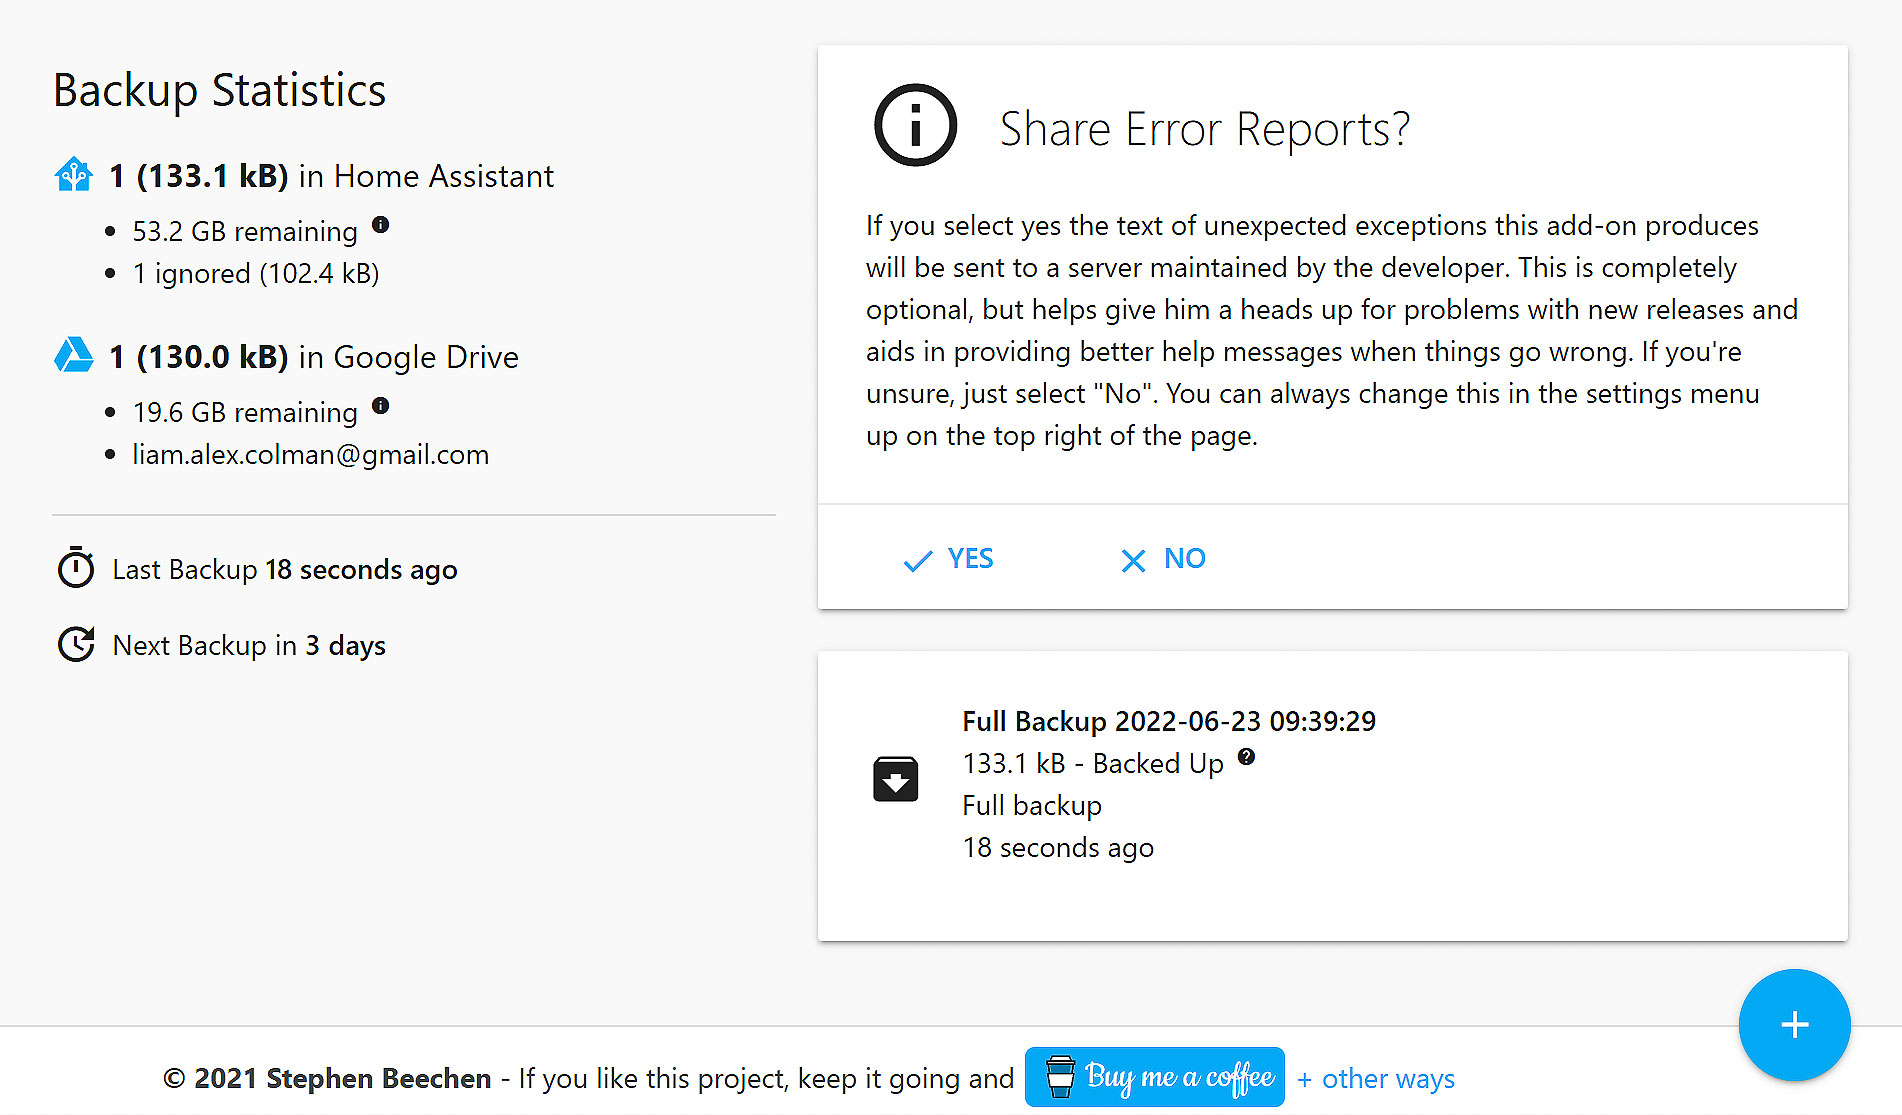
With the account connected, you need to wait a few minutes for the Home Assistant Google Drive Backup add-on to create its first backup. Once that is complete, there are a few options you might want to explore. The first is whether you want to share error reports. Generally, I opt out of such offers when there is a big company behind a product, such as Google or Microsoft. Here we are talking about a handful of developers doing things in their spare time. Considering this add-on might one day save you hours or even days of work, I think the list one can do is to share these reports. At the bottom of the screen, you have ways to monetarily support the developers. Again, this add-on can save you hours of work, if you have a few pennies to spare, please consider helping the developers out.
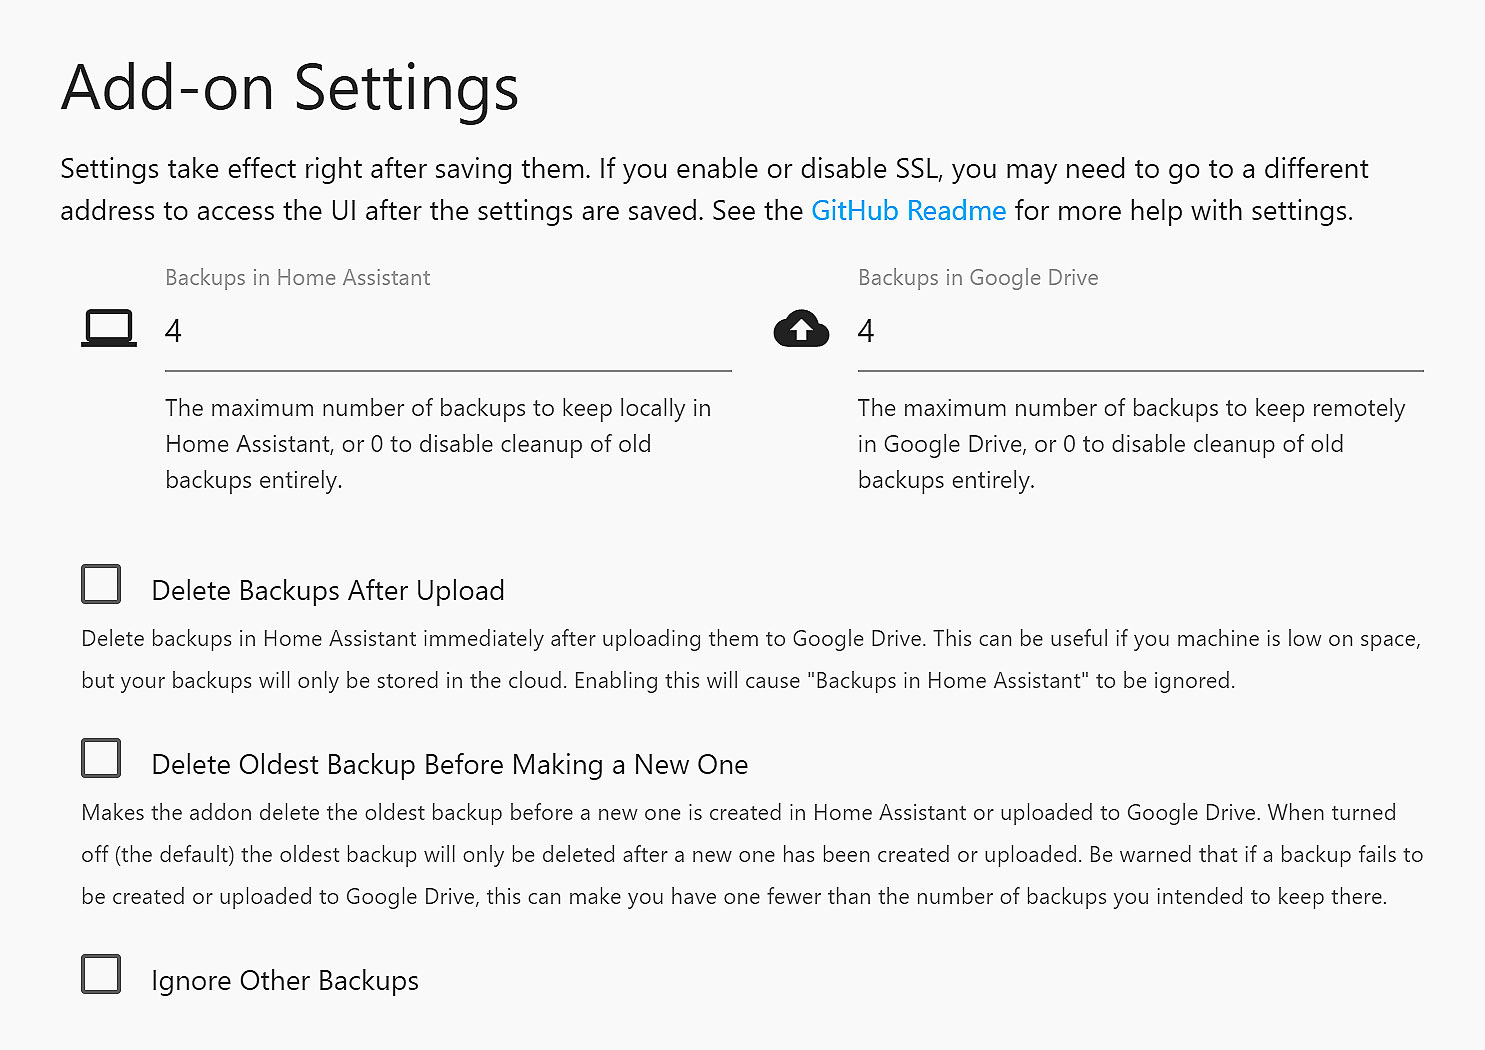
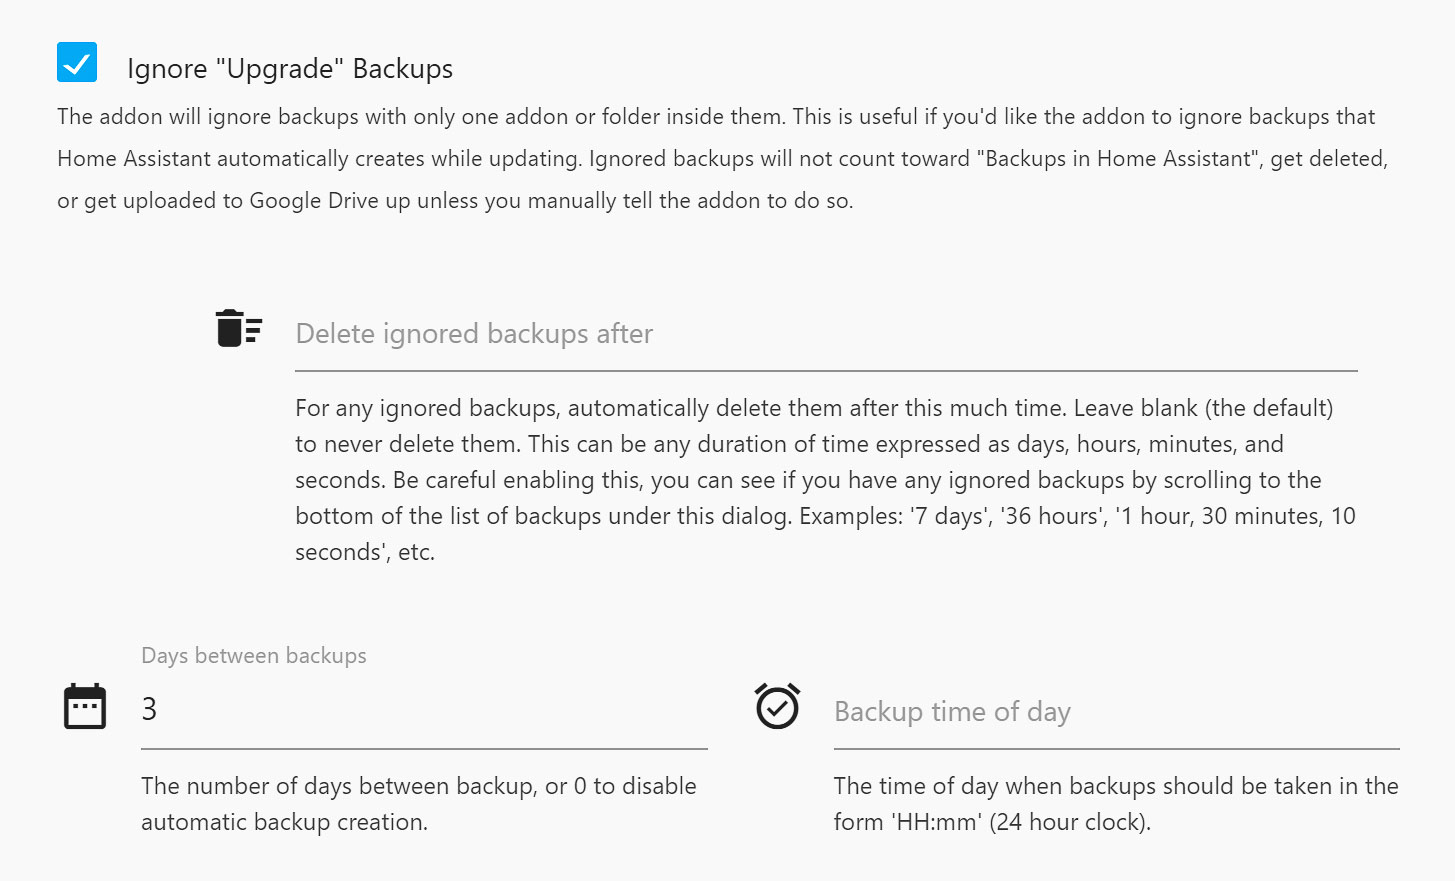
By selecting the settings at the top of the screen, you gain additional control over how the add-on functions. The two most relevant options for now are how often the add-on creates a backup, and how many are stored. If you are a complete beginner, I suggest increasing the number of stored backups, and also the frequency.
If you have enough storage available, I recommend a daily backup, which will be kept for one to two weeks by setting the number of backups from anywhere between 7 and 14. Additionally, I recommend setting the time the add-ons run to when the Raspberry Pi running Home Assistant has most free resources, which is usually during the night when everyone is sleeping. I recommend you go through the options one by one, and apply what seems appropriate for you. Keep in mind that you can always come back and change things, once you are used to working with Home Assistant.
Finally, you have the option to move the folder in your Google Drive. Google Drive uses IDs for folders, so you are free to place it wherever you want. What you can't do is delete the folder and create a new one with the same name. In that case, the add-on will recreate the original folder.
