
The popular Home Assistant Community Store add-on, Circadian Lighting, is set to become a core feature of Home Assistant. It trumps over the existing Flux integration, which adjusts the temperature of your lights. An updated version of Circadian Lighting, named Adaptive Lighting, will soon be introduced. Let's delve into these platforms and shed some light on their significance.
Contents
The rationale behind light colour/temperature adjustment
Synchronizing your lights with the natural sky's colour temperature throughout the day comes with a myriad of benefits. Apart from infusing your home with a natural ambience, with cooler shades during daylight and warmer tones at twilight and dawn, it reportedly offers health benefits galore.
The of the circadian rhythm's role
The circadian rhythm is an internal biological clock that cycles roughly every 24 hours, regulating our sleep-wake cycle. This rhythm is primarily influenced by light and darkness in an organism's environment. Light exposure affects hormone production, with dim light prompting the release of melatonin, a hormone that induces drowsiness.
The dangers of artificial light
Artificial light can disrupt this natural circadian rhythm. The light emitted from lamps, phones, and TVs can trick your body into believing it's still daytime. The Home Assistant components Flux, Circadian Light, and Adaptive Light combat this by adjusting your lights to mimic the hue of outdoor light.
Flux: the Pioneer
Flux, a switch platform, modulates your light akin to how the popular application f.lux controls your PC monitor, using the concept of circadian rhythm. When Flux is active, your lights radiate bright and cooler hues during the daytime, smoothly transitioning to a warm red/orange at night.
However, Flux has several shortcomings, leading to user dissatisfaction. Thankfully, Circadian Lighting addresses these issues, making it a superior choice on all fronts.
What is Circadian Lighting?
Developed by Bas Nijholt, Circadian Lighting is a standout Home Assistant component. It's available on HACS, my preferred installation method (and it definitely should be yours, too). Here are some compelling reasons to switch to Circadian Lighting:
- It comprises two main components: a sensor and one or more switches. The sensor maintains the calculated colour temperature across all lights, while the switch enables personalised settings for specific light groups.
- Unlike Flux, it monitors all configured lights and swiftly responds when a light is turned on. The transition to the sensor-defined colour temperature is nearly instantaneous.
- Circadian Lighting generates a sensor that communicates the calculated colour temperature to all other components, allowing for automated light adjustments with the perfect colour temperature.
- It can be automatically disabled when a specified entity is in a certain state, eliminating manual toggling or automation.
- It can be used to create a nightlight (or as I amusingly term it, a pee light) using the 'sleep mode'. This mode activates when a specific entity is in a certain state.
One sensor for all lights
What sets Circadian Lighting apart is the ability to control all your lights using a single sensor, regardless of whether the lights are RGB, RGBW, or others. It supports lights that only adjust the temperature, as well as lights that simply dim.
What are the downsides of using Circadian Lighting?
The numerous adjustable variables in Circadian Lighting can be daunting for newcomers. It can only be configured using YAML, and lacks a user interface configuration. This issue will be remedied with the introduction of Adaptive Lighting.
Introducing Adaptive Lighting: a new component for Home Assistant
Allow me to introduce you to Adaptive Lighting, the latest official component that is set to enhance your Home Assistant experience. Forked from the popular Circadian Lighting, this fresh component offers an easier configuration process through the web interface. But don't be fooled – despite its simplicity, Adaptive Lighting retains all the functionality of its predecessor. It even allows for advanced configuration options through YAML.
How to install Adaptive Lighting in Home Assistant right now
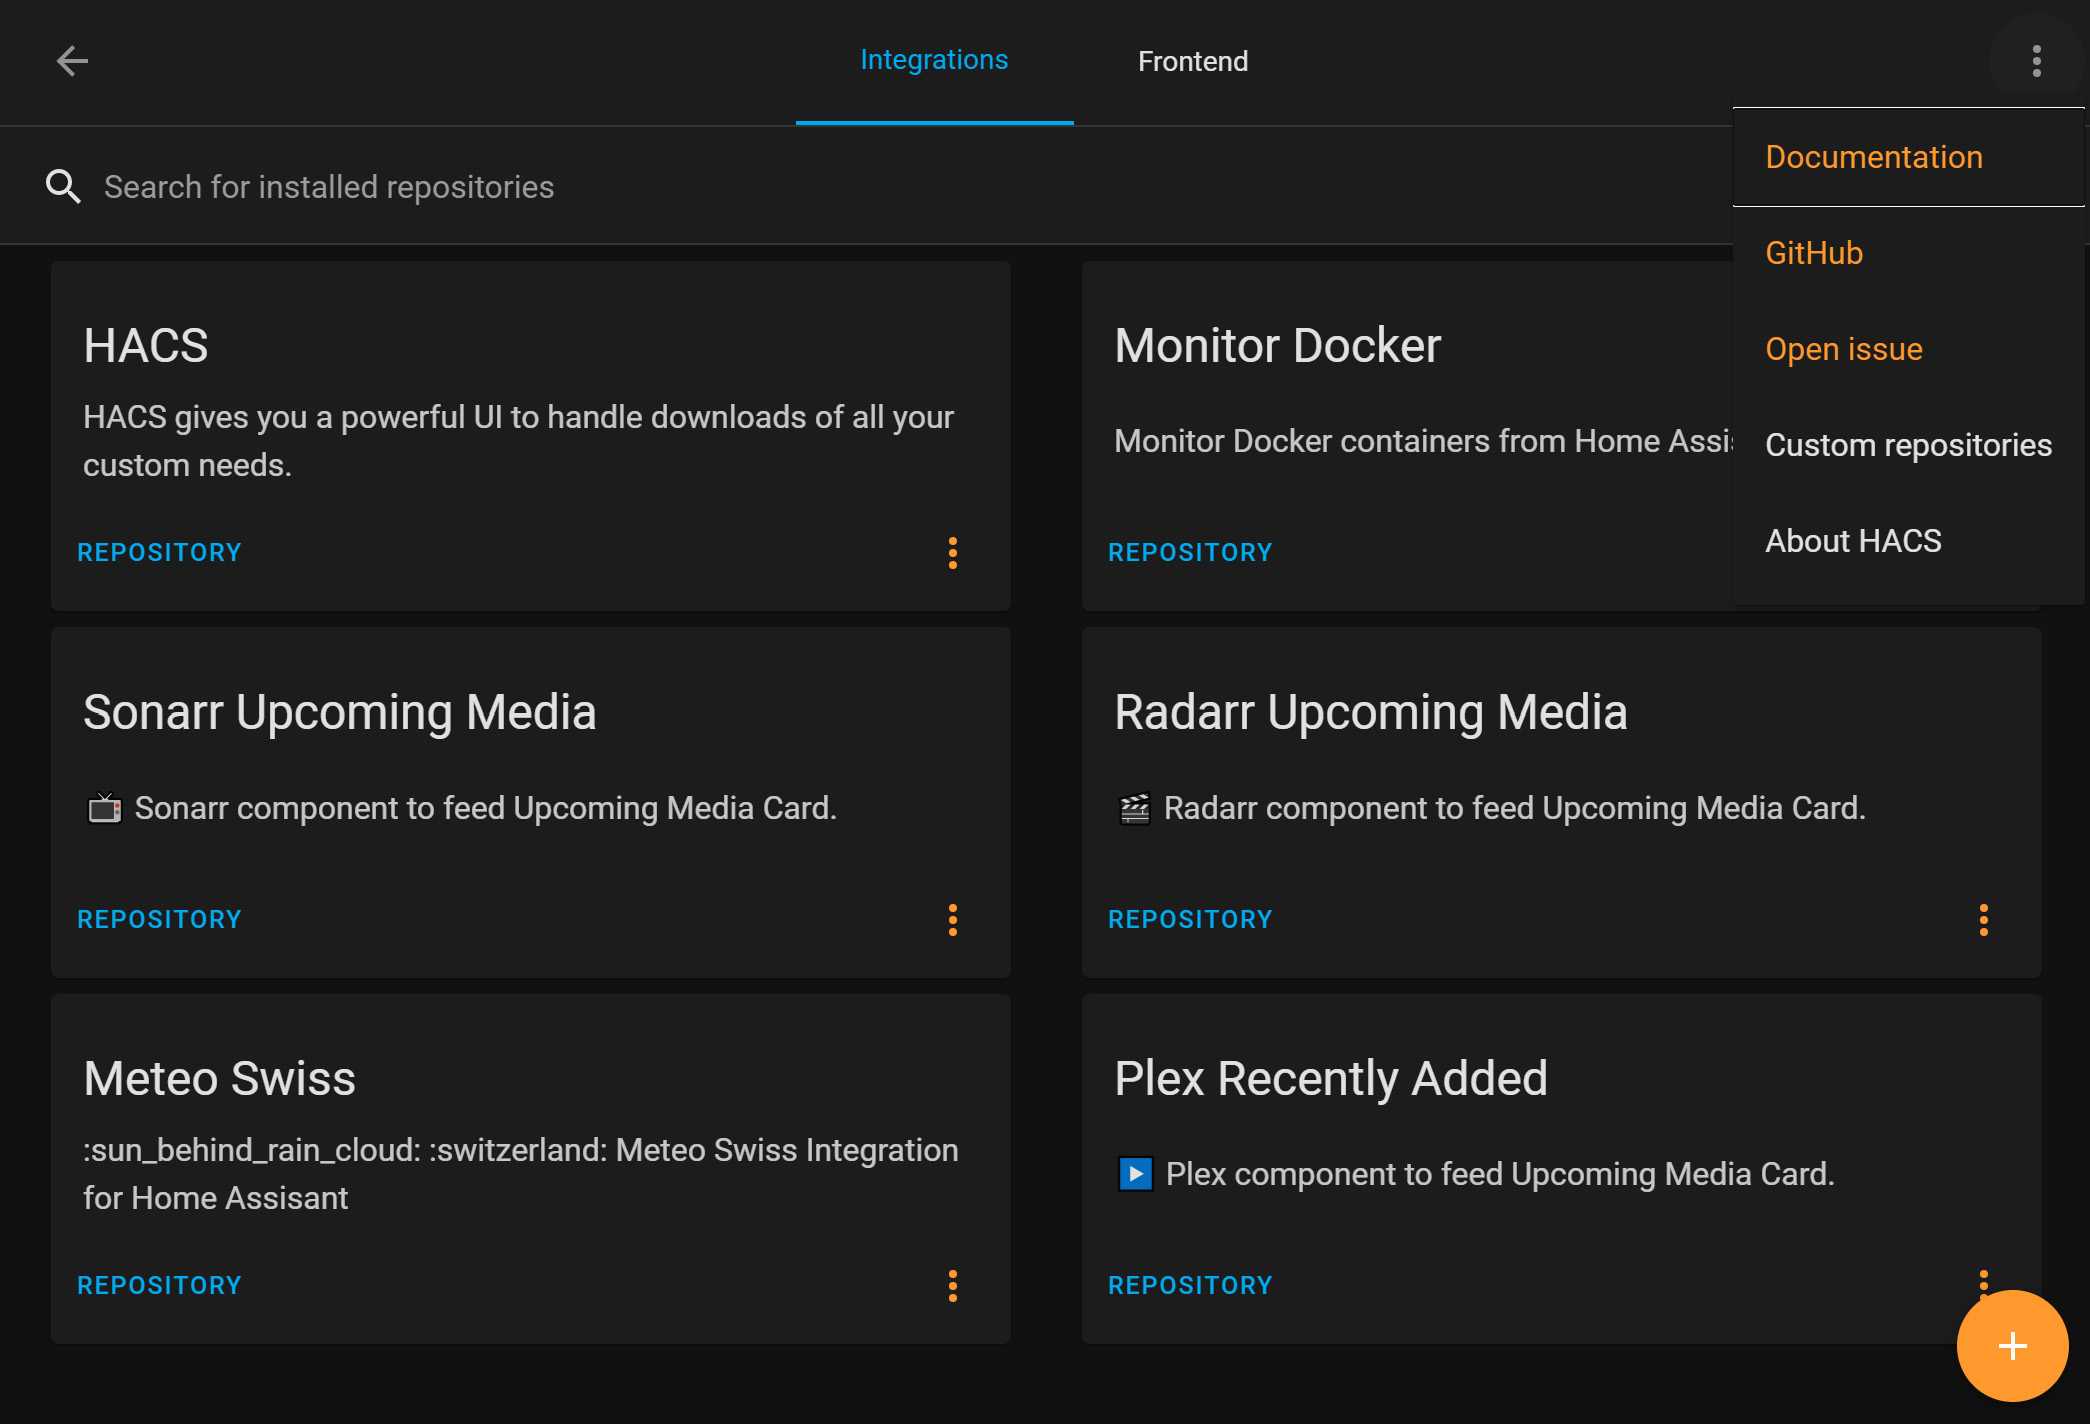
If you're itching to test out Adaptive Lighting before its official release, here's the good news: you can. Simply add the following repository to your Home Assistant Community Store (HACS): https://github.com/basnijholt/adaptive-lighting/.
Once you're in HACS, navigate to the menu and select the three-dot button located in the top right-hand corner to add a custom repository. Select 'integration' in the new window and paste the provided URL. Voilà! You should now see the option to install Adaptive Lighting. After installation, a quick restart of Home Assistant will have you all set to start configuring it.


Configuring Adaptive Lighting
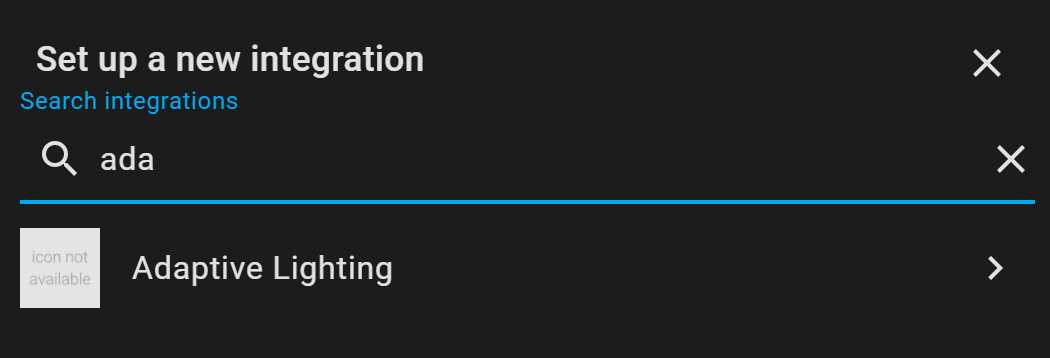
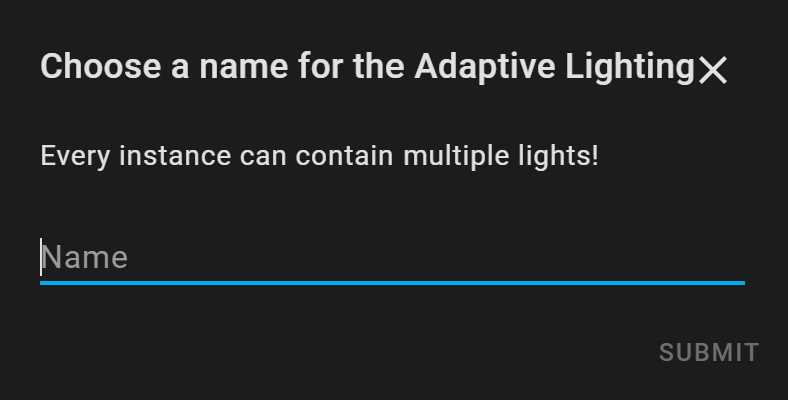
Configuring Adaptive Lighting is as easy as pie through the user interface (UI). Simply head over to the configuration, click on 'Integrations', and search for 'Adaptive Lighting'. Then, it's just a case of inputting a name.
The beauty of Adaptive Lighting lies in its flexibility. Fancy adjusting only the hue and not the brightness of your office lights? Or perhaps you want both the hue and brightness to be tweaked in the bathroom? With multiple instances, you can do just that. Each instance can even contain multiple lights.
In this particular example, I'm configuring my office lights, which are equipped with a couple of Philips Hue temperature-adjusting lights. All I want for this room is for the lights to adjust their temperature, not their brightness — a feat easily accomplished through the UI.
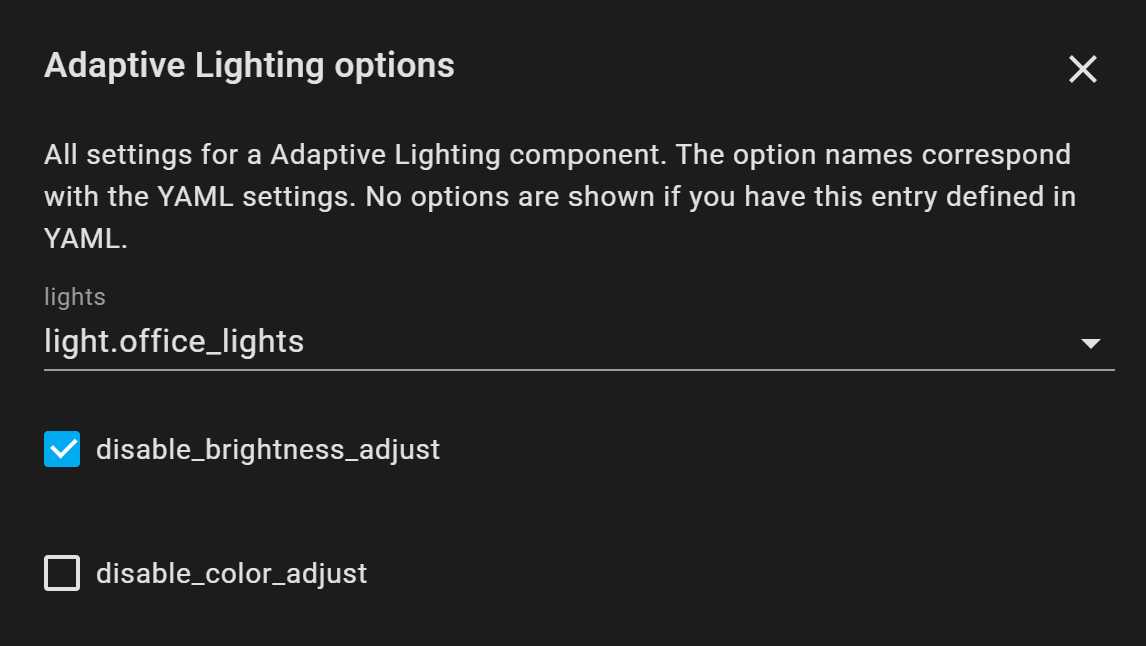
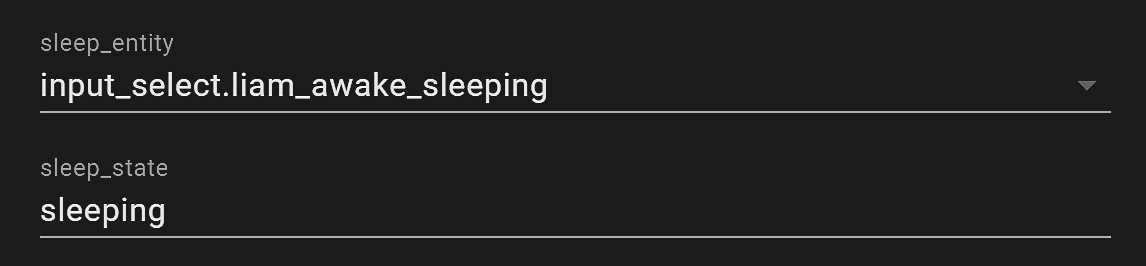
I’ll also configure a nightlight, which will be enabled when a certain input_select is set to sleeping. And just like that, I’ve configured my lights.

You might want to specify where the option panel is when you say “Using the UI I can easily disable the brightness adjustment.”. It took me a few minutes of rooting around before I realized it was right where I was when I did the install.
The instructions on how to configure this item are clearly listed in the repository. Also there are tutorials around.
I didn’t take this article as a tutorial. It just highlights the benefits of Circadian Lighting applications in Home Assistant 🙂
You have a mistake on who developed Circadian Lighting.
Bas Nijholt forked Circadian Lighting and created Adaptive Lighting from it, which is actively updated.
Circadian Lighting, the original one, is not actively maintained it seems right now and the Github user is clatonjn.
Let’s credit the right person.