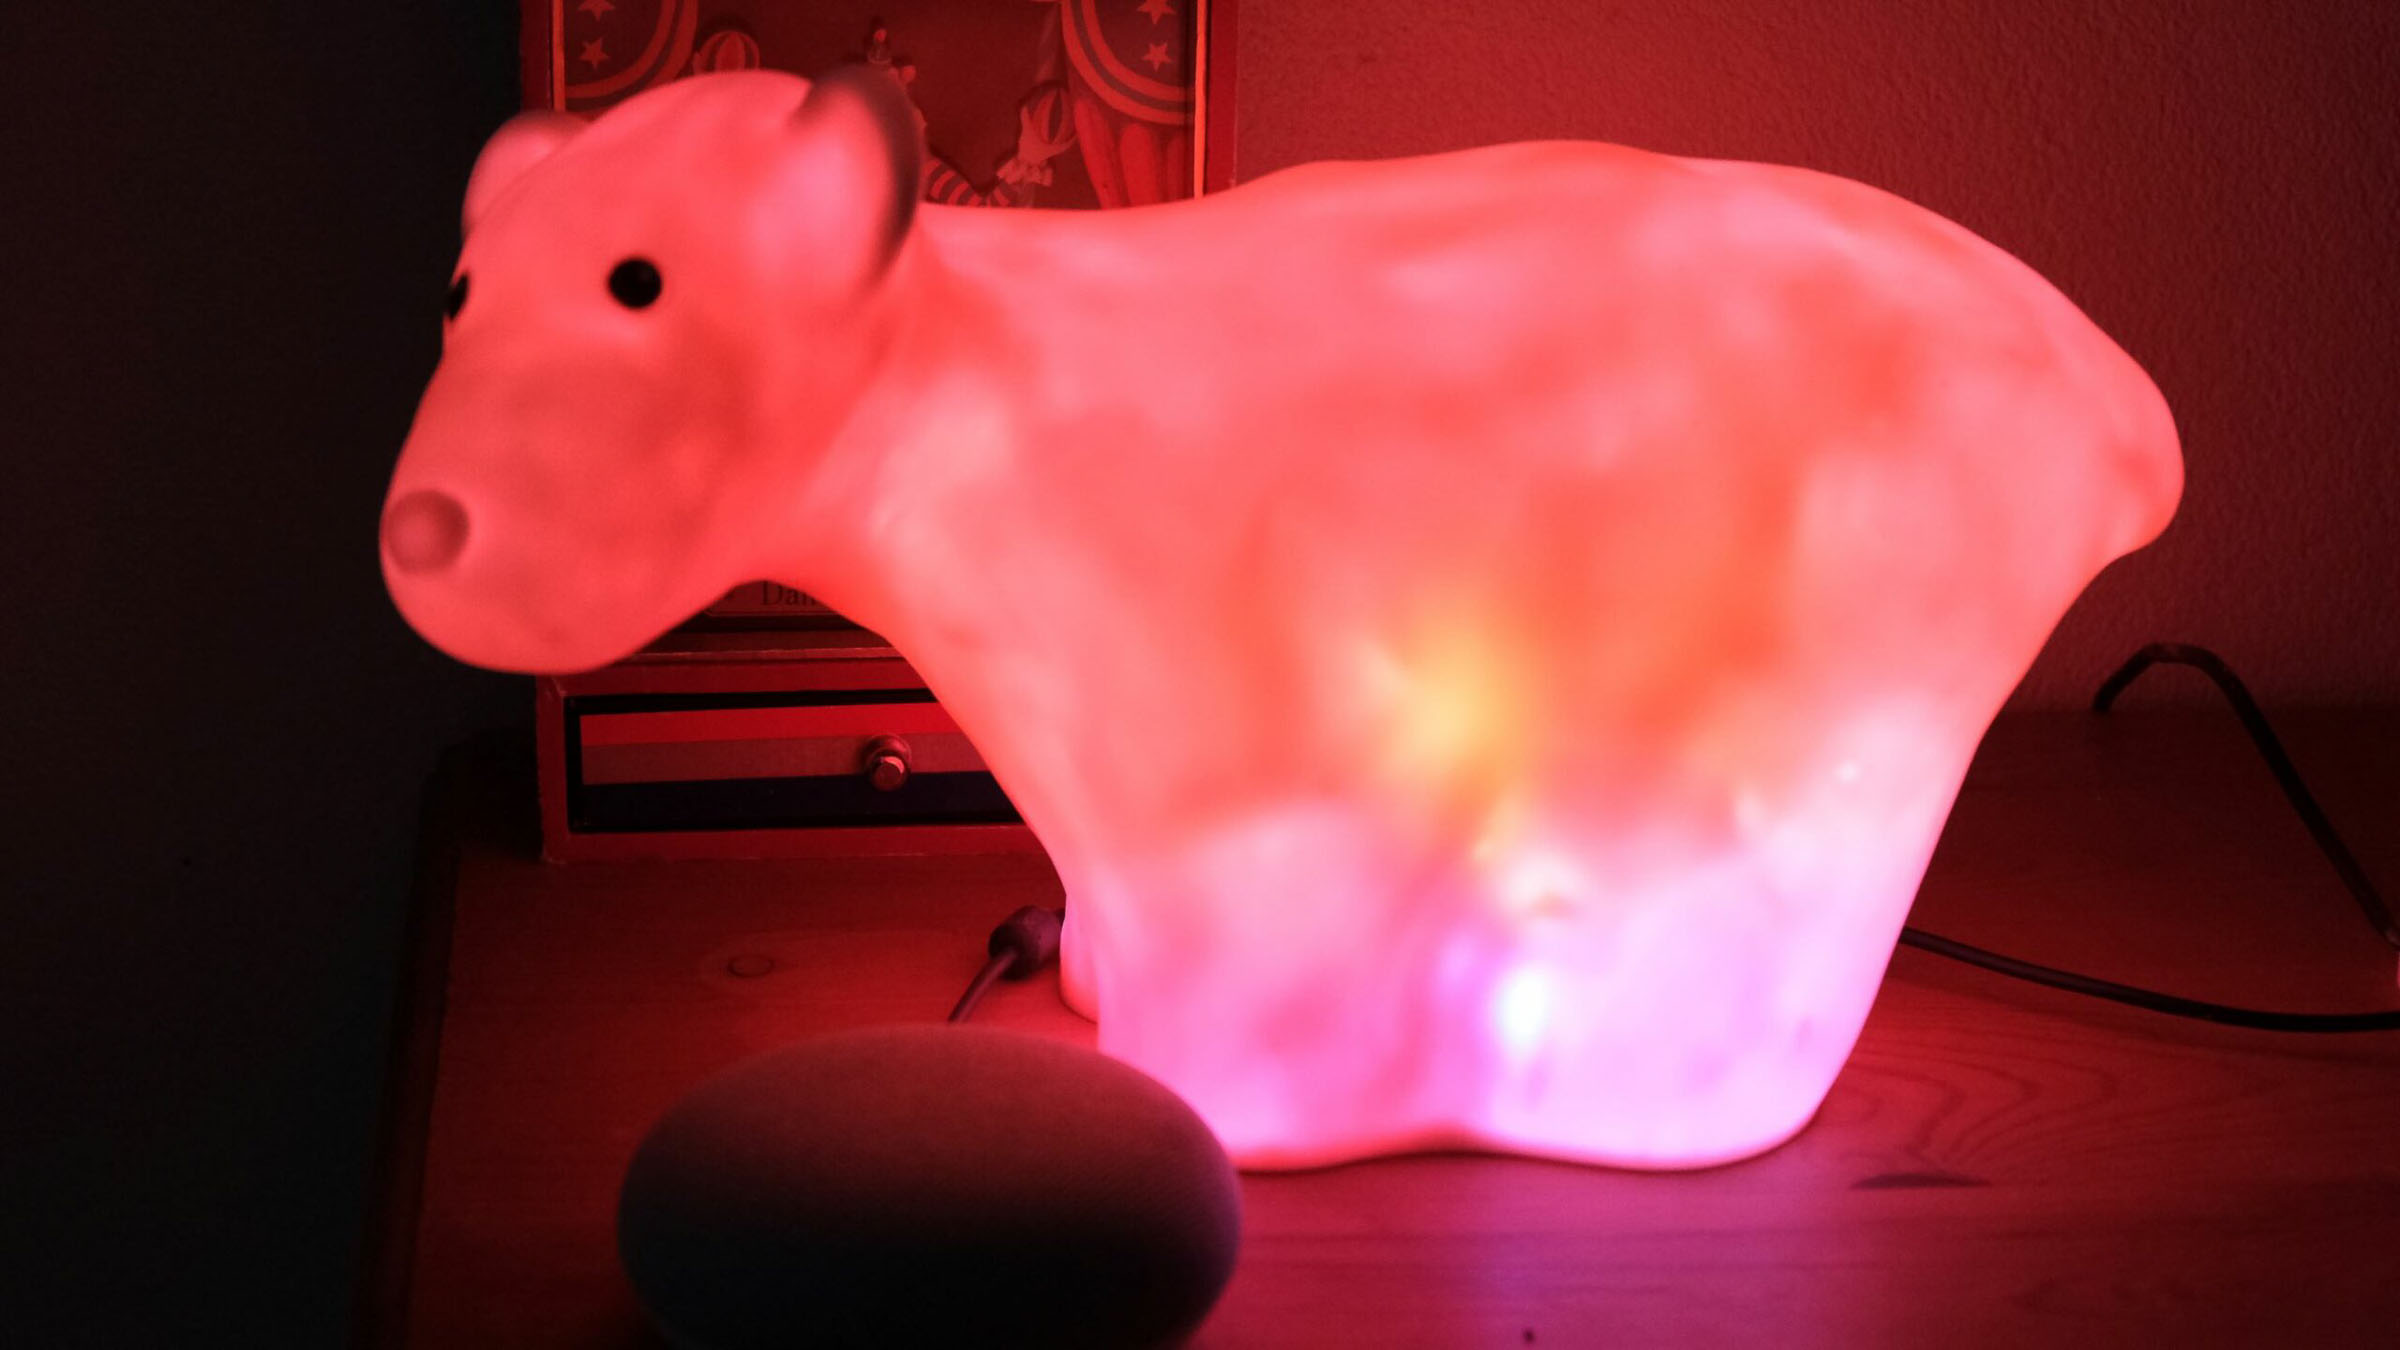
After much anticipation, I embarked on my inaugural WLED project, a relatively straightforward endeavour: retrofitting my son's polar bear-shaped light into a nightlight. His recent preference for a light during bedtime necessitated this project. The original setup consisted of multiple warm-white LED chips on a basic circuit. However, it lacked dimming capabilities, remote control, and an integrated timer, leading me to seek an upgrade.
Contents
Essential Components for the Retrofit
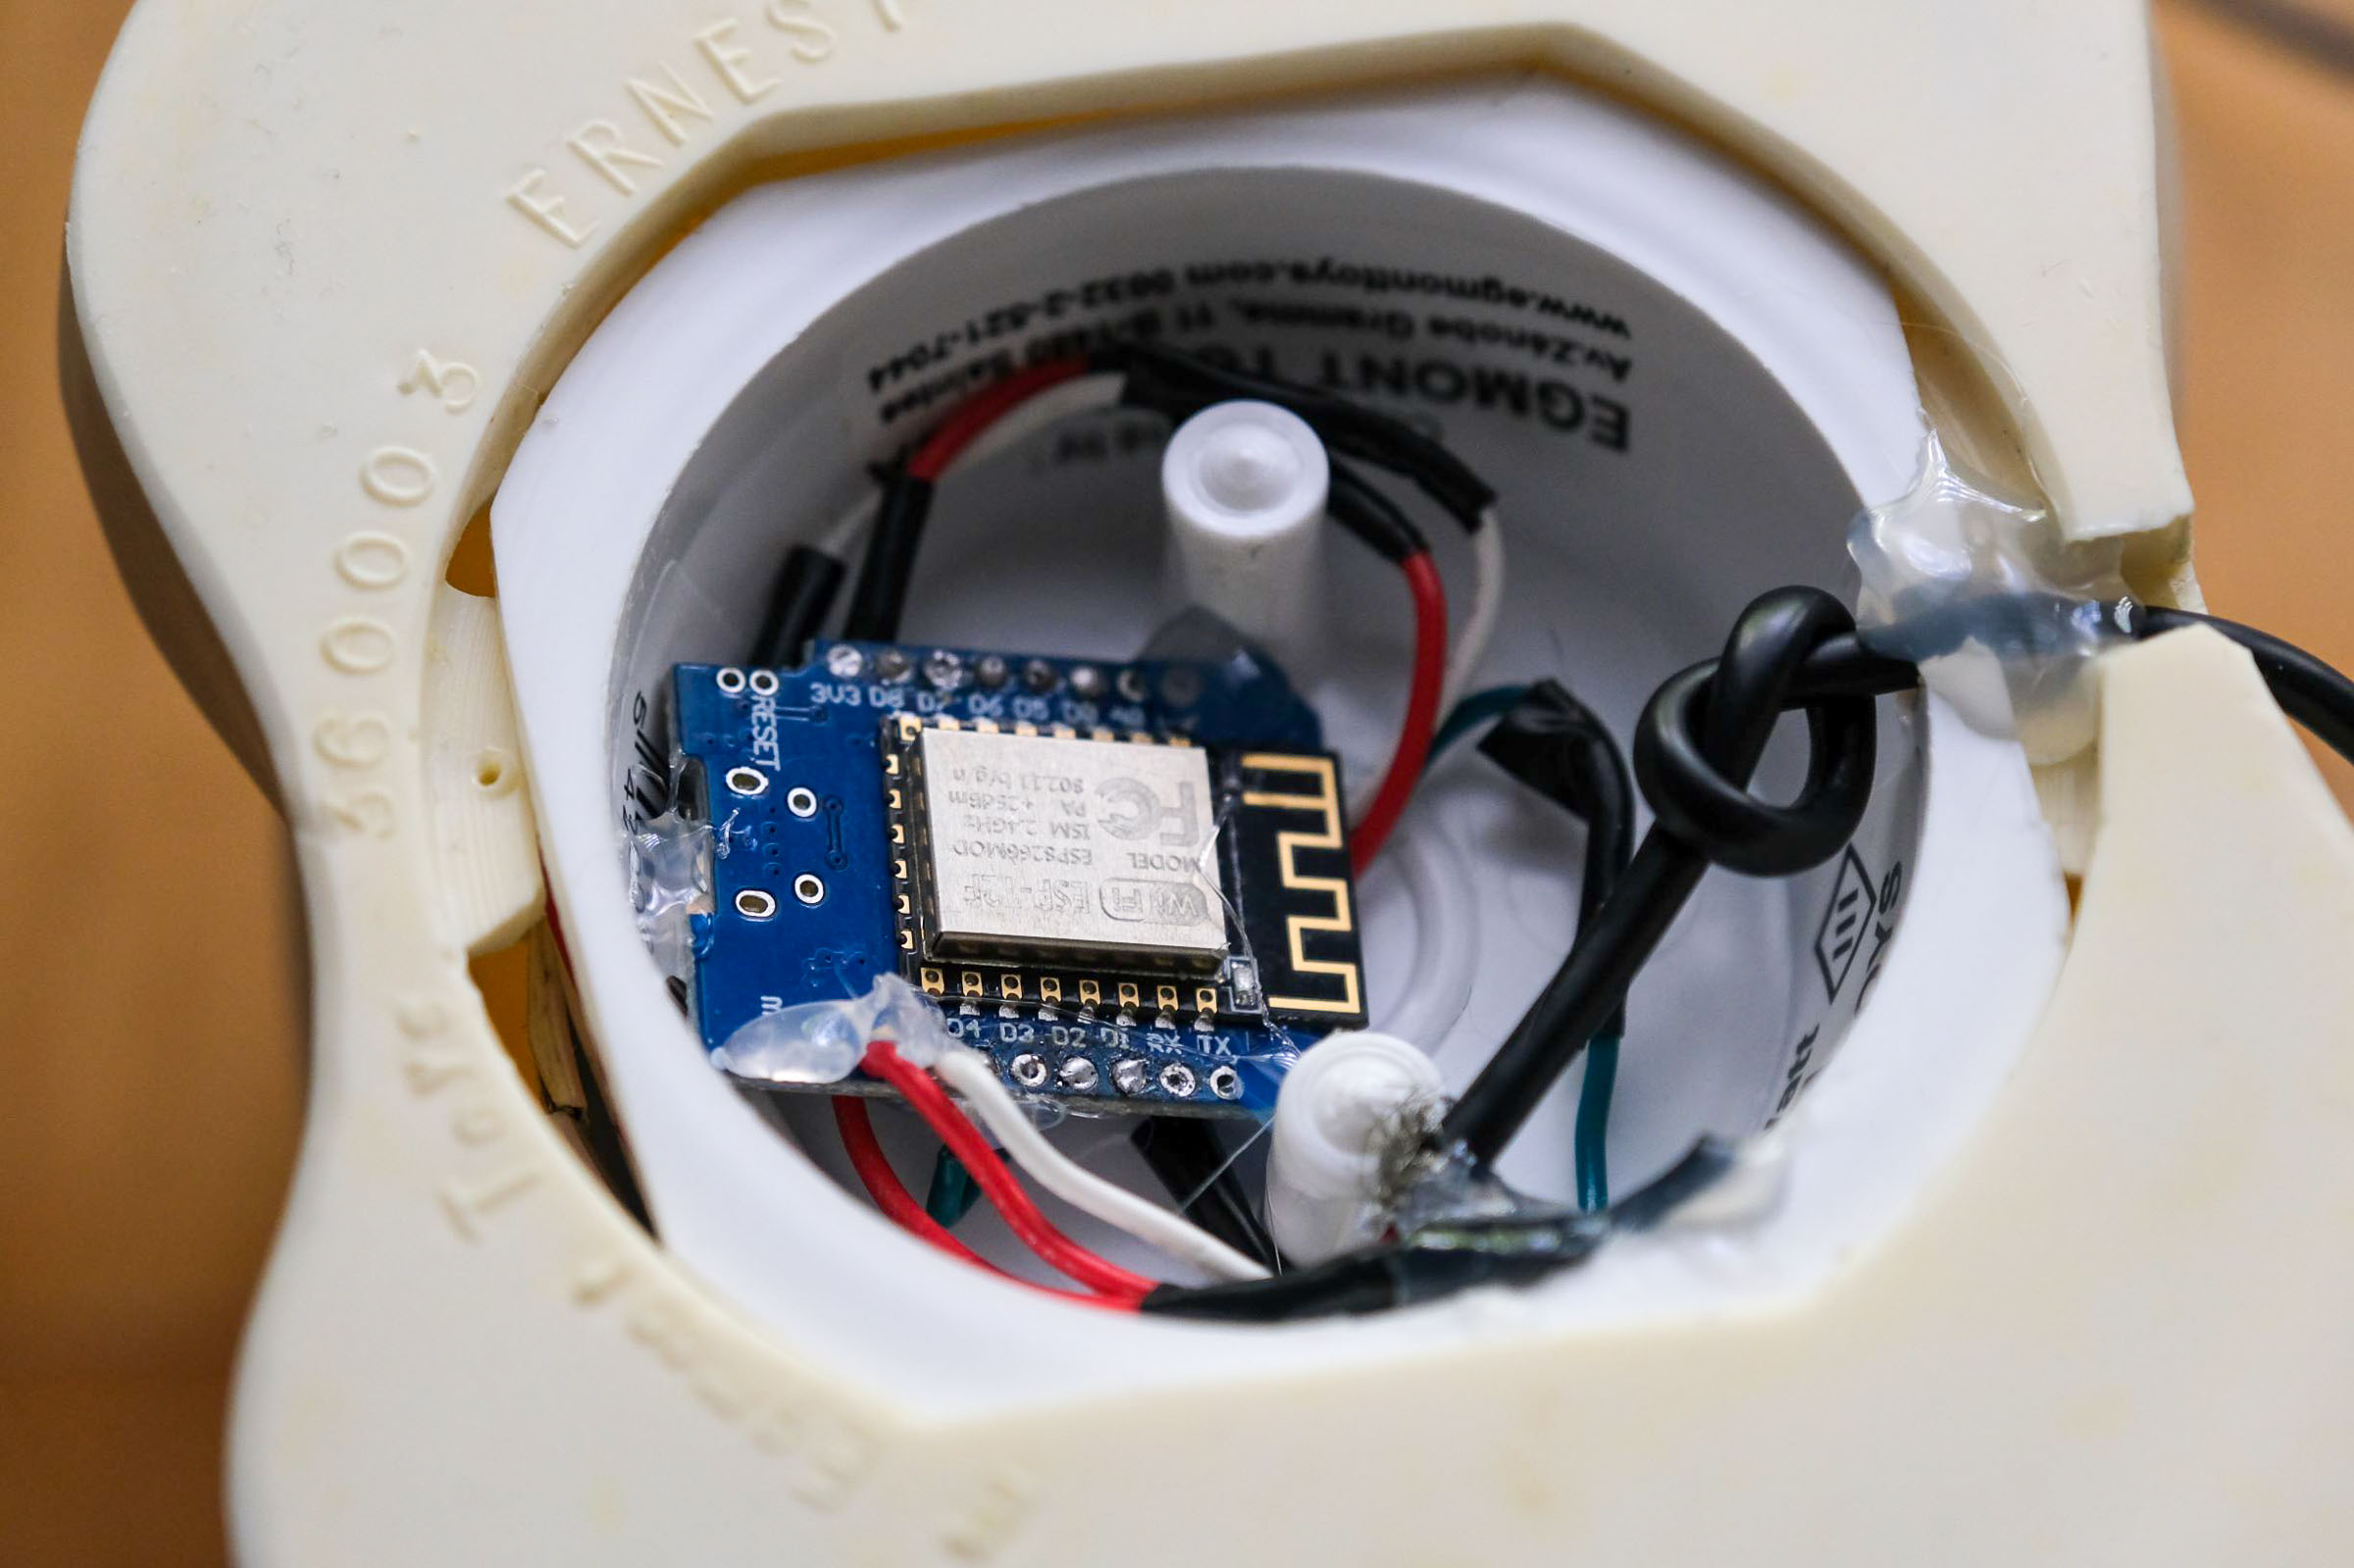
Housed within the polar bear enclosure was the original circuit board, elevated on a platform. This space conveniently accommodated a LOLIN (formerly WEMOS) D1 mini, a component I had on hand. Enhancing the light's distribution, I attached a toilet roll to the platform, an uncomplicated yet effective solution. Wrapped around this structure was the LED strip, pre-emptively layered with tin foil, a measure intended to aid cooling of the WS2812B LEDs, though its effectiveness is questionable.
I connected the LED strip to the power supply and the ESP8266 board through three wires, fed through a specifically cut hole. The WS2812B LED strip was selected for its affordability, despite lacking a white LED and not being the highest quality. A total of 45 LEDs were fitted inside the plastic enclosure, providing satisfactory illumination.
A salvaged capacitor from an old exercise bike was incorporated, omitting a level shifter due to its unavailability and time constraints. The short wire length (approximately 5 cm) from the ESP8266 board to the first LED instilled confidence in its functionality.
Flashing WLED: A Straightforward Process
Prior to assembly, I flashed the ESP8266 board, ensuring future inaccessibility to the Micro-USB port wouldn't be an issue. The process was remarkably simple: downloading the corresponding binary file from WLED's GitHub release page and flashing it using the ESPHome flasher. This method required no code editing, file compilation, or manual network setup.
With WLED installed, I completed the necessary soldering and positioned the ESP8266 board in its designated spot. Though direct soldering to the board was a less preferred method, it was essential for this project, due to spatial constraints. The capacitor was positioned near the first WS2812B LED.
Setting Up WLED: Effortlessly Efficient
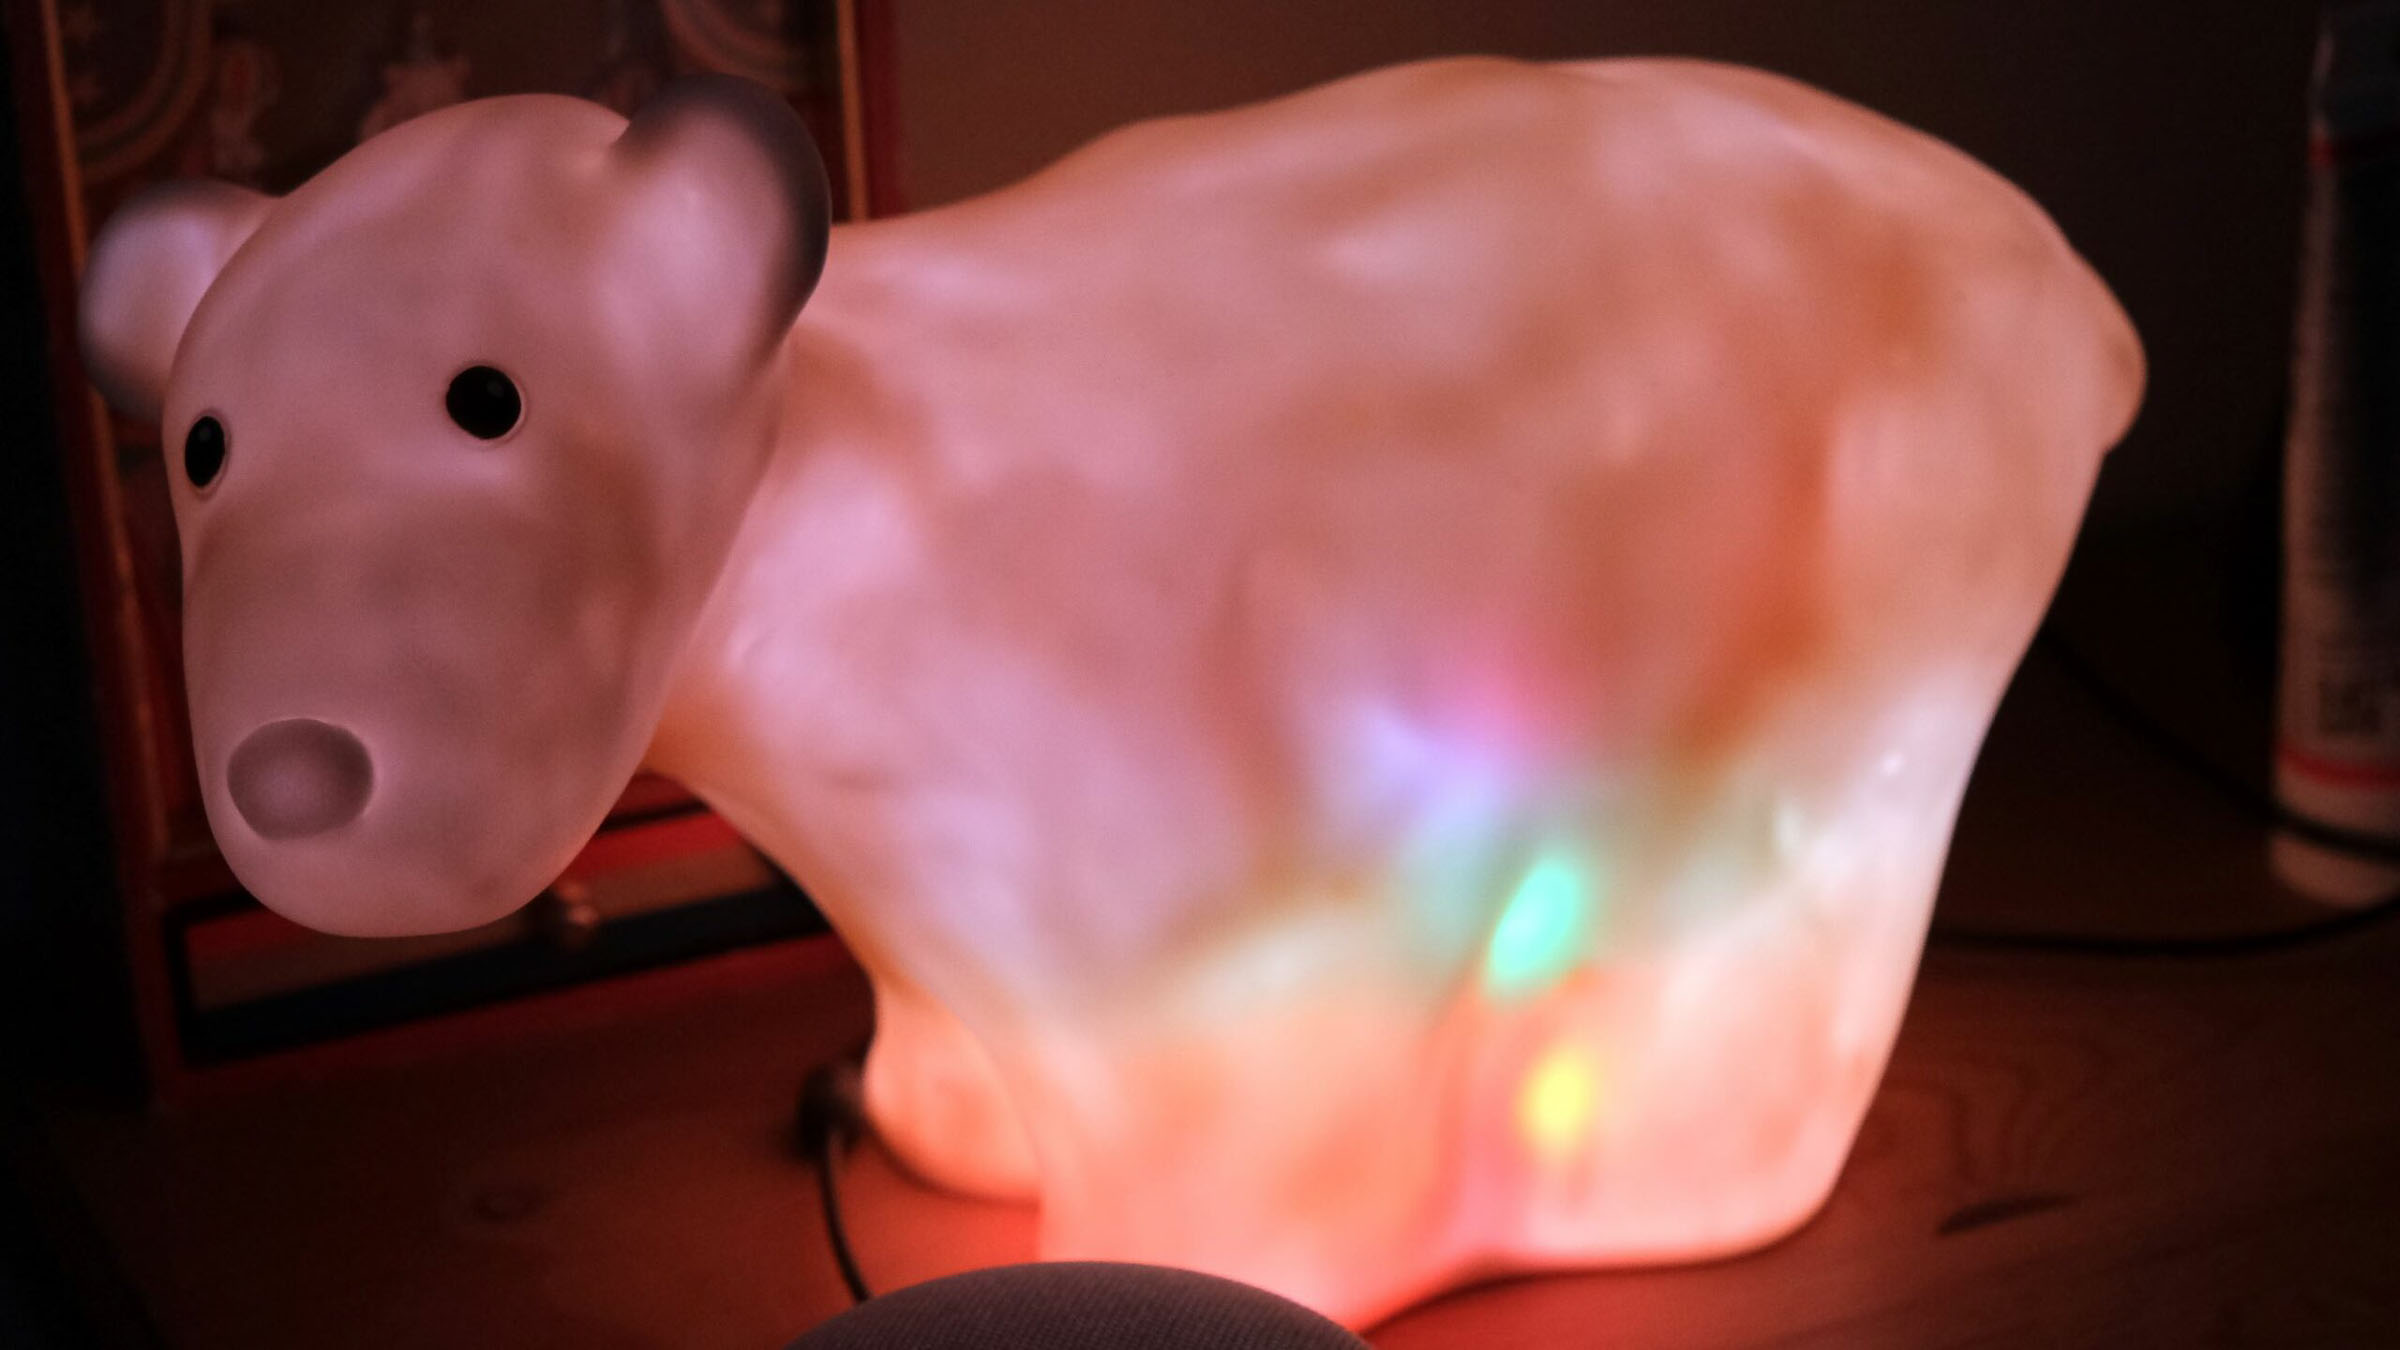
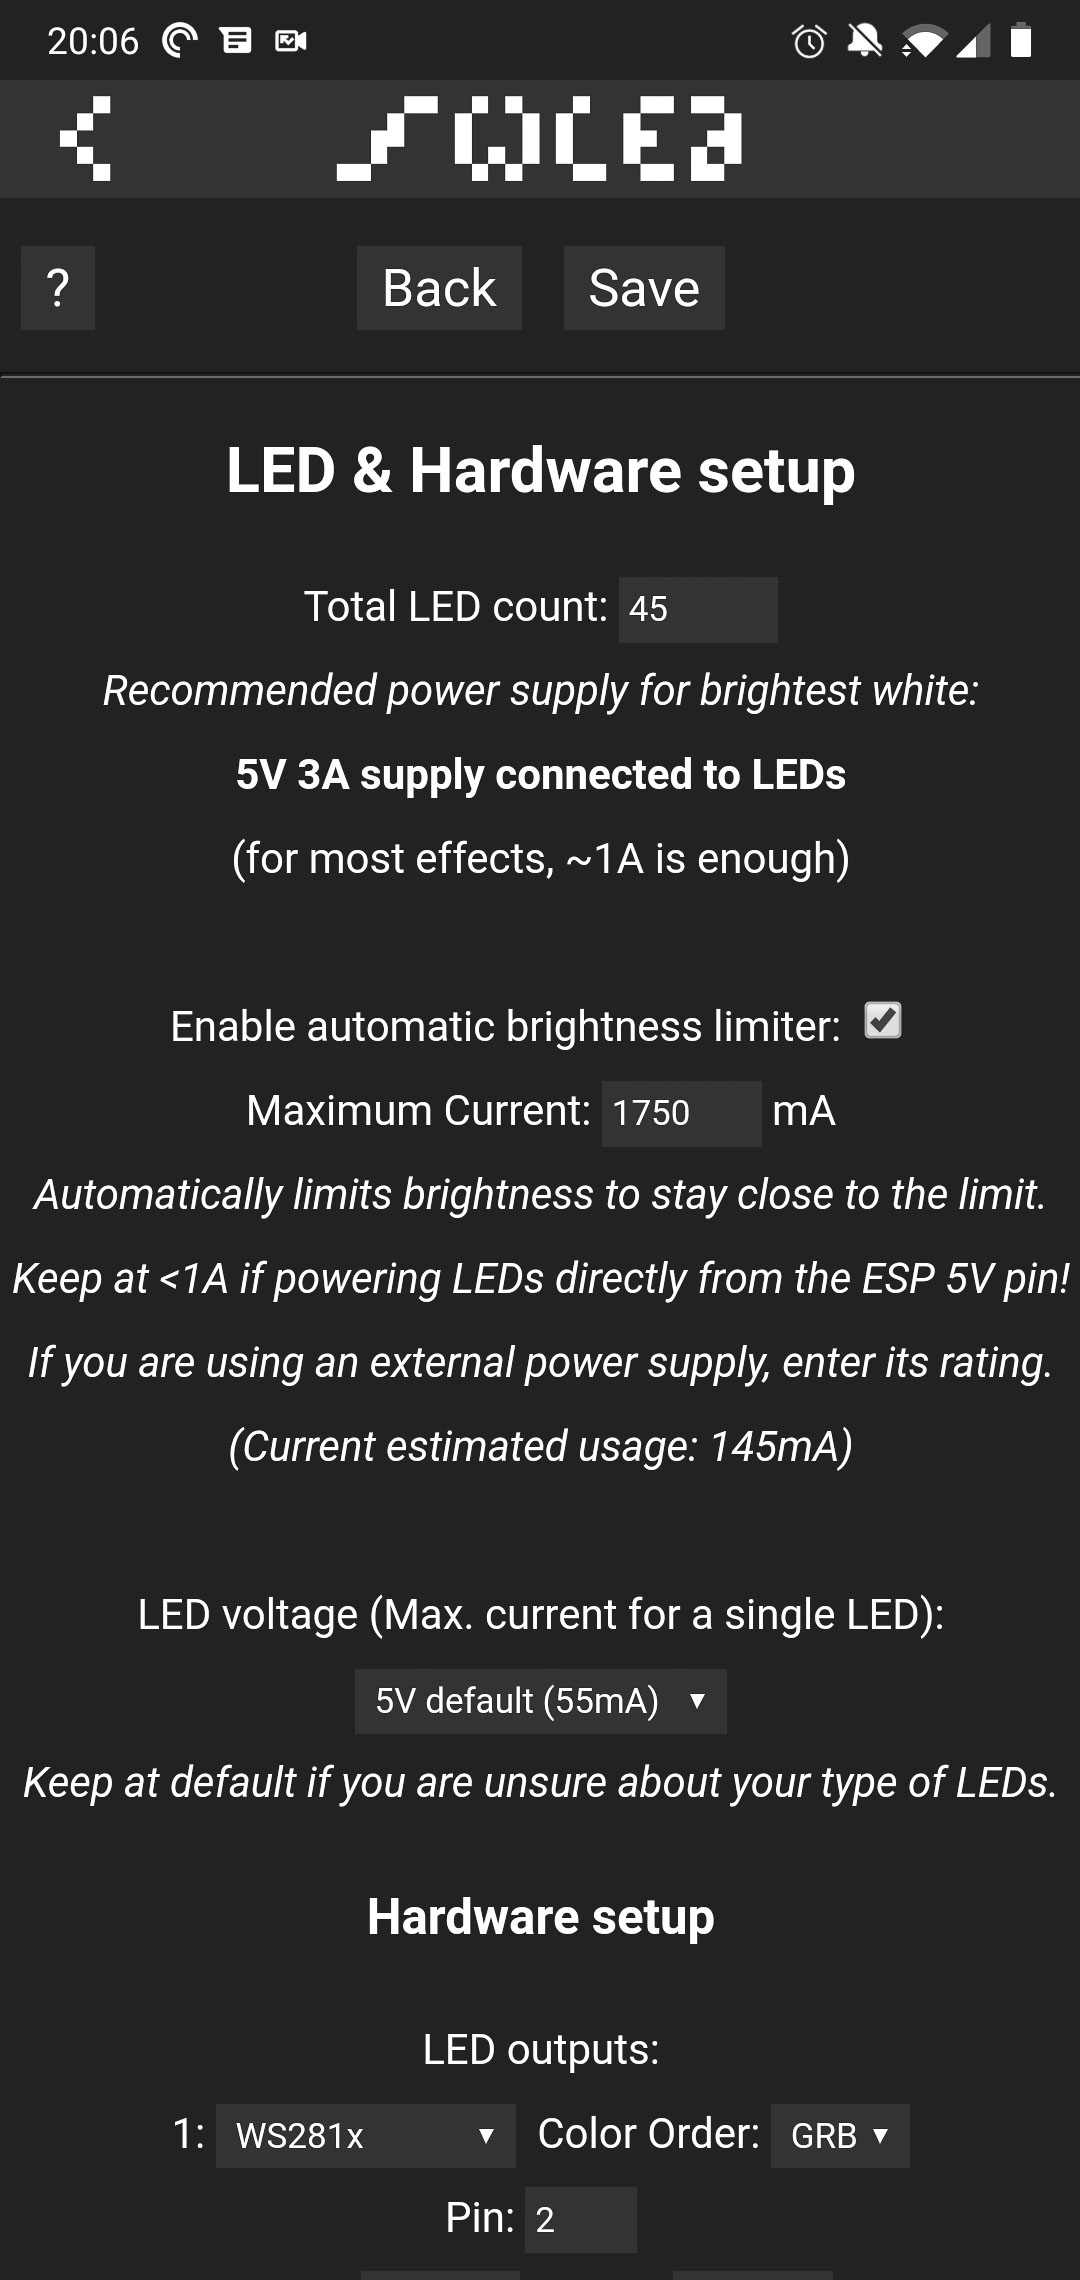
The WLED setup mirrored its installation in terms of simplicity. Using the WLED app, I connected to the WLED-AP network and configured my Wi-Fi settings. In the app's “LED Preferences,” I specified 45 as the total LED count and limited the current to 1750 mA to accommodate the 2 A power supply and the ESP8266 board. The WLED app's user-friendly interface and extensive effect options further simplified the process.
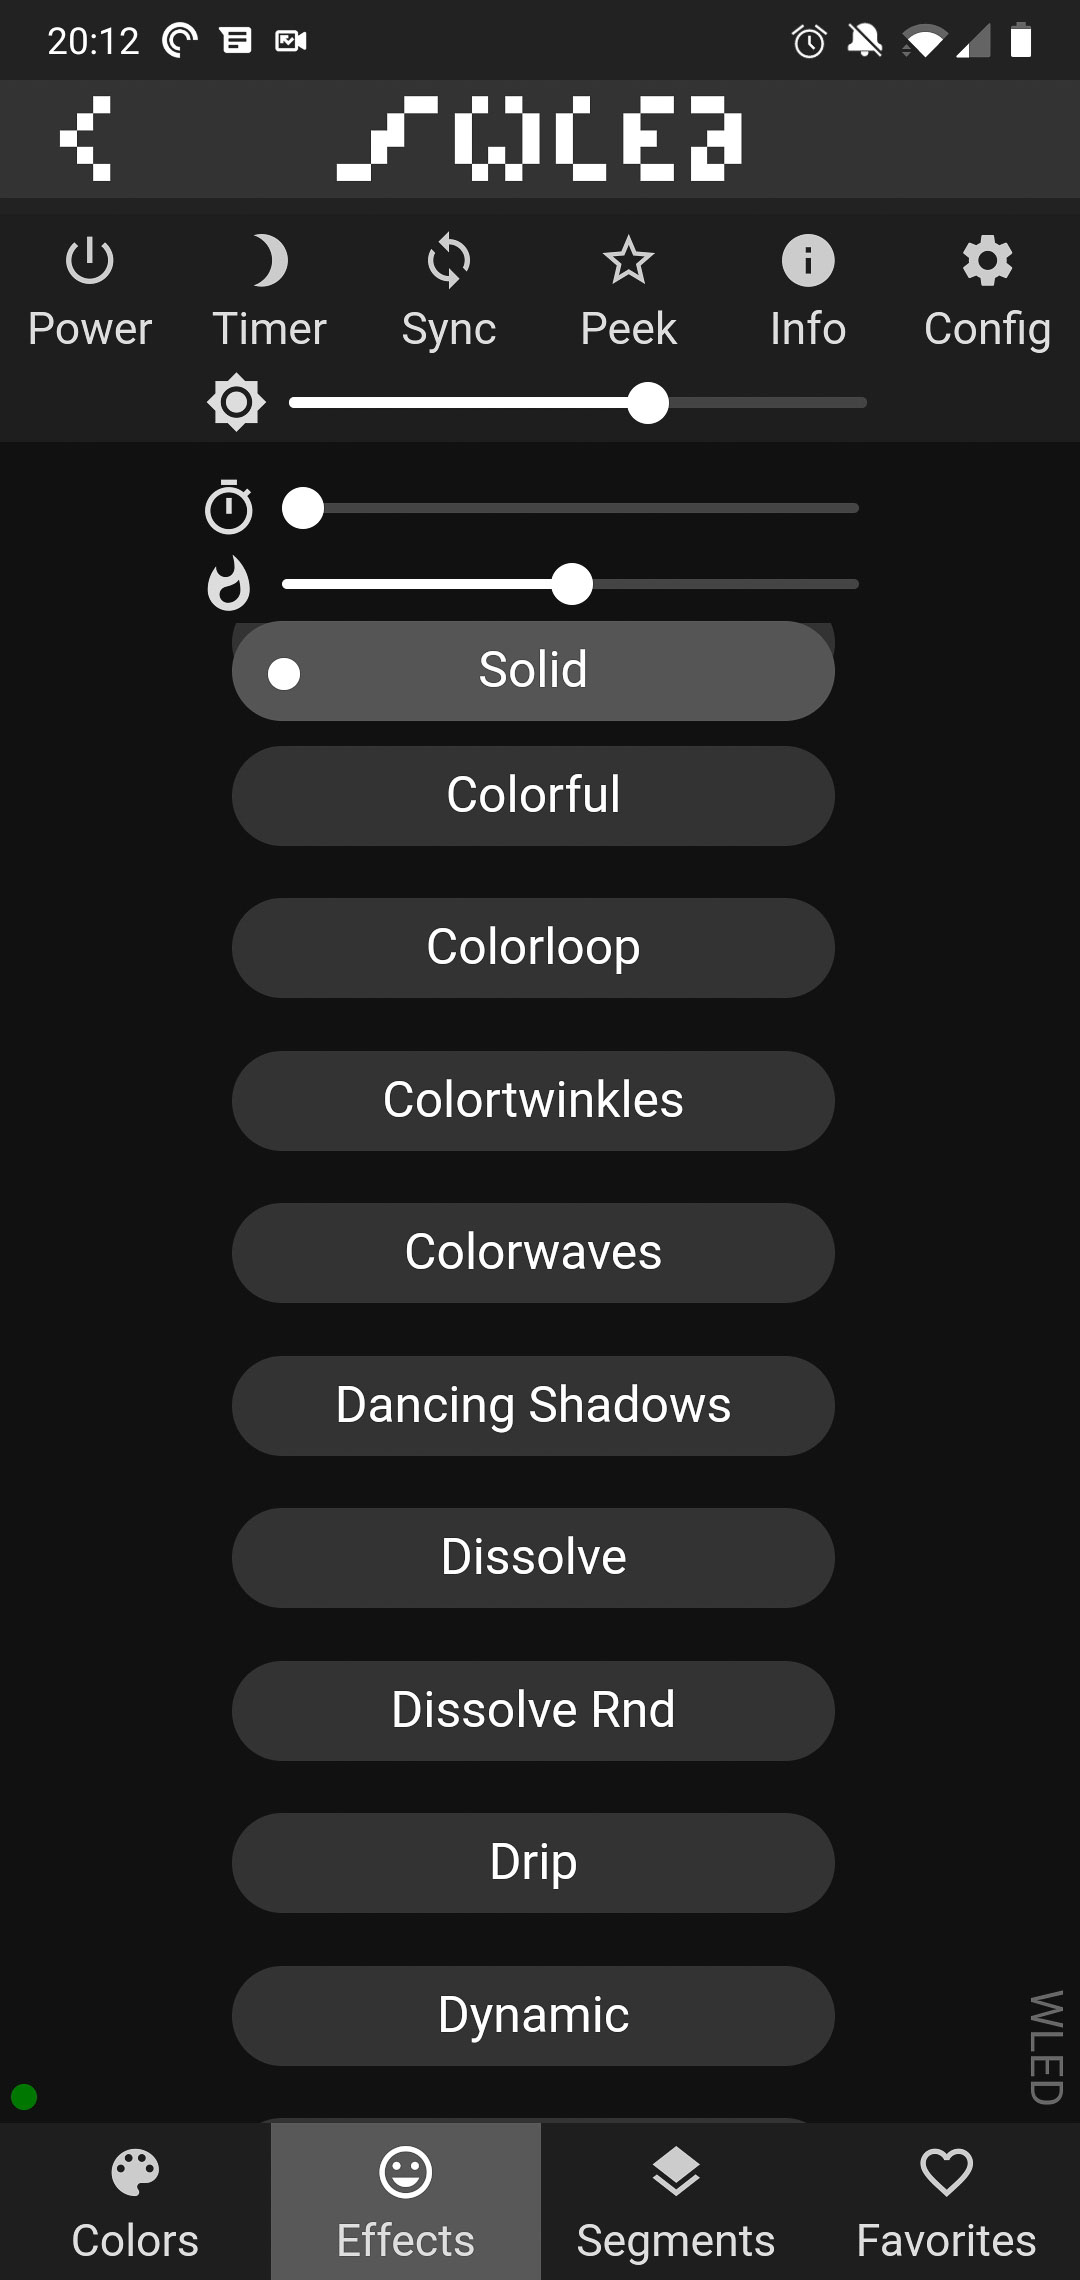
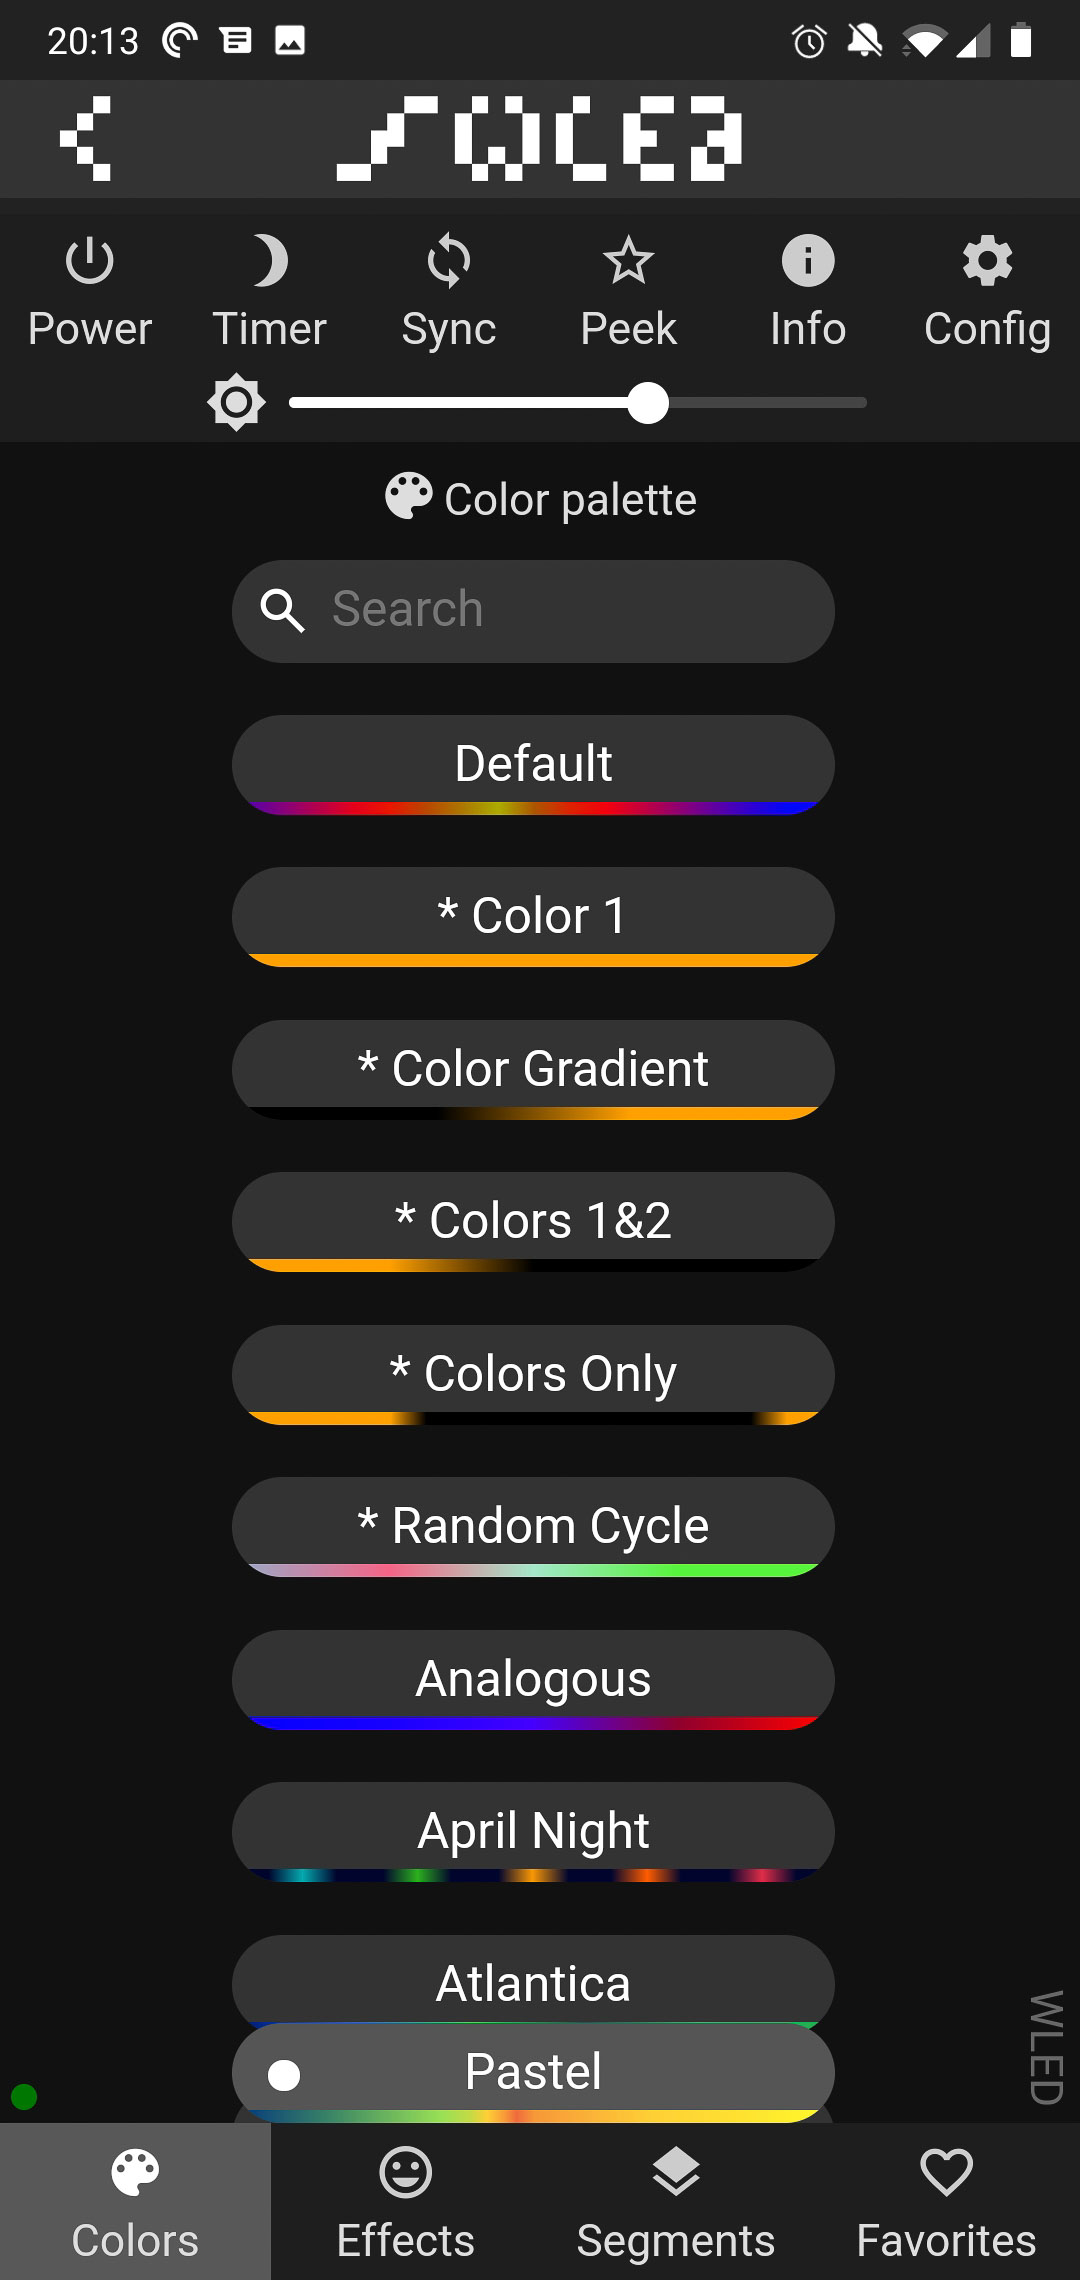
WLED App: Colour and Effect Customization
The WLED app stands out for its versatility in colour selection and effect customization. The variety of built-in colour palettes and effects, along with adjustable speeds, provide a rich user experience.
Integrating WLED with Home Assistant
Home Assistant seamlessly detected the new WLED node, simplifying integration to a few clicks. This allowed for full control over the light, including enabling effects and utilizing it as a nightlight. The integration process was as straightforward as incorporating ESPHome, with Home Assistant handling most of the setup.

WLED: Initial Impressions
My first experience with WLED highlighted its ease of setup and use. Although WLED now supports buttons and IR remotes, which will likely lead to more complicated setups, this project couldn't have been more straightforward. I am keenly looking forward to my next ESP8266-based lighting project using WLED.
