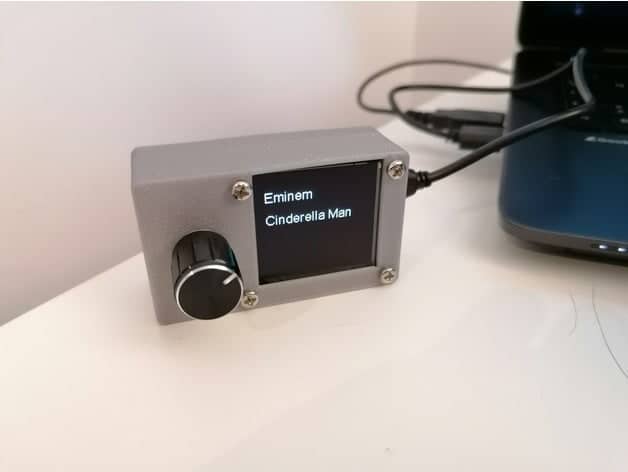
There are many ways of controlling media players using physical buttons , switches, knobs, one's own voice, or even magic. Occasionally, however, the simplest solution is the best solution. Today's featured ESPHome project is a simple rotary encoder, which is placed together with a 1.5" OLED screen inside a 3D-printed enclosure. That screen is there to display the current track and time, and nothing more.
Gregor Mogeritsch (moe01324 on GitHub and Thingiverse) created this ESPHome project and it is perfect for those just starting with building DIY smart home devices. While this example does make use of a 3D-printed case, it could easily be housed in a wooden or even cardboard box. Though 3D printing is obviously best, if you're looking for an efficient yet decent looking case, especially since the creator has shared their STL files.
Parts needed for the ESPHome volume knob with OLED screen
Excluding the case and its production, this ESPHome project needs only three components: An SSD1351 OLED screen (AliExpress), a rotary encoder (AliExpress), and, of course, an ESP32 (AliExpress). If you are looking to save a few pennies, there is no real need to use the more expensive ESP32 for this project. I'm guessing it was used because the creator had it on hand.
When shopping for a rotary encoder, make sure you chose one that can be pushed. Otherwise, you won't have any way of pausing/resuming your music or skipping a track. I've also worked with rotary encoders in the past and from experience can tell you that not all are created equal. Get one with solid steps, and you will want to play around with it all day long.
An ESP8266 board, would do just fine. Although, a more powerful ESP32 does give you options further down the road. For example, if you had enough of these volume knobs around your home, you could use them for presence tracking.
As already mentioned, the most efficient way of building this project is by using a 3D printer. There are many models available with varying pricing, but the Ender 3 series seems to have been a favourite in the maker community for some time now.
Sale

Sale

Taking a look at the code
As you'd expect, the code for the ESPHome volume knob is rather easy to understand, and luckily the creator has made it available on GitHub. The screen has three pages, two of which display the current time and one which displays the artist and track. The latter is taken from Home Assistant using a text sensor.
Further along, the rotary encoder's button, which is a binary sensor, has a series of functions. These are controlled using different multi-clicks. On function will skip to the next track, another will shuffle the playlist, and the final one will pause or resume the music.
The final part is a script which will tell Home Assistant what to do when the push button or rotary encoder is used. As the media player isn't directly connected to the ESPHome node, there is no way of doing this directly and Home Assistant is needed as an intermediary. You could also write this script in Home Assistant using an automation or in Node-RED.
How to improve the ESPHome volume knob with OLED screen
As it is, this ESPHome project is very basic. That isn't necessarily a bad thing, as not every project has to be complex. Every so often, you just want to get something done and have it working. That said, I do believe there could be some further development done.
As the volume knob uses an ESP32, it could easily be used to track presence using Bluetooth Low Energy. Or perhaps you could use one of the touchpads of the ESP32 to create a hidden button. Either way, this project is perfect for beginners, as you can chop and change as much as you want.


