When reading up on the ESP32 and ESP8266 microcontrollers or boards using them, you will often hear the acronym GPIOs or GPIO pins. These pins also exist on the beloved Raspberry Pi, which might be running Home Assistant, and Arduino. GPIOs are what ESPHome uses to gather data from sensors, detect button pushes, push data to other devices, and more.
How GPIO pins work in ESPHome
General-purpose input/output pins (which is what GPIO stands for) can be designated in software, such as ESPHome, as an input or output pin and used for a wide range of purposes. When a GPIO pin on an ESP8266 is designated as an output, it can be set to high (3.3V) or low (0V). And conversely, a pin can be read as high (3.3V) or low (0V) if it is designated as an input.

You could, if you wanted to, hook up a bunch of individual LEDs (with the appropriate resistors) to the GPIO pins and turn them on or off by either setting the output to high or low.
As a real-world example, if you’re using an ESP8266 to control addressable LEDs, the pin connected to the LEDs will be configured as an output pin. It is sending commands, such as turn on or turn off, to the LED controller. If you were to hook up a BMP280 temperature and humidity sensor, the GPIO pin to which it is connected would act as an input pin, collecting data from the sensor.
How many GPIO pins does an ESPHome project need?
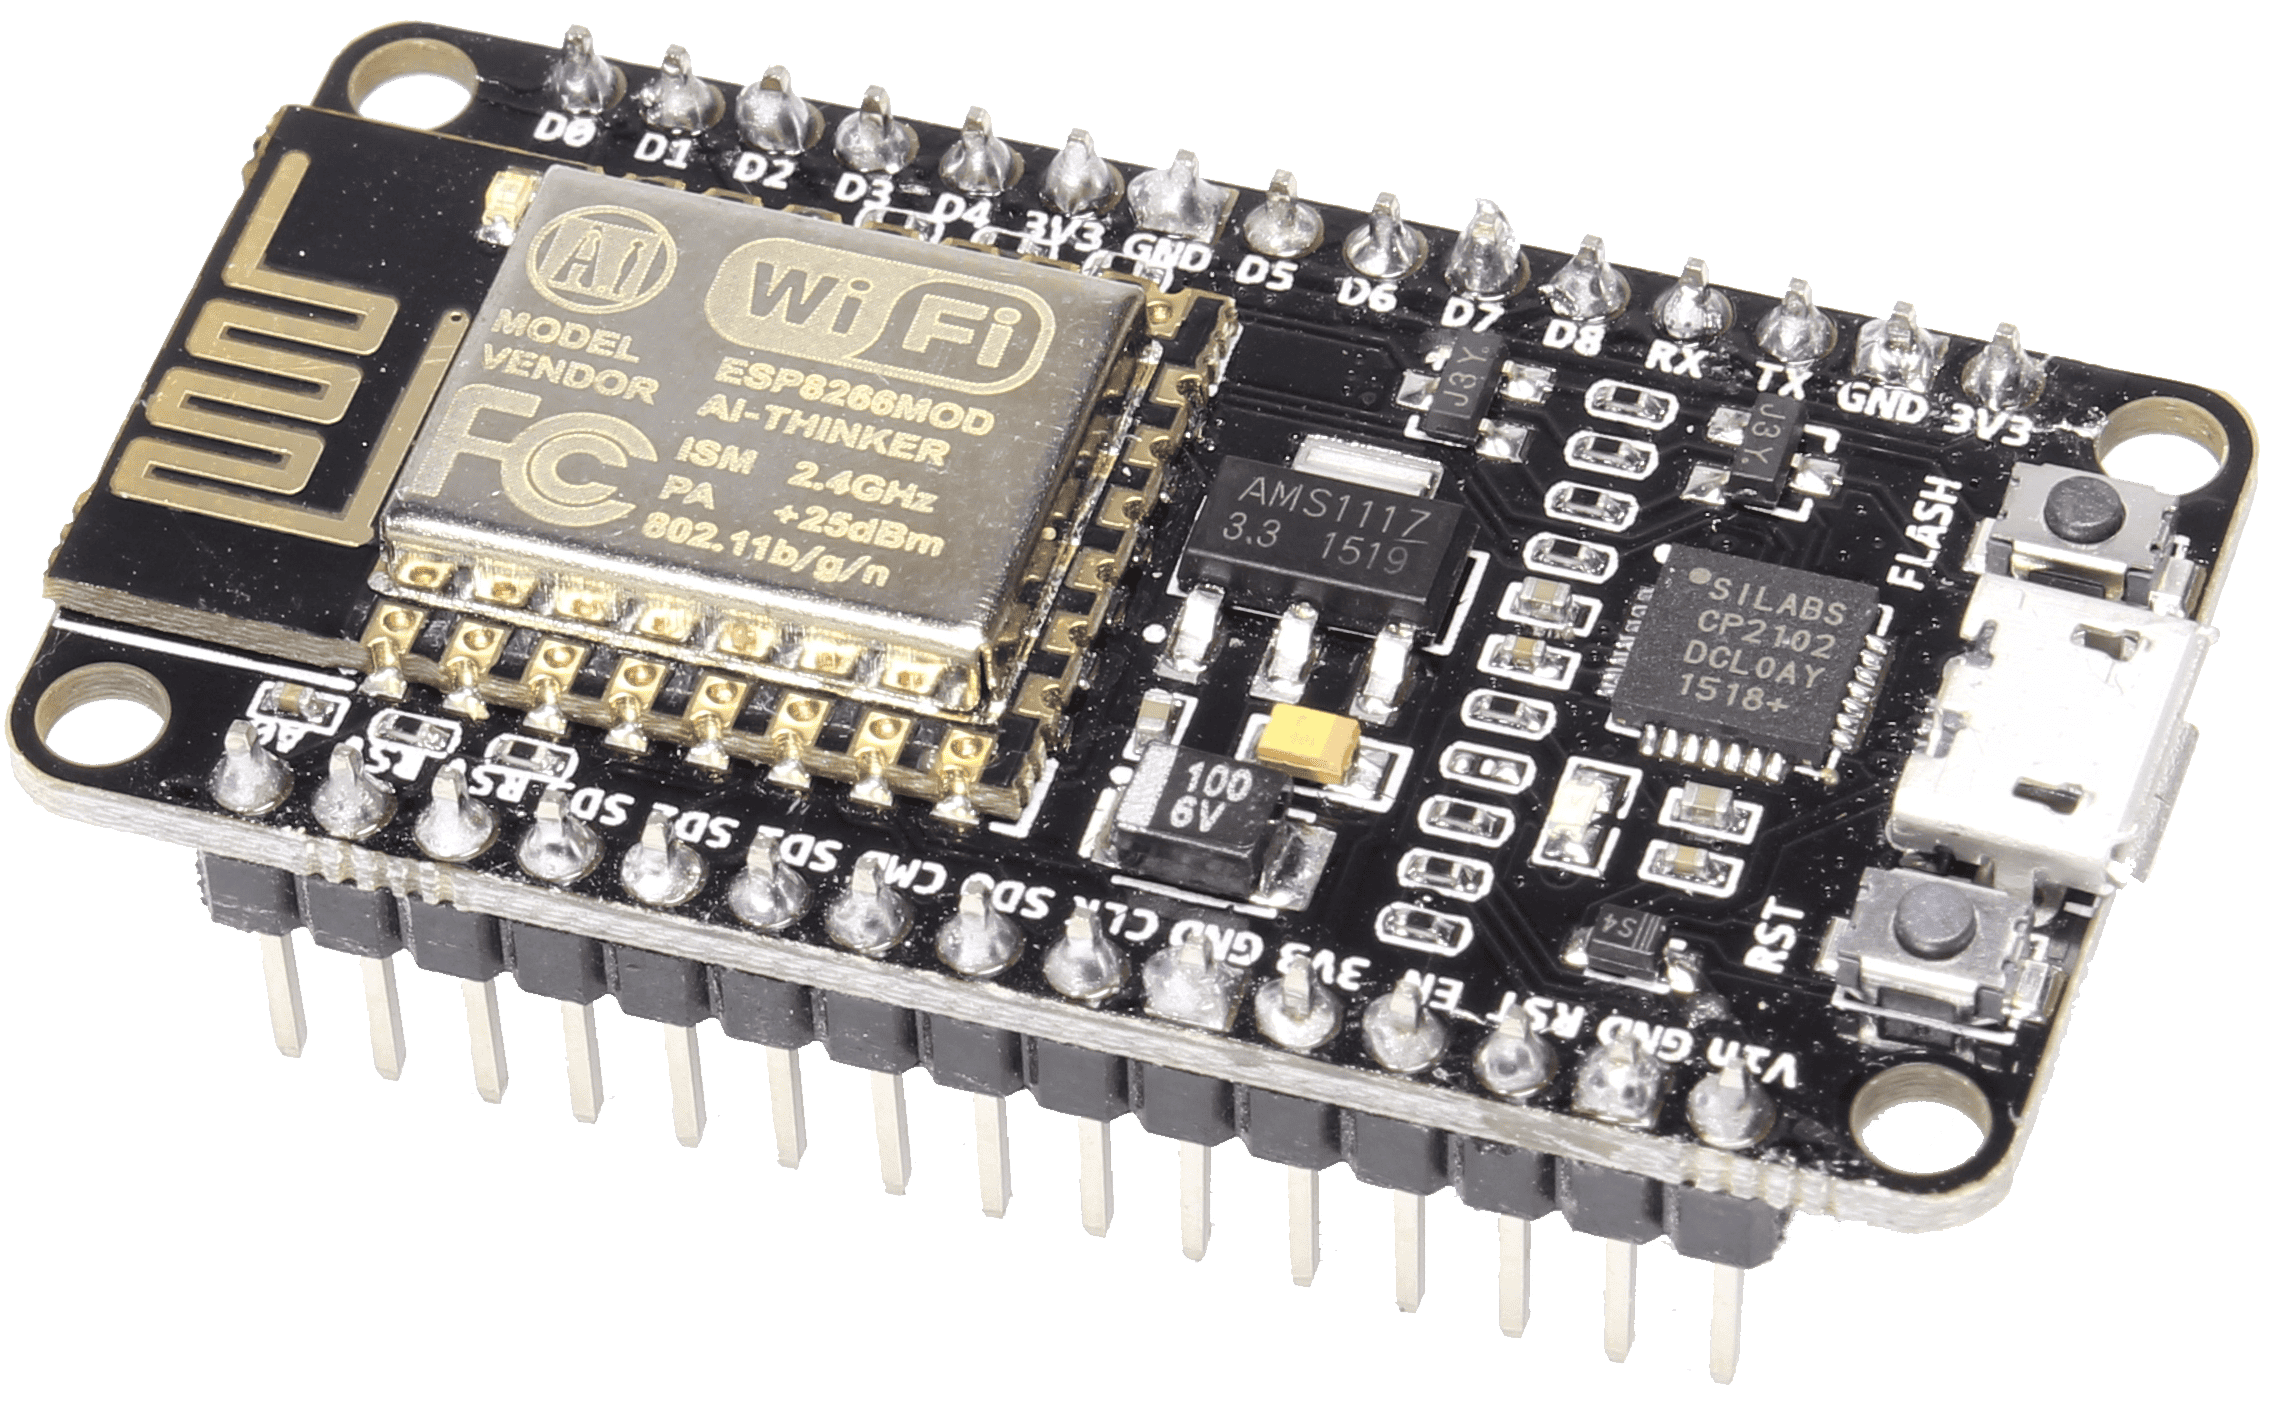
There is no one answer to how many GPIO pins an ESPHome project needs. It all depends on the scope of the project. What can be said is whether you should go with an ESP8266 board, or an ESP32 board. The ESP8266 has 17 GPIO pins, and might not be suited to larger projects. The ESP32 doubles that number to 34 × programmable GPIO pins.


