Unlocking the Potential of ESPHome: Your Guide to Custom IoT Creations
Disclosure: This post contains affiliate links. If you click through and make a purchase, I will earn a commission, at no additional cost to you. Read my full disclosure here.
Welcome to the world of smart home automation! Today, we're exploring ESPHome, a dynamic and user-friendly tool that's revolutionizing the DIY smart home landscape. For enthusiasts and beginners alike, ESPHome stands out as a beacon of accessibility in the often complex world of home automation.
ESPHome is not just a standalone marvel; it's intricately linked with Home Assistant, the renowned open-source home automation platform and shares the same parent company, Nabu Casa. This synergy allows for seamless integration and control of your ESPHome devices within the Home Assistant ecosystem, creating a harmonious and efficient smart home environment.
In this article, we will unravel the mysteries of ESPHome, guiding you through its fundamental concepts, how it integrates with Home Assistant, and why it's becoming the go-to solution for smart home enthusiasts. Whether you're a seasoned tinkerer or just starting, ESPHome offers a world of possibilities to make your home smarter and your life easier. Let's embark on this journey of discovery together!
ESPHome and Home Assistant: A Seamless Integration
If you're already familiar with Home Assistant and YAML configurations, you'll find ESPHome incredibly user-friendly. ESPHome seamlessly integrates with Home Assistant, ensuring that devices on your network are automatically recognized and managed with ease.
Dive into the Core: ESP8266 and ESP32
Before delving into ESPHome's capabilities, let's explore its heart: the ESP8266, ESP32, and RP2040 microchips. These chips are pivotal to ESPHome's functionality, offering a foundation for your custom IoT devices.
The ESP8266, ESP32, and RP2040 are popular microchips in the DIY and IoT (Internet of Things) communities, each with unique features and capabilities. The ESP8266, developed by Espressif Systems, is known for its low cost and Wi-Fi capabilities, making it ideal for basic IoT applications. In contrast, the ESP32, also from Espressif, is a more powerful successor to the ESP8266, offering dual-core processing, Bluetooth functionality, additional memory, and improved security features, thereby supporting more complex applications.
The RP2040, developed by Raspberry Pi, marks a different approach, prioritizing ease of use and flexibility. It features a dual-core ARM Cortex-M0+ processor, ample I/O options, and support for C/C++ and MicroPython, making it suitable for both beginners and advanced users. While the ESP8266 and ESP32 are more tailored towards wireless connectivity applications, the RP2040 stands out for its processing capabilities and the strong community support from Raspberry Pi.
The Raspberry Pi Pico W is a microcontroller board developed by the Raspberry Pi Foundation, an evolution of the original Raspberry Pi Pico, but still featuring the same RP2040. What sets the Pico W apart is its built-in wireless connectivity, as it comes equipped with Wi-Fi. This capability makes it a strong contender in the IoT (Internet of Things) space, especially for projects that require wireless data transmission or remote control, such as ESPHome.
Using ESPHome: Simplifying Firmware Creation
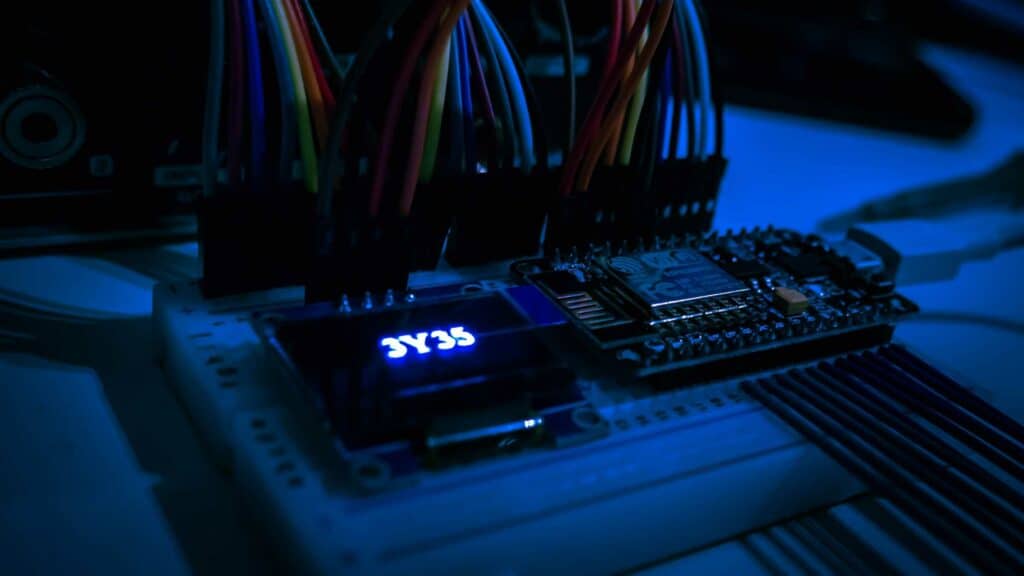
ESPHome transforms YAML configuration files into custom firmware binaries. Each ESPHome node (device) is configured individually, allowing for tailored functionalities. ESPHome's support for a vast array of sensors, displays, lights, and more ensures that you can configure devices like the BME280 sensor board for temperature, humidity, and pressure measurement with minimal YAML lines.
ESPHome's flexibility extends beyond data collection. It can control various components, from individually addressable LED strips to diverse display technologies, such as e-paper screens and dot matrix displays.
Installing ESPHome: Multiple Pathways
ESPHome's installation is versatile, reflecting its alignment with Nabu Casa's user-centric approach. You can install it as a Home Assistant add-on (if you are using the Home Assistant OS), natively using Python, or via the official ESPHome Docker image. This flexibility ensures ESPHome's compatibility with diverse setups, including any system capable of running Python or Docker containers.
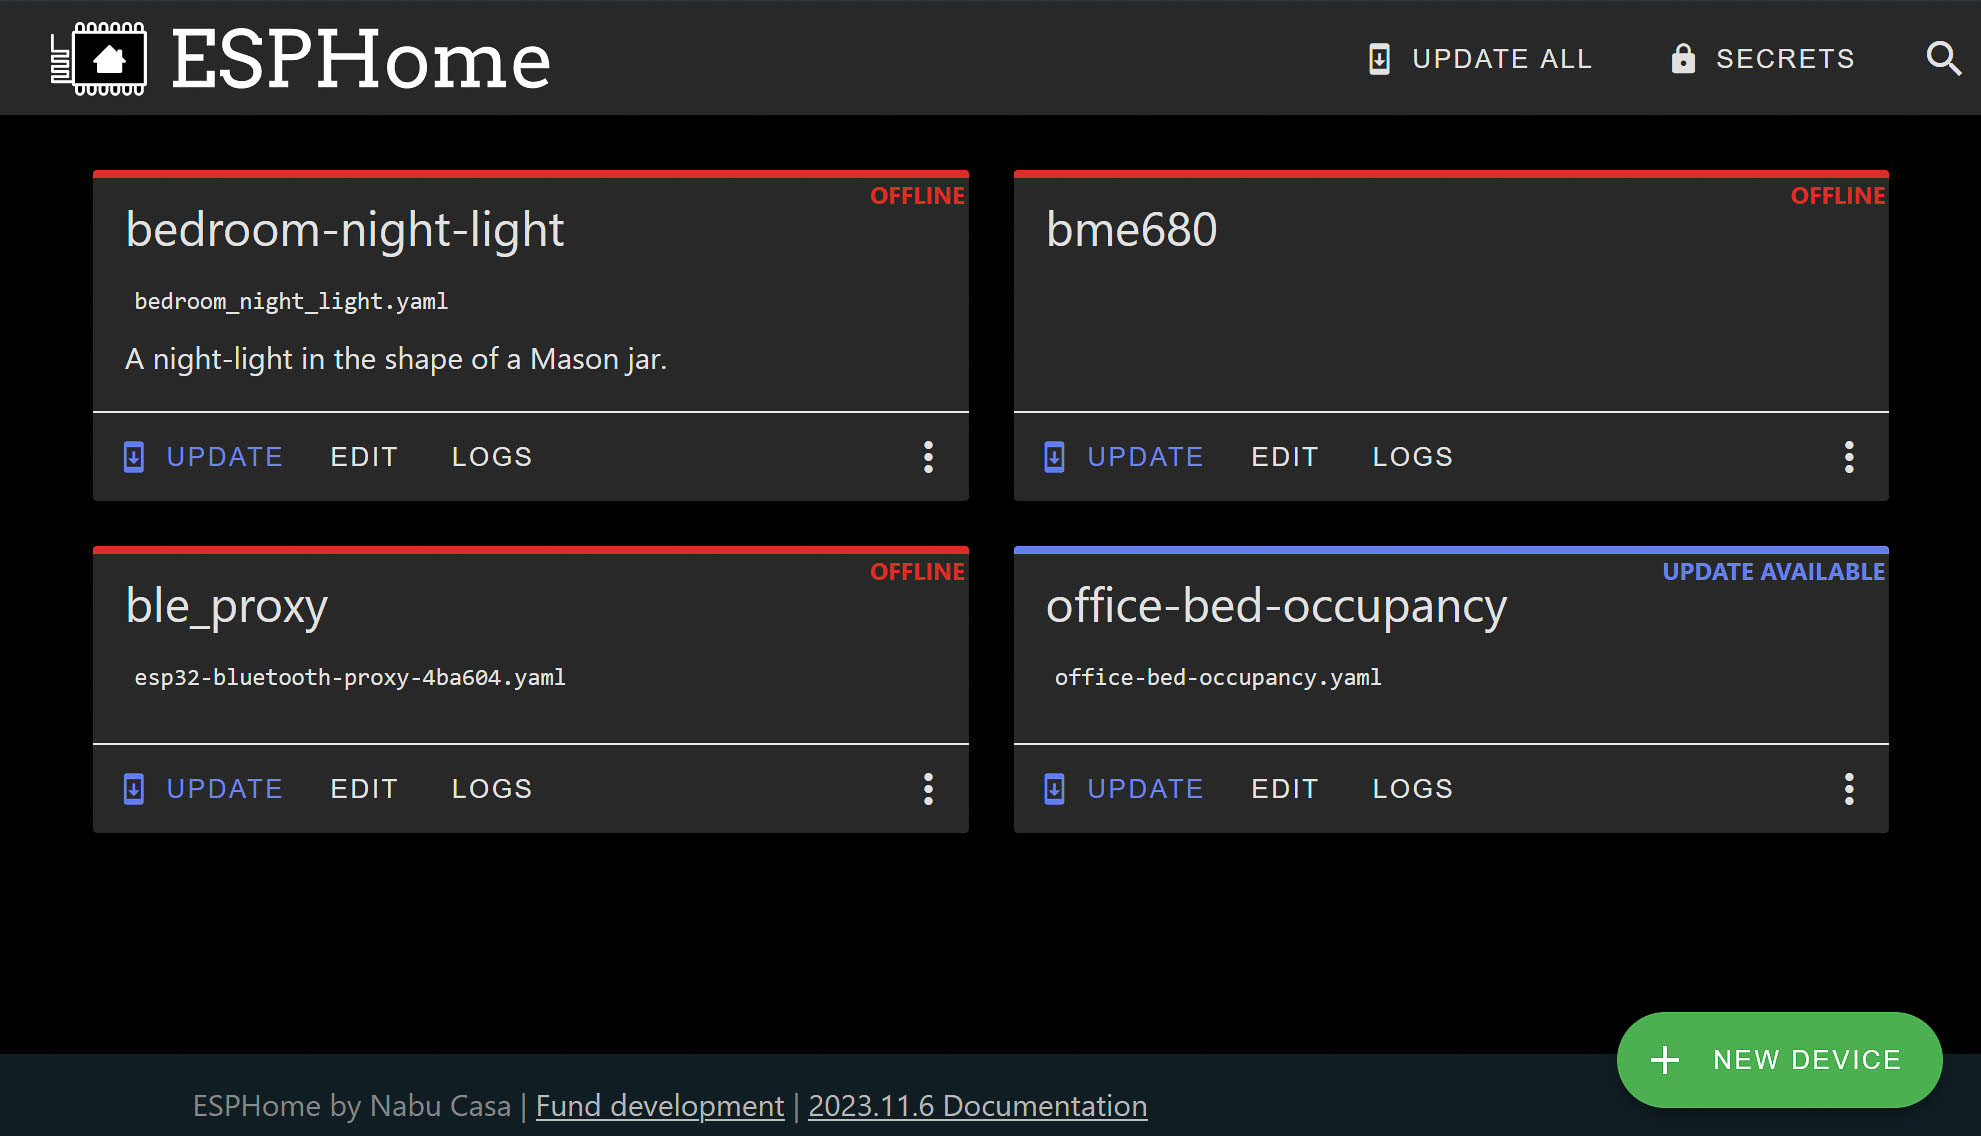
Once installed, ESPHome offers a comprehensive web interface. This interface facilitates the creation, compilation, and updating of custom firmware for your devices. Its built-in YAML editor enhances usability, providing debugging assistance and configuration suggestions.
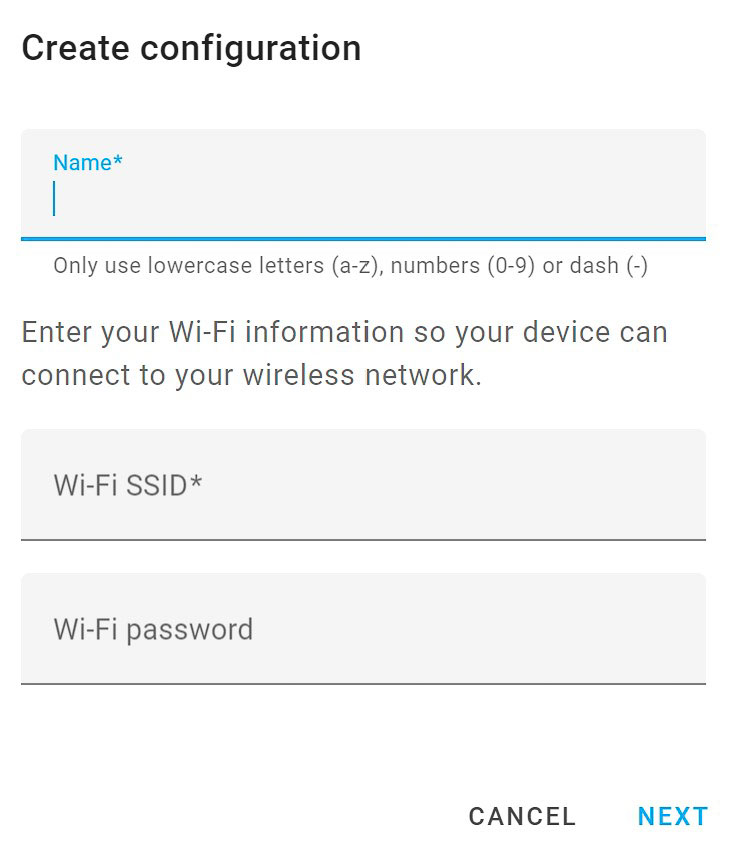
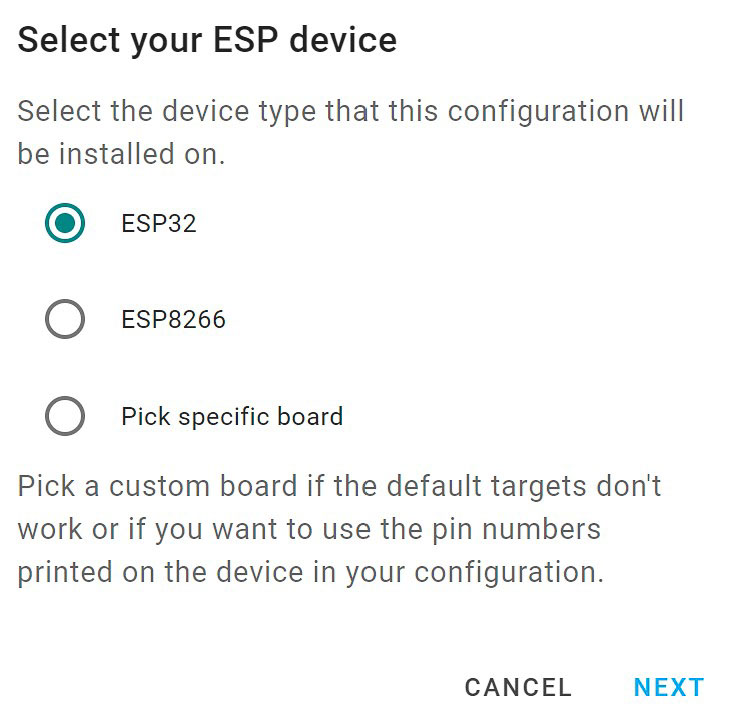
Creating a new device configuration is straightforward in ESPHome. You can initiate this through the web interface's configuration wizard or opt for manual file creation, especially if you prefer external editors such as Visual Studio Code.
Flashing ESPHome to ESP8266, ESP32, and RP2040 Boards
ESPHome offers multiple flashing options for your ESP8266 and ESP32 boards. Whether you prefer direct connection to your machine, using the ESPHome-Flasher tool, or leveraging the ESPHome Web Tools for browser-based flashing, the process is streamlined for convenience. Once set up, over-the-air (OTA) updates are easily handled through the web interface.
ESPHome Web Tools are a set of web-based utilities designed to simplify the process of configuring and flashing ESP devices for use with ESPHome. They offer a more accessible and user-friendly approach by providing these capabilities through a web interface.
ESPHome-Flasher was a utility tool designed for flashing ESP devices with firmware created using ESPHome. Packages for Windows, macOS, and Ubuntu can be downloaded from the GitHub repository. However, ESPHome-Flasher has been deprecated, so use it at your own risk.
The Versatility of ESPHome
ESPHome's capabilities are vast, from creating multisensors and BLE beacons for presence detection to controlling LED strips and utilizing e-paper displays for data representation. The platform enables users to transform creative IoT concepts into reality with ease.
E-Paper displays can be used to display any data from Home Assistant.
Getting Started with ESPHome Components
To jumpstart your ESPHome journey, consider acquiring a breadboard, jumper wires, WS2812B LEDs, and perhaps a cheap sensor or two. These components offer a foundation for experimenting and finalizing your IoT projects.
While ESP8266 boards are still plentiful, Home Assistant Guide now recommends starting out with either an ESP32 or Raspberry Pi Pico W. Not only do these boards offer more power (though you are unlikely to need it for your first project), but the open upo the world of Bluetooth accessories.
Frequently asked questions
ESPHome is a dynamic and user-friendly tool for DIY smart home automation. It allows users to create custom firmware for IoT devices, making home automation more accessible.
ESPHome is closely integrated with Home Assistant, an open-source home automation platform. This integration allows for seamless control and management of ESPHome devices within the Home Assistant ecosystem.
ESPHome is designed for both enthusiasts and beginners in the smart home automation space. It offers a user-friendly approach to creating and managing IoT devices.
The core components of ESPHome are the ESP8266, ESP32, and RP2040 microchips. These chips are crucial for the functionality of ESPHome, enabling a wide range of IoT applications.
Yes, ESPHome is suitable for beginners. Its integration with YAML and Home Assistant, along with a comprehensive web interface, makes it accessible for those new to home automation.
ESPHome can be installed as a Home Assistant add-on, natively using Python, or via the official ESPHome Docker image. This flexibility ensures compatibility with various systems.
About Liam Alexander Colman
Liam Alexander Colmanis an experienced Home Assistant user who has been utilizing the platform for a variety of projects over an extended period. His journey began with a Raspberry Pi, which quickly grew to three Raspberry Pis and eventually a full-fledged server. Liam's current operating system of choice is Unraid, with Home Assistant comfortably running in a Docker container. With a deep understanding of the intricacies of Home Assistant, Liam has an impressive setup, consisting of various Zigbee devices, and seamless integrations with existing products such as his Android TV box. For those interested in learning more about Liam's experience with Home Assistant, he shares his insights on how he first started using the platform and his subsequent journey.